Disclosure: This post is sponsored by JOANN, all opinions and creative ideas are my own.
I’ll be honest, our little family of five sure knows how to make a big mess and the largest shoe pile you have ever seen. Between all three kids, backpacks, sports bags, all the different shoes, etc, our garage becomes one big dumping station. We don’t have a laundry room or mudroom downstairs, so the garage is the only place to put all our stuff. We desperately need more garage organization out here! So let’s take a look at this Vintage Locker Makeover using Krylon Chalky Finish Spray Paint!
Vintage Locker Makeover
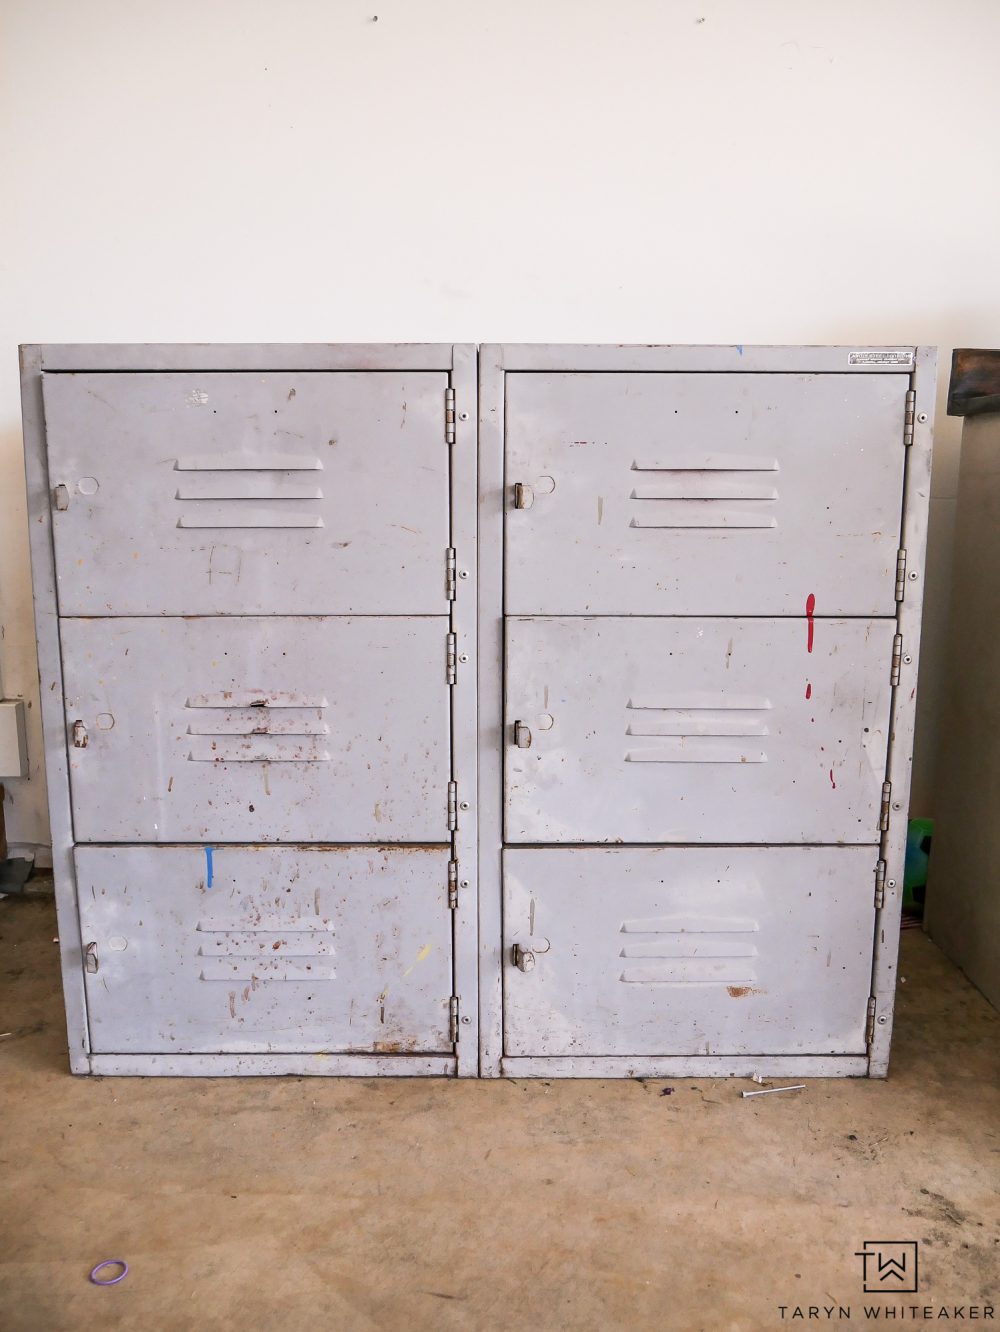
A few years ago I did my first attempt at creating a drop-station for all the kids’ things and now it’s time for a round two! We’ve added one more kid, our big kids are well into sports now and we need more than just a little rack to put shoes. A few months ago I picked up this old locker that needed a little TLC. I am typically not one who likes to repaint vintage pieces, but I decided to give this one a little makeover and turn it into a more rustic modern piece that goes with our home.
How To Spray Paint Metal
When painting over metal, there are a few steps you will want to take to clean the surface for the paint. I’m going to walk you through the steps I took to get a good clean spray on this piece.
Painting Supplies:
- Slate Gray Chalky Finish Spray Paint
- Degreaser/Cleaner
- Magic Eraser
- Sand Paper
- Painter’s Tape

Start with cleaning the surface of your metal project. You can purchase an actual degreaser or use something similar to help clean all the grim and rust off of it. This piece had some rustic, but not a lot of build up, otherwise you may want to use a wire brush to help scrape off some of those harder areas.

I had a few spots where there was marker, paint and stickers on the locker and the Magic Eraser took them right off!
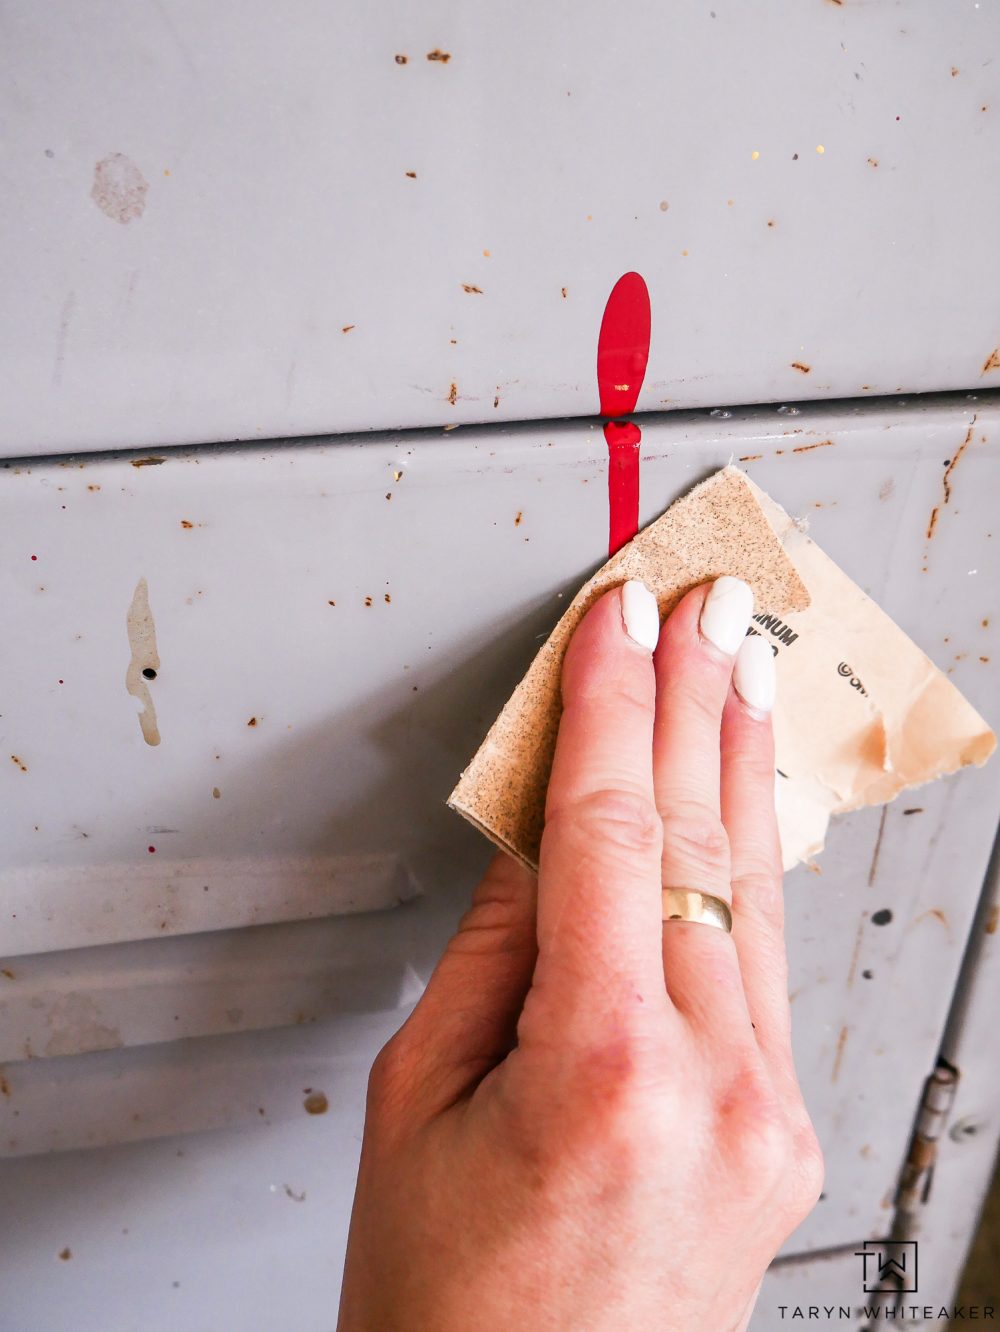
For some of the larger paint drips that had dried on there, I used sand paper to sand it down to a smooth finish!
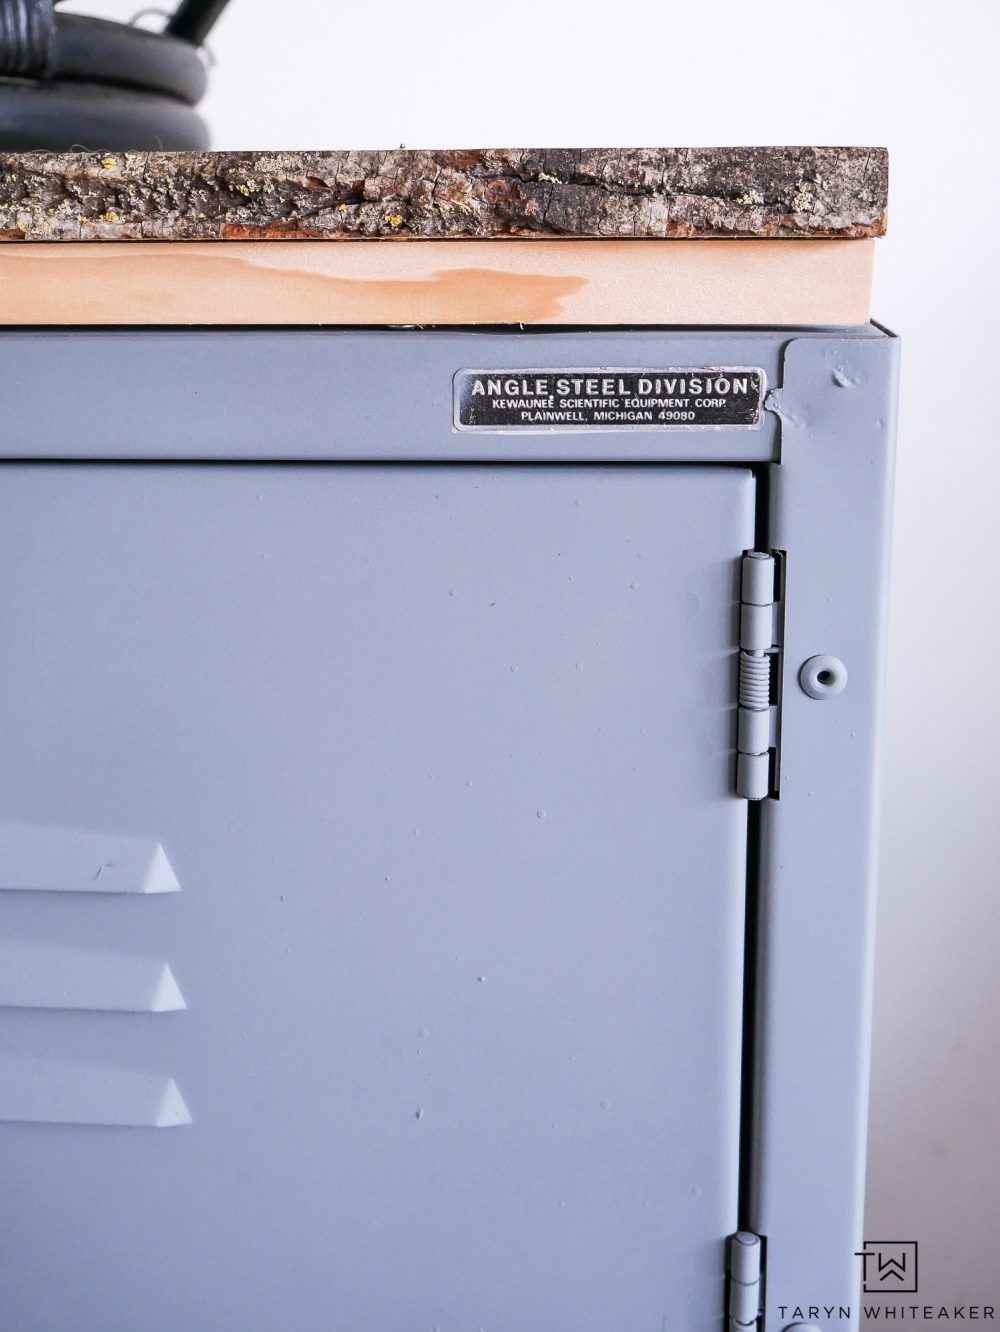
Tape off any surfaces you don’t want painted. This piece had a small vintage label in the corner that I wanted to keep, so I carefully taped it off.

Once the surface is dry and smooth, time to paint! I went with Slate Gray Chalky Finish Spray Paint . It’s a true medium gray with a slight blue undertone to it. It’s a really pretty color and it went on SO smooth!
Hold the spray can about 12-18″ away from the surface and carefully go back and forth until the surface is covered.
I was surprised how much coverage I had in just one coat of paint, but I did two just to be safe.
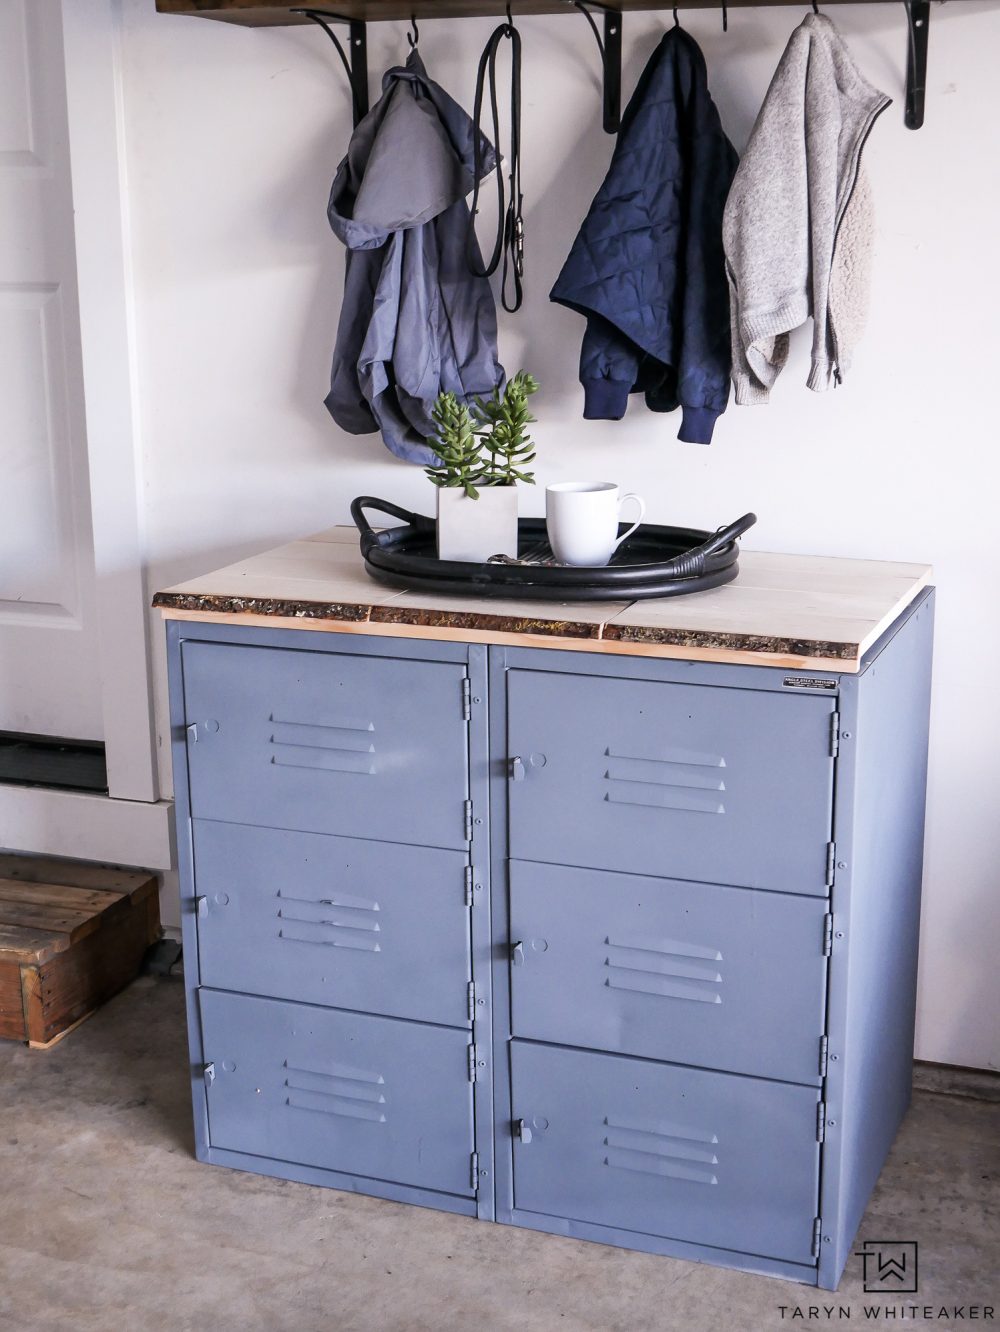
Building A Wood Table Top

There are a lot of different ways to build a wood table top for a piece of furniture! For this look I wanted to bring some wood elements to the piece and create a more sturdy top knowing that we often use it as a table while we are hanging out in the garage. I found these live edge on sale at JOANN. I loved the live edge ( you all know we have enough of it in our own home!) and thought it would make a great addition to this piece.
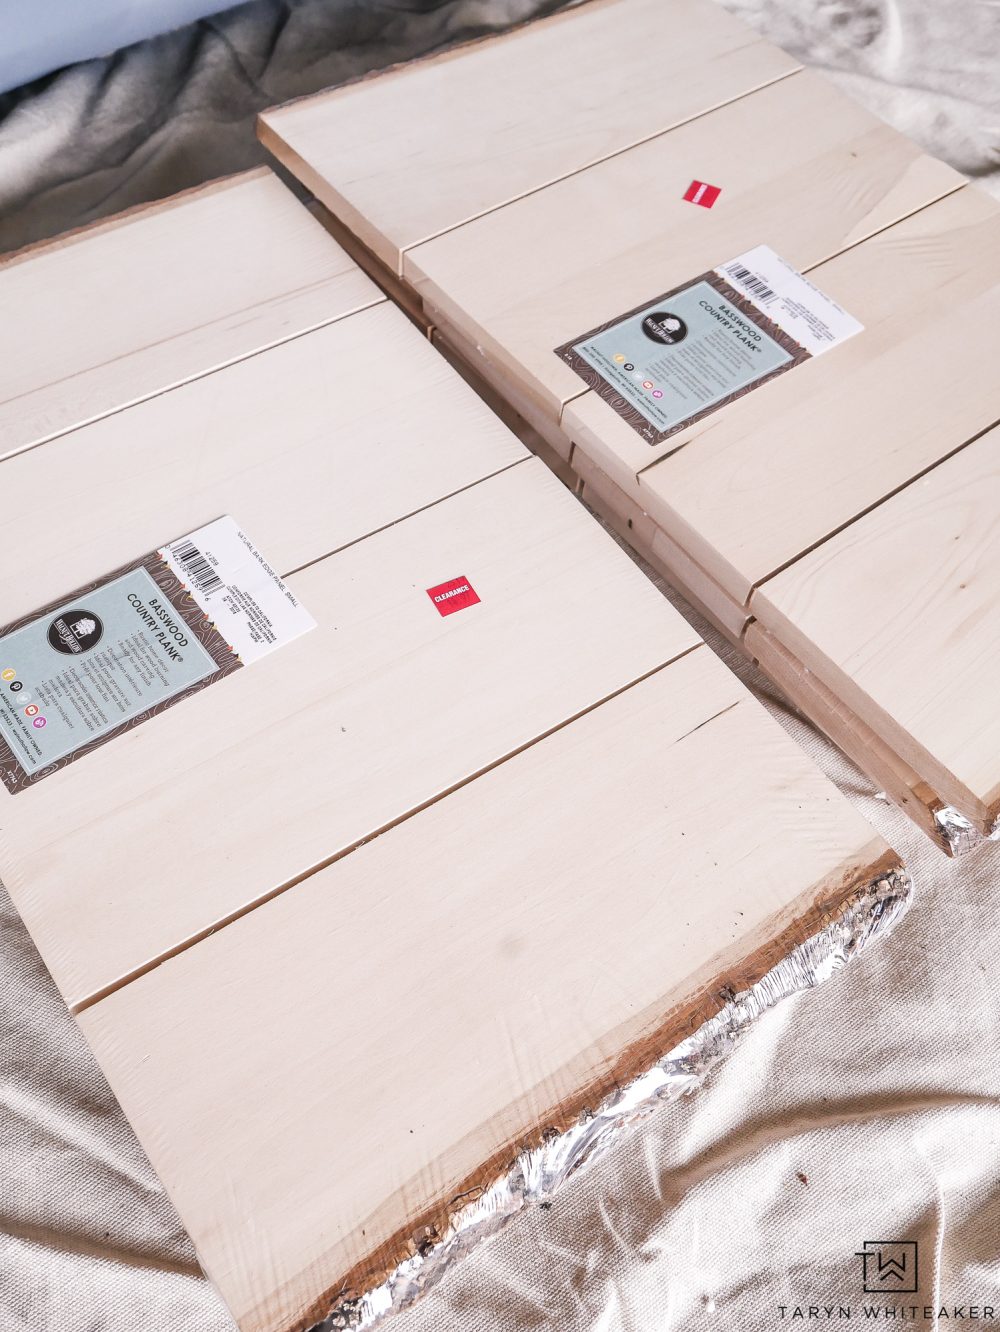
The plaques I found are about 10″ wide, so I bought a bunch of them with the idea that I would secure them together to create a flat top.
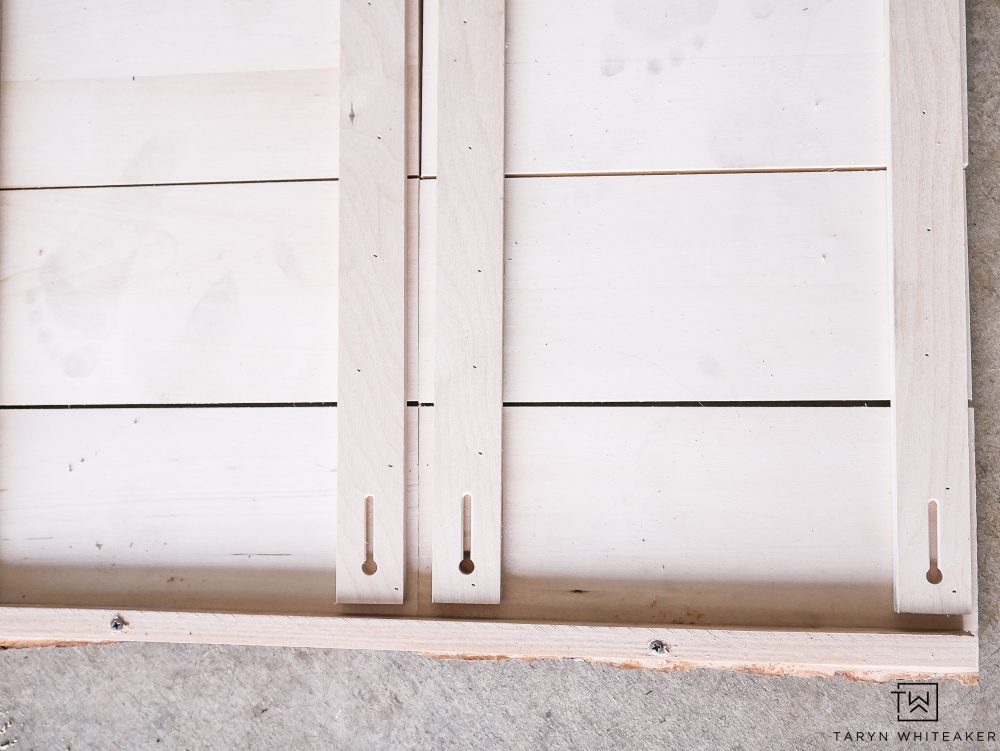
I unwrapped the plastic, flipped them over and then screwed additional wood pieces across the seams to help secure them together. I ended up pre-drilling the holes prior to putting the screws and that helped prevent the wood from cracking.
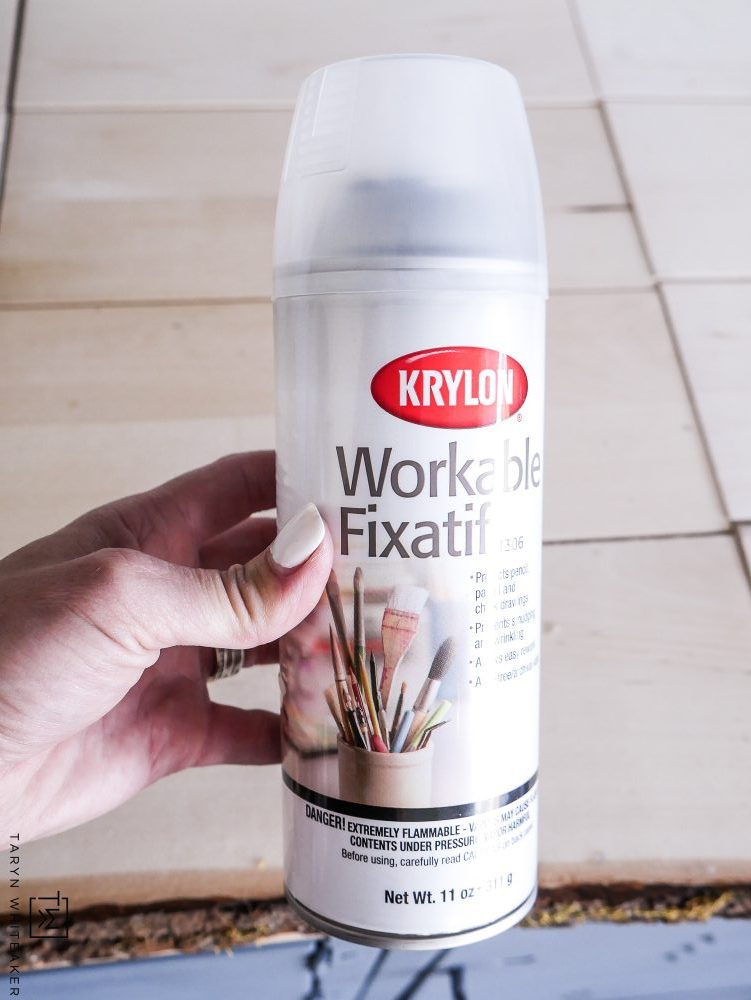
I gave them a coat of Krylon Spray Acrylic Coating to seal off the surface.
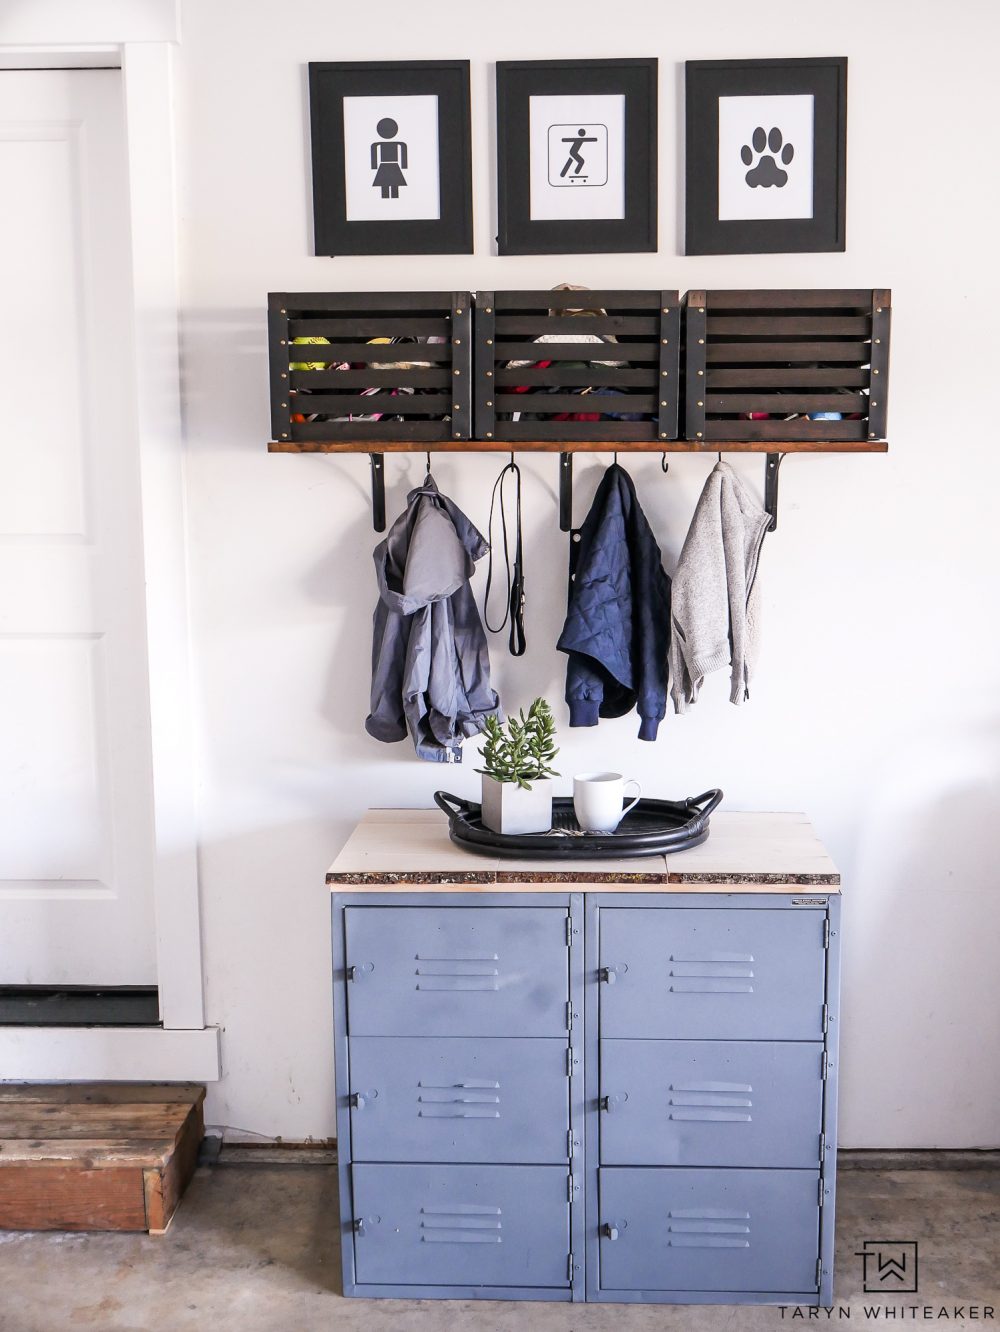
New Garage Organization


We are loving our new garage organization system with this vintage locker makeover project. We each have our own cubby for shoes and an extra one for sports equipment! This momma is ready for back to school. Hopefully things stay a little more organized this year :)
If you are looking for more summer decor and craft ides, check out JOANN on Instagram and Joann.com!
PIN FOR LATER!

About Taryn Whiteaker
Hi! I’m Taryn! The voice behind Taryn Whiteaker Designs. I launched this brand over 11 years ago when I became a stay-at-home mom. What started as a small craft and mom blog eventually grew into a full time design and DIY site. My goal has always been to inspire others (especially women!) with design ideas, DIY tutorials, entertaining ideas and give you the tools you need to complete them yourself!


Leave a Reply