This post is in partnership with WORX Tools, all opinions are my own!
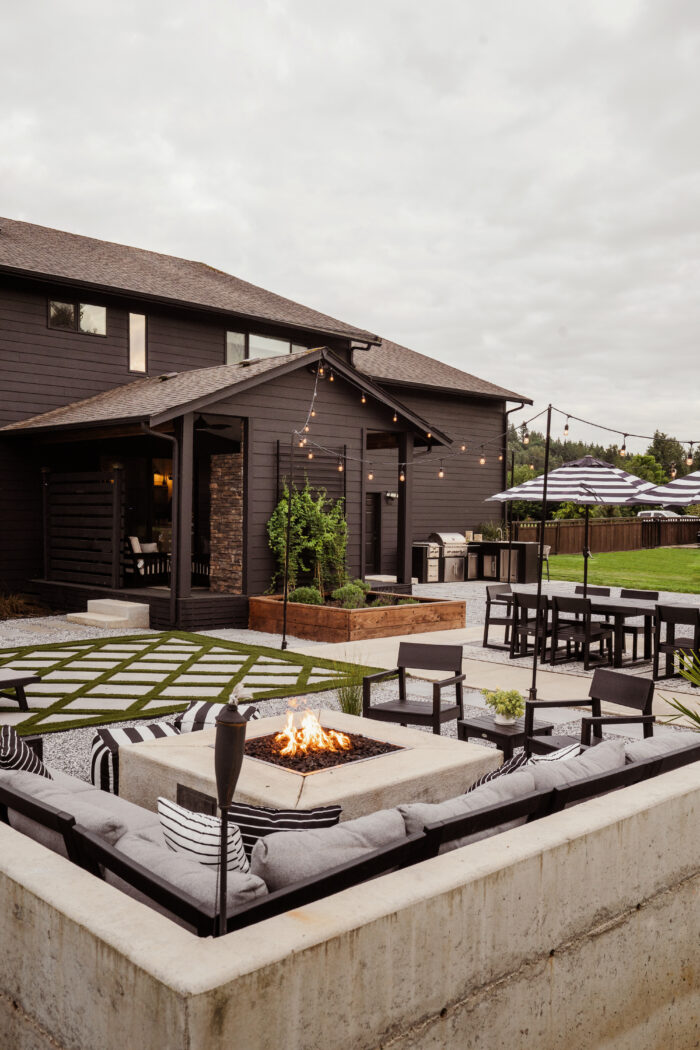
The backyard progress continues! When we were planning our backyard renovation, we needed to plan the design around our existing covered outdoor space. We took out the grass and have been slowing working on installing our new backyard design over the past year! I am finally working on the finishing details to connect our new backyard with our existing deck and really polishing it off. It’s the little final details that help make a space feel professional. A few weeks ago I finished up a quick but impactful project – installing deck skirting around our outdoor patio!
I can’t wait to show you the before and after pictures below. You will for sure want to do this in your backyard because it’s so easy and looks SO much better! x
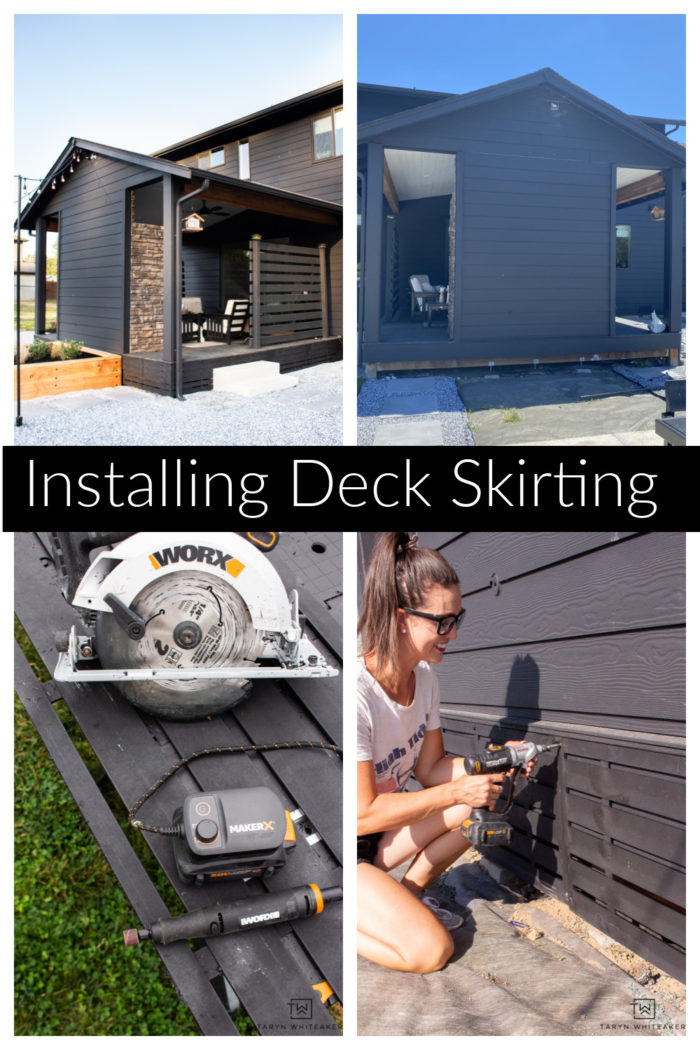
Installing Deck Skirting
What is Deck Skirting?
If you are confused by the term “skirting”, no it does’t mean putting a fabric around your deck! It’s actually the finishing piece that goes from right under the deck to the ground. It’s designed to hide the posts and other not-so-pretty construction side of things.
There actually SO many different styles and colors available. I have seen them pretty much at every hardware store online. I obviously went with black to match our exterior color and our decking. I also chose a sleek modern design.
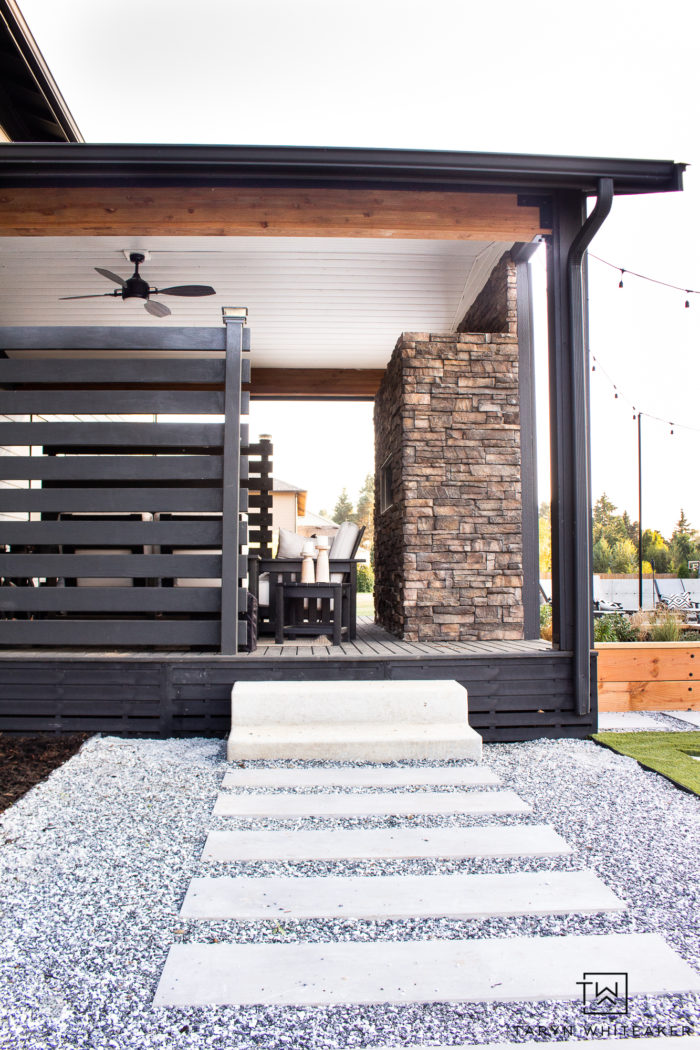
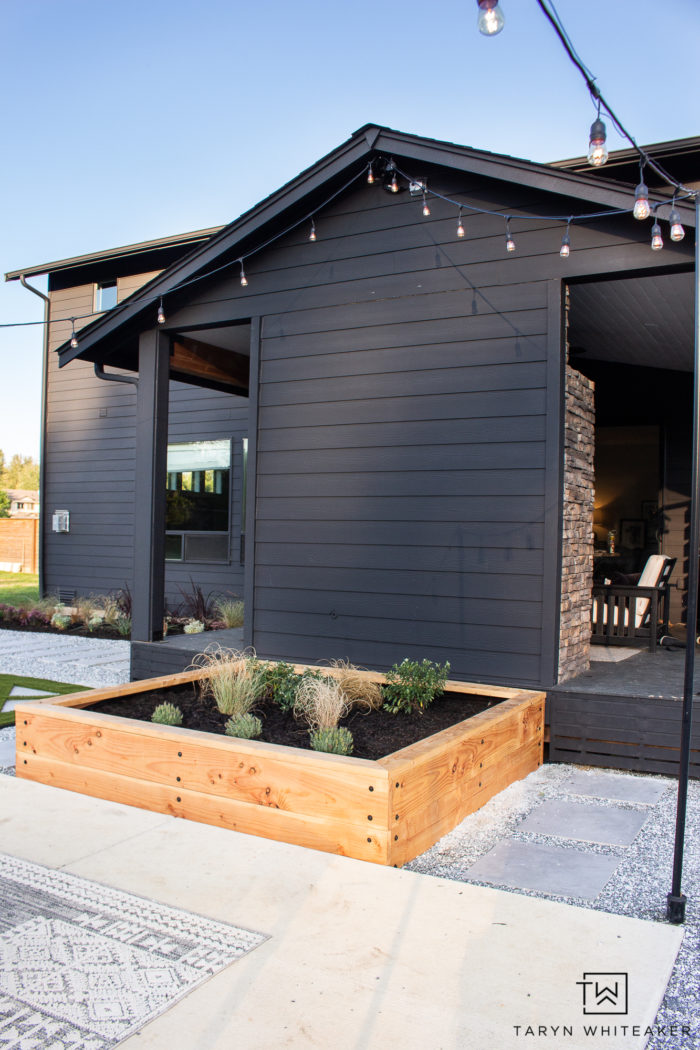
I wrapped it all the way around the deck and cut it to fit around the stairs. It is so crazy to me how much this changed this view. It really cleaned it up, made the deck feel more finished and connected it to the rest of the backyard layers.
BEFORE PHOTOS
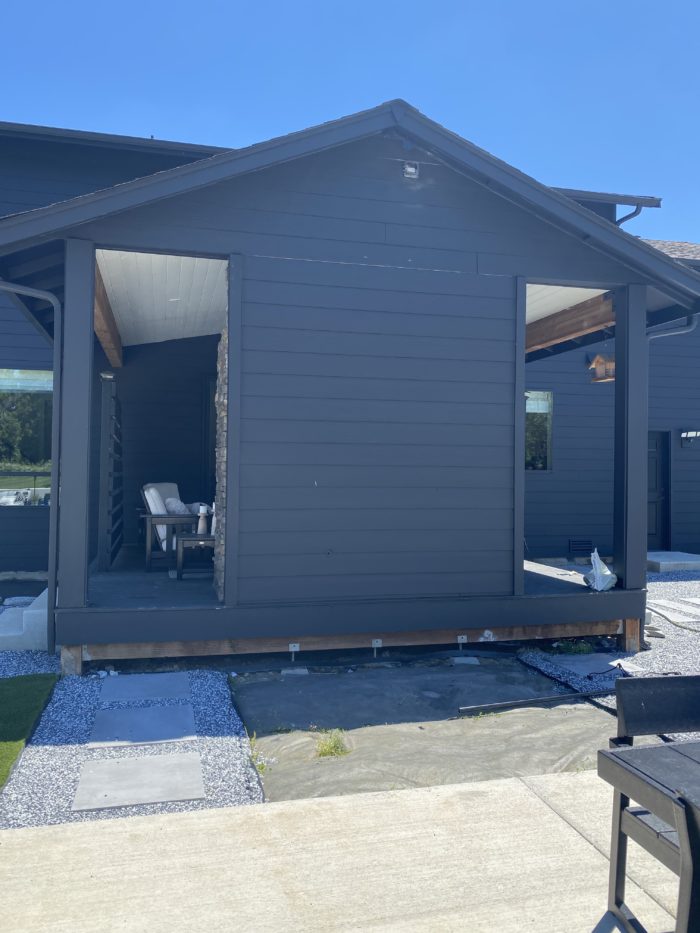
To really appreciate the photos above, you need to see what it looked like before! This is what it looked like since we laid the gravel down earlier this spring! I have been waiting to install the deck skirting and then finish it off with the large planter box.
But holy cow, can you believe the difference?!
Deck Skirting Supplies
This is one of those projects that I believe anyone can do. It is a pretty easy DIY project that requires just a few tools and maybe half a day!
Here’s What You Need:
- Black Deck Skirting
- Decorative Screen Panel Metal Screws
- WORX Tools Nitro Cordless Circular Saw
- WORX Tools Pegasus Folding Work Table & Sawhorse
- WORX Tools 20v Switchdriver 2-in-1 Cordless Drill & Driver
- WORX Tools Maker X Crafting Tool
How To Install Deck Skirting
Cut Your Screen Down to size

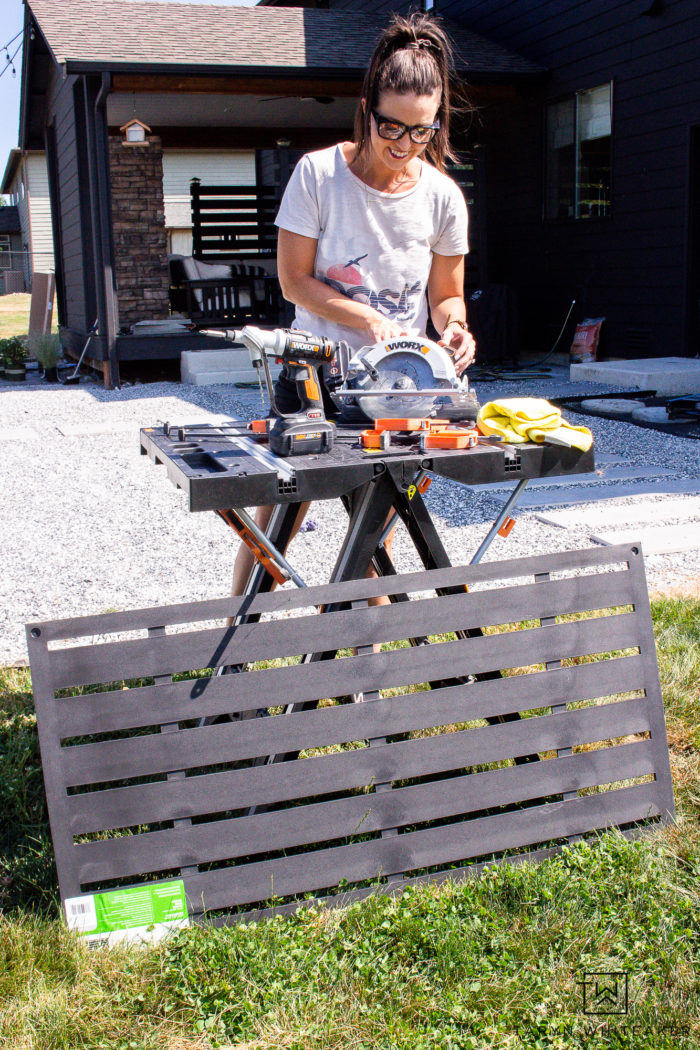
First you want to cut your Deck Skirting down to size, so it fits perfectly from the top of the deck down to the ground. The decorative panels I went with are made from a non-wood, composite material which will hold up in the weather much better!
This specific brand requires you use a carbide blade that has between 24 – 60 teeth. You just need to find one that fits your saw. I used my WORX Tools Nitro Cordless Circular Saw and it worked perfectly. First, I secured my panel using the WORX Tools Pegasus Folding Work Table & Sawhorse (no joke, I use mine with almost every project I’m working on, these tables are THE BEST!). My Circular Saw cut these perfectly, just slow and steady!
WORX Tools recently launched a Nitro line of power tools which is definitely a step up in the power department. I have noticed a big difference in this line. If you are a more advanced DIYer or work commercial, check out these tools.
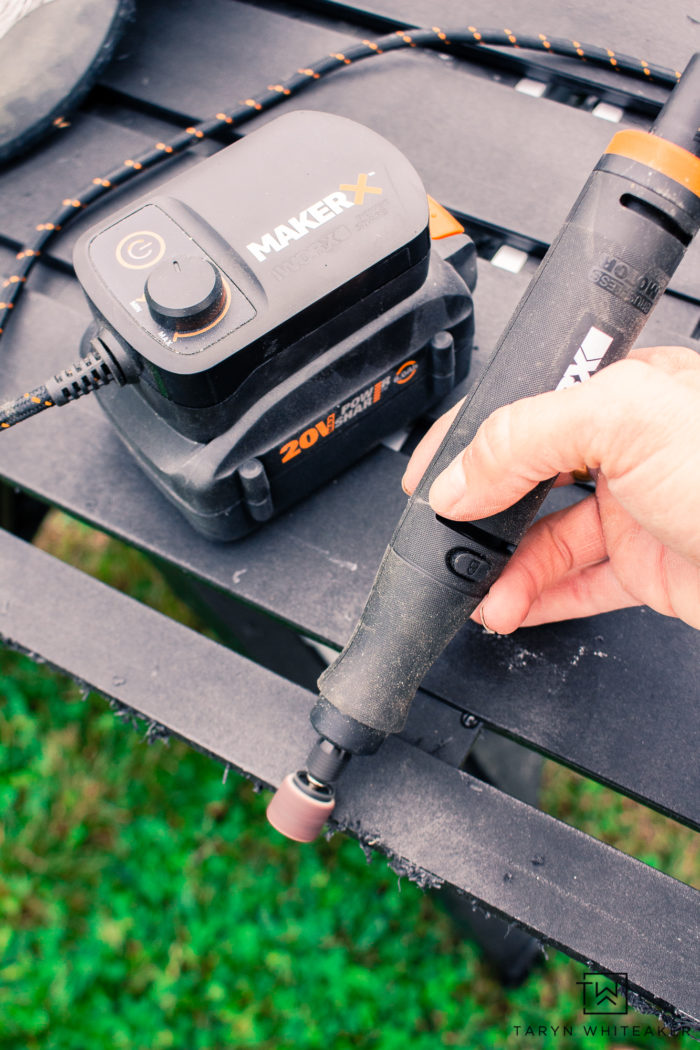
After you cut the panel, you’ll get these tiny shavings on the edge. Most are easy to scrape off but I found it helpful to use my WORX Tools Maker X Crafting Tool with the sanding tip to help smooth them out.
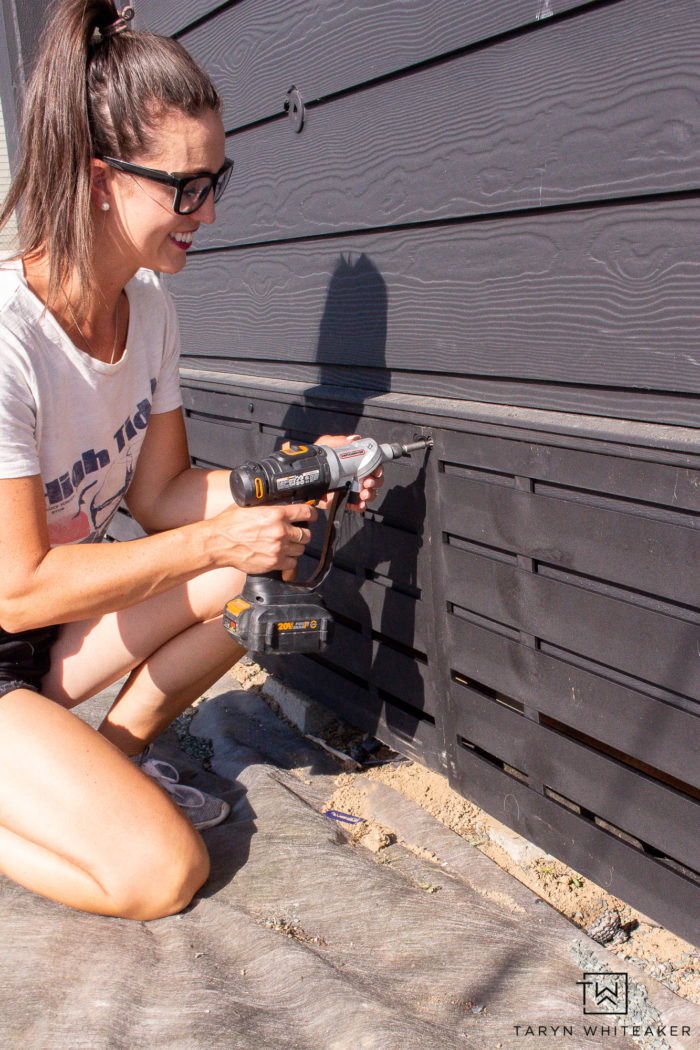
Securing the panels to the deck is extremely easy, especially using the WORX Tools 20v Switchdriver 2-in-1 Cordless Drill & Driver. This is one of my favorite tools because the design is brilliant. This is the perfect tool for when you need to pre-drill holes and also put in screws . With the rotating dual chucks, you just push a button and it rotates your bit. It is so practical and honestly has saved me so much time during project.
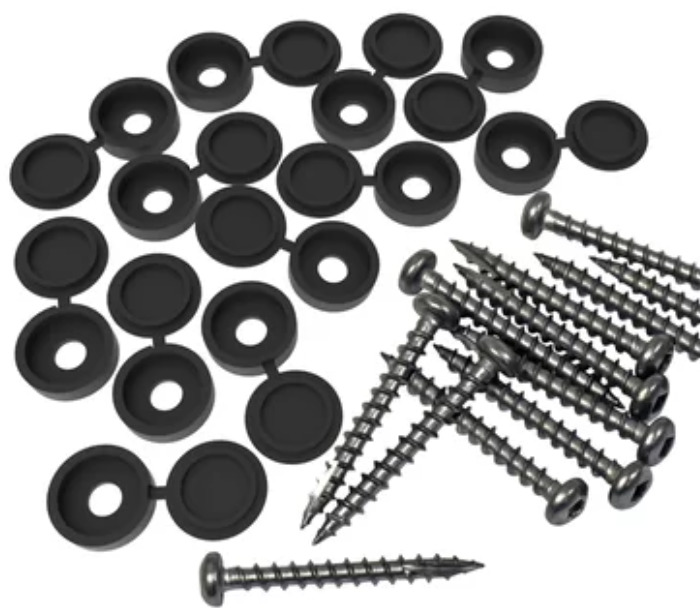
You want to know what else is brilliant? These Decorative Screen Panel Metal Screws. I didn’t even know these existed until this project and now I want to use them for every outdoor project! They come with a little cap that covers the screws, providing a really sleek finish. It completely hides the screw head!
I added a few extra screws to the edge of the screen panel. They only call for them on the two outside corners, but the middle part of the panel started to bow a little, so I added a few more in and it helped a lot.
You guys, that is basically it! Cut, screw and DONE.

I love how this project turned out! My WORX Tools made it a breeze! You can check out more of the Nitro Power Tools here.
Tour our Completed Modern Backyard Here!
Video Tutorial:
You May Also Like:

My Favorite WORX Yard Tools Must Have Yard Tools
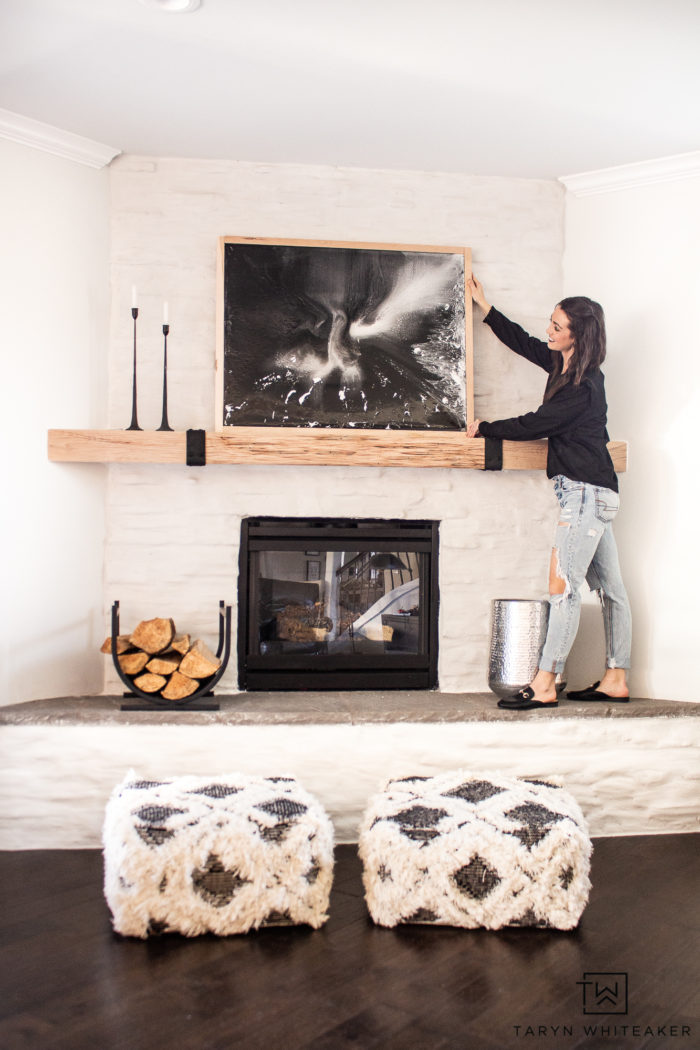
About Taryn Whiteaker
Hi! I’m Taryn! The voice behind Taryn Whiteaker Designs. I launched this brand over 11 years ago when I became a stay-at-home mom. What started as a small craft and mom blog eventually grew into a full time design and DIY site. My goal has always been to inspire others (especially women!) with design ideas, DIY tutorials, entertaining ideas and give you the tools you need to complete them yourself!


It’s funny — after reading the post and looking at the pics, I automatically looked for a place to give it all a thumbs-up!
Great job! ??
Thank you! I love how it turned out!
I love the skirt! What color did you paint the deck though so I can match? Does it get hot?
Hi! I used BEHR Deck Over. I didn’t love the product. I liked the black color and how it blended with everything, but it showed dirt/dust SO easily and it was really hard to clean.
Where did you purchase the skirting?