Did you see my DIY deck skirting post from last week? One thing I didn’t talk about in that post is the other big reveal that you saw, the gorgeous landscape box that added SO much to this space! Our backyard is relatively flat right now and very monochromatic – my solution was to add a raised planter box to add a little dimension and also a soft wood tone. Today I’m breaking down the DIY Large Planter Box Tutorial for YOU! It was honestly a pretty easy build and a great weekend project!
DIY Large Planter Box Tutorial
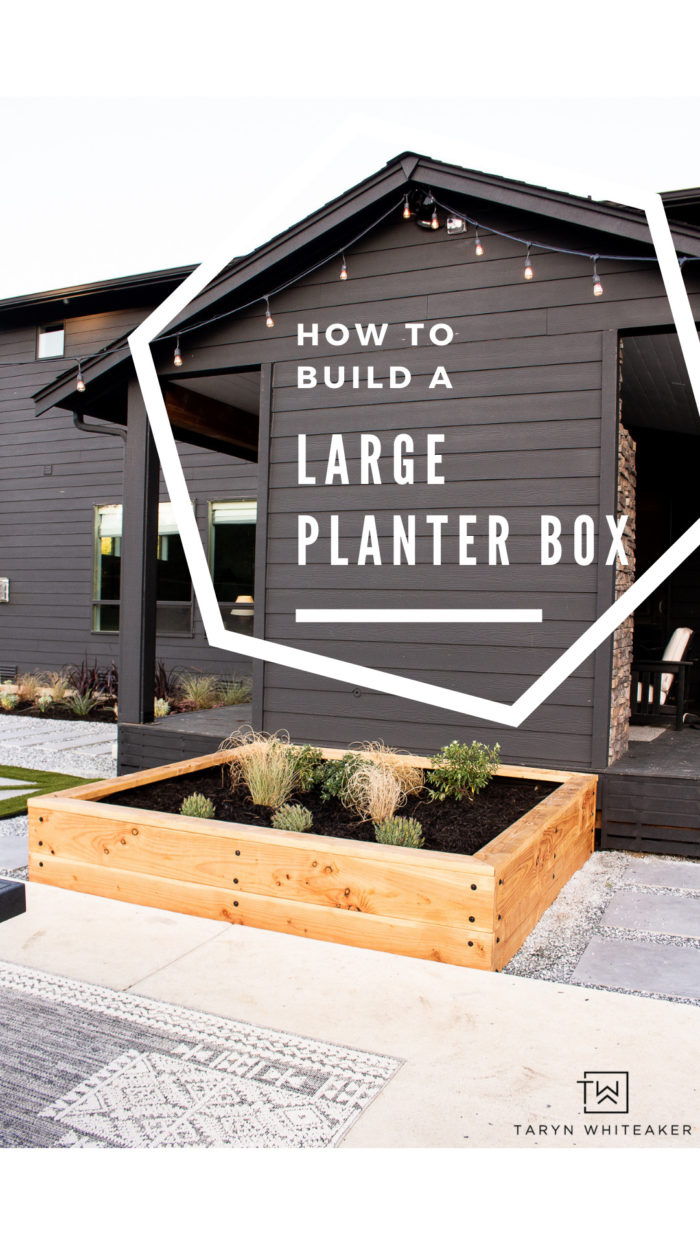
I honest had no idea what to do with this space for the longest time. I wasn’t sure how to finish off the back side of our outdoor fire pit – what do I do with this large blank wall?! In my backyard plans from Yardzen, they turned this backside into a place for a landscape feature and I LOVED this idea. I turned it into a raised area to give it some height. I also plan on on adding a modern trellis with climbing plant…. eventually ;)
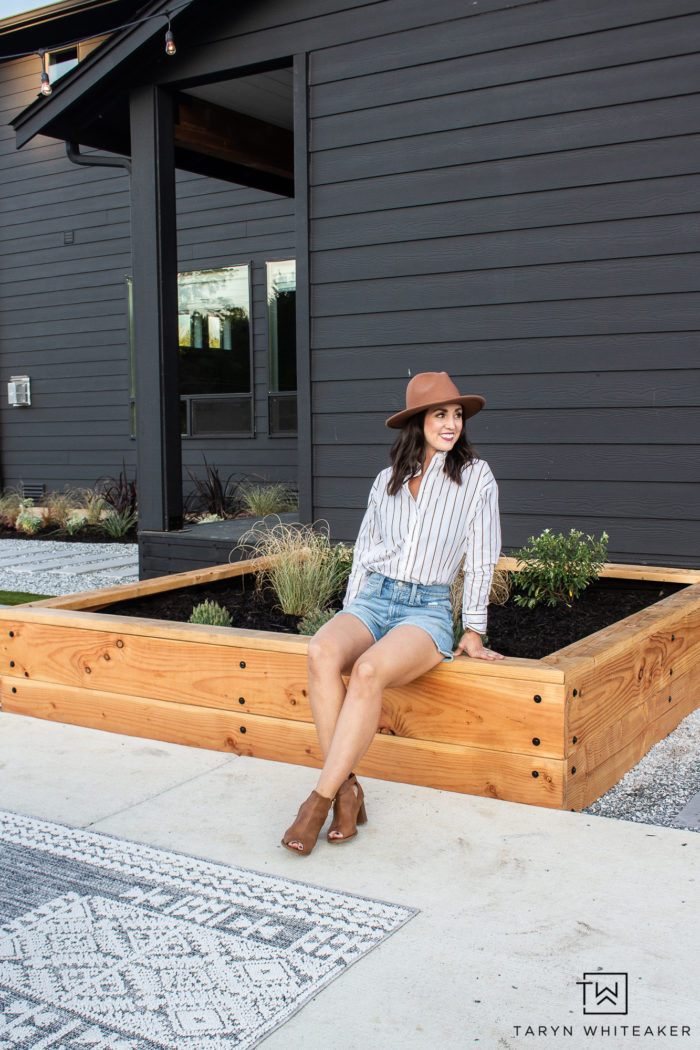
I seriously love how it turned out. Another reason why I wanted to do a raised bed was to have a little ledge to sit on. I could see the kids sitting here (although they typically just like to use it as a balance beam!).
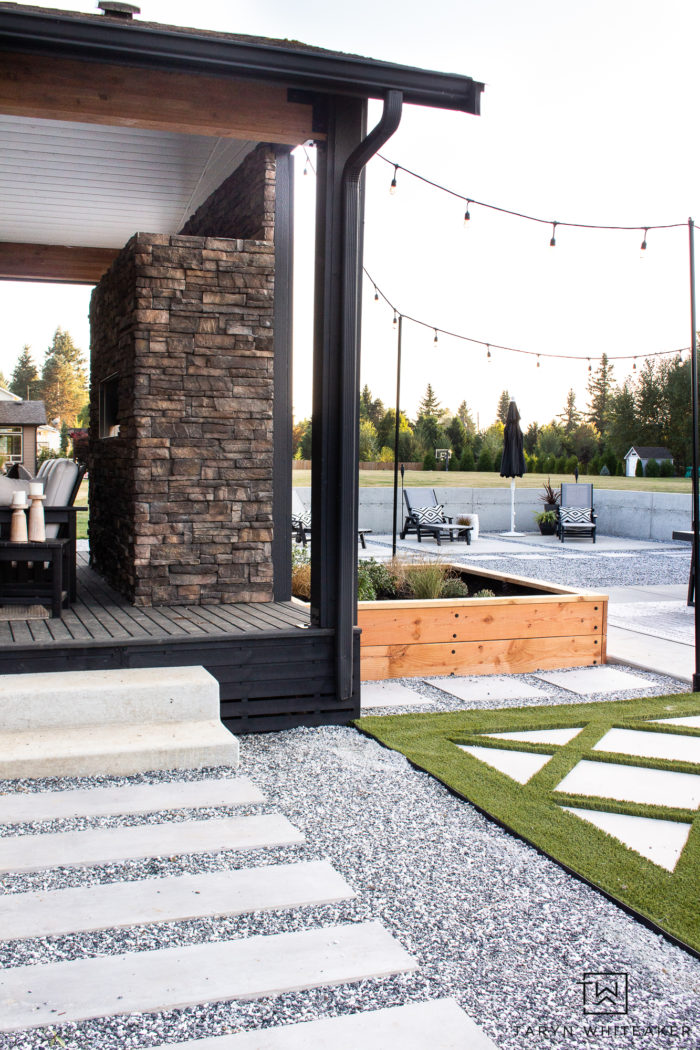
It’s so fun to see how much this backyard has changed and how it’s ALLLLL coming together!
How To Build A Planter Box
Supplies:
- 5/16 X 3.5″ Black Leg Bolts
- 5/16″ Washers
- 16 – 3″ Wood Screws
- Landscape Liner
- Soil
- Black beauty bark
Tools:
- Miter Saw
- Circular Saw
- Impact Driver
- SwitchDriver with Hex Nut Driver (to fit your leg bolts)
- Staple Gun
This Space Before
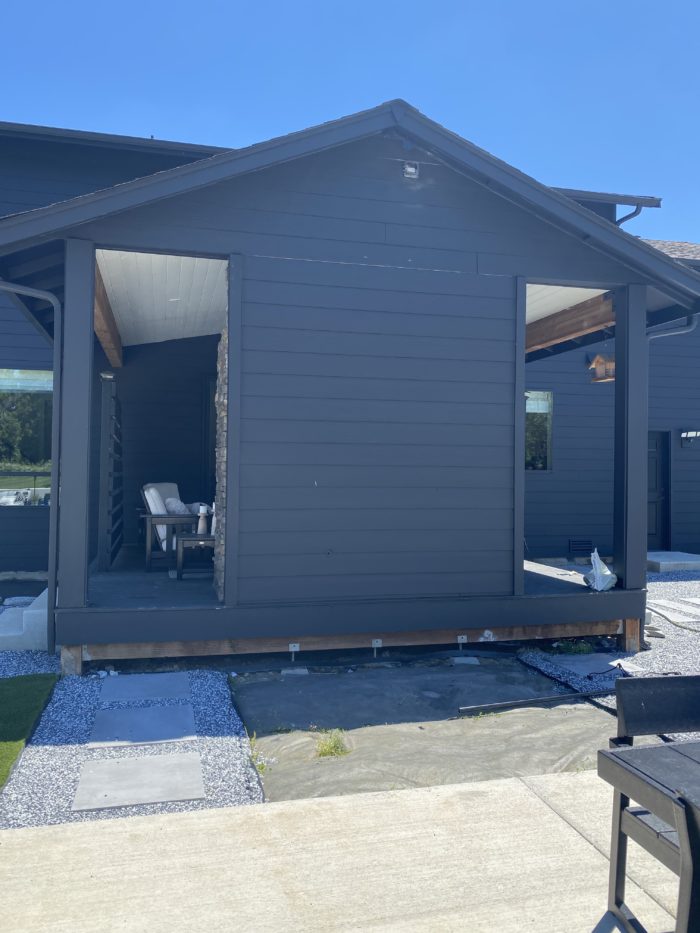
Here is what this space looked like before. What a different the deck skirting made to finish off the bottom of the deck and now the planter!
I started by cutting my boards down to size. This space is just about 8’X8′. To get a more clean modern look, I chose to stack two 12″ boards versus using multiple smaller boards. I attached the planks to the 4″ square posts, moving them in 1.5″ (see below).
Don’t forget to pre-drill your holes, this prevents the wood from splitting. Since this is a feature in our backyard, I wanted to properly finish it off with a polished look. Instead of just using wood screws, I used 3.5″ Black Leg Bolts to give it a chic industrial look.
I set the posts in 1.5″ to make room for the side boards to slide in. I wanted the front of the planter box to be the finished side, versus seeing the edges.
I attached the side panels and now we have a complete box!
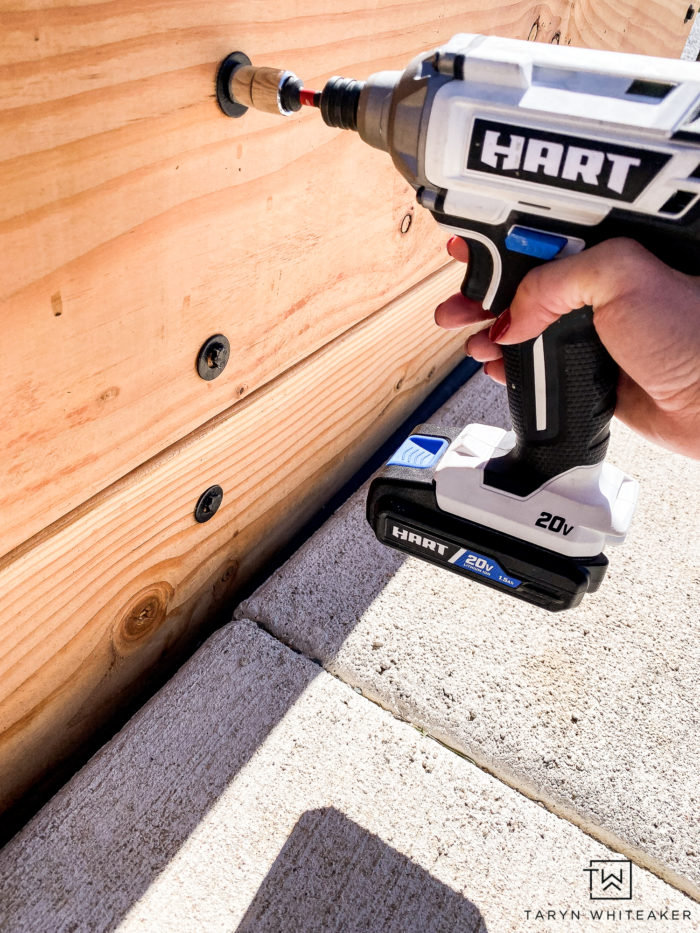
Using an Impact Driver makes a really big difference! It’s such a great tool to have and it drives those lag bolts right in!
To finish off the top ledge, I used a 6X2″ and cut the corners at a 90 degree angle. I did attach the top ledge with wood screws, at all the corners and at the middle posts.
After I built the box, I realized it could use extra support in the middle of each side to keep the wood from bowing. I cut additional posts and added additional leg bolts.
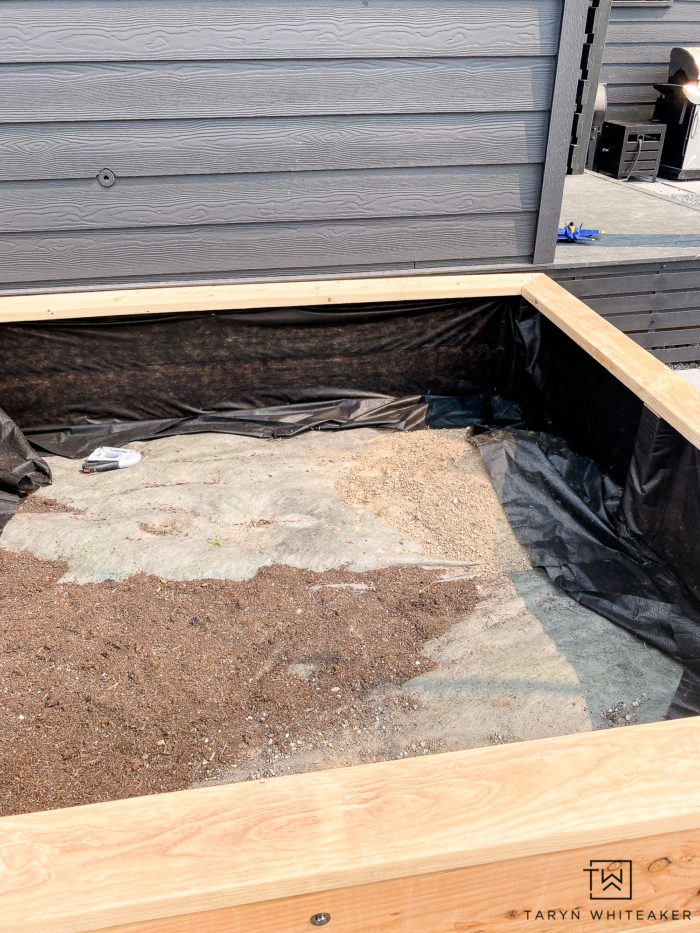
To keep the soil from leaking through the seams and making a big mess, I added a basic fabric liner around the inside.
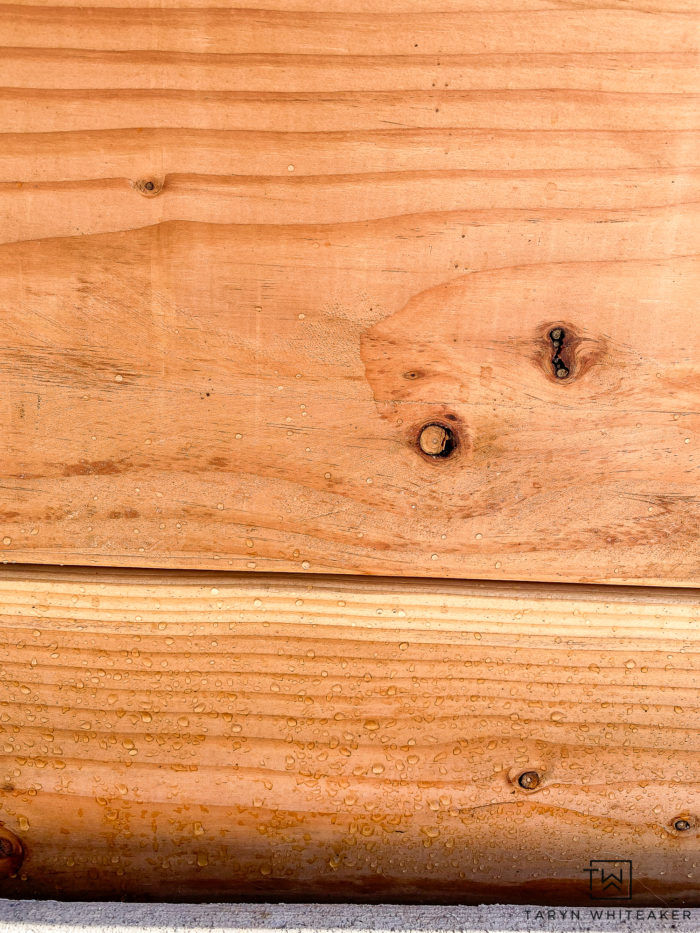
Last step, I rolled on two cats of Thompson’s WaterSeal which protects the wood from weathering. You can see in the picture on the right that the water now just bubbles instead of soaking into the wood.
Watch The Video Tutorial

Like all starter landscape projects, you start with smaller plants that will eventually grow and mature to fill this box. In a few years it will be a lush garden in here!


You May Also Like:






It is so beautiful! It’s now my inspiration for my future planter boxes :) What was the first item on your supplies list? For some reason it’s blank on my end. I’ve never done any type of DIY like this before so any help will mean so much!