We only have a few backyard projects left and this massive project is officially DONE! It has been by far one of the most rewarding projects I’ve ever done and I cannot wait to show you everything. But let’s chat about one small, but impactful, project I finished up over the weekend. We had a big blank wall on the opposite side of our covered fire pit. This easy DIY modern trellis added a pop of greenery our backyard needed.
Easy DIY Modern Trellis
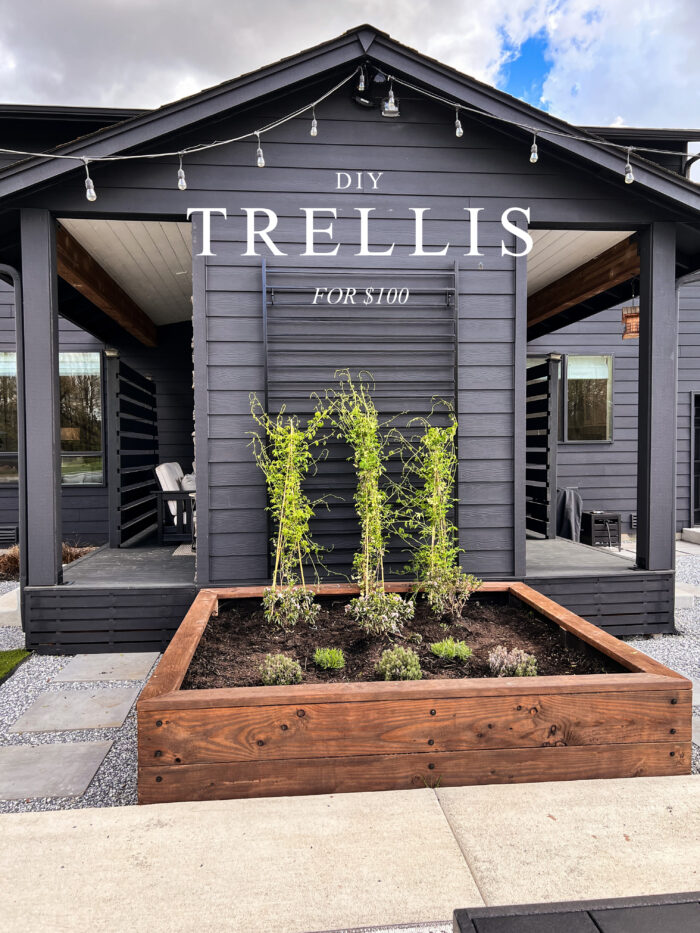
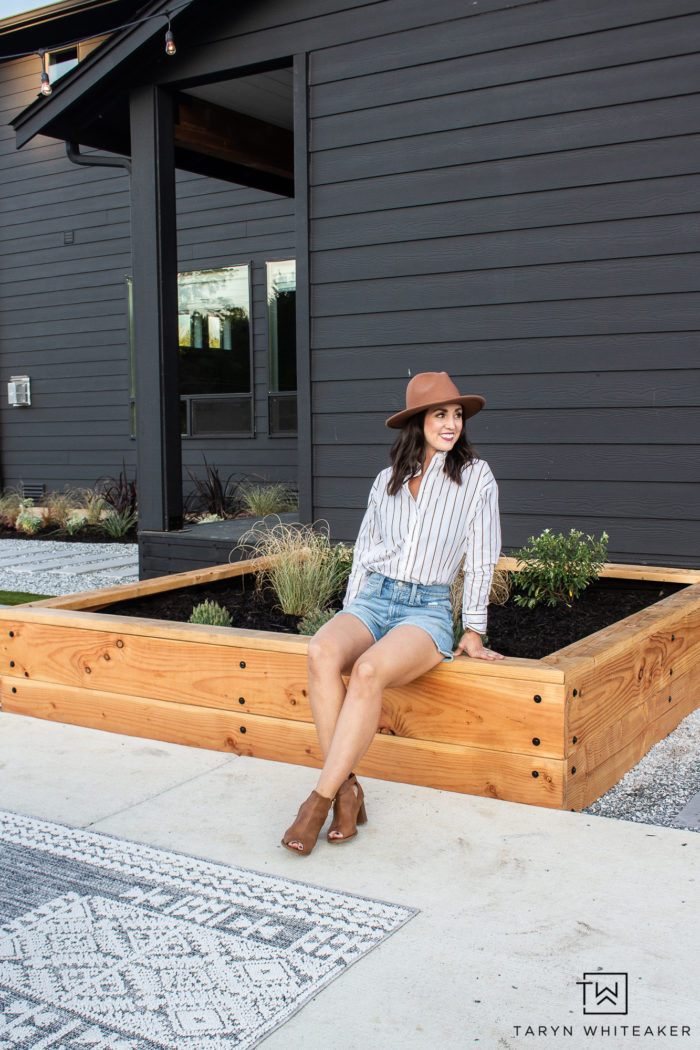
If you need a refresher, here is how I left off at the end of last summer! After painting our exterior and working on the rest of the backyard, it was time to figure out what to do with this space behind our outdoor fire place. It was one big blank wall that needed something extra. I shared the plans for how I built this large planter box , but I wasn’t done just yet. Then winter happened and now it’s time to finally pick up where I left off.
Before Space
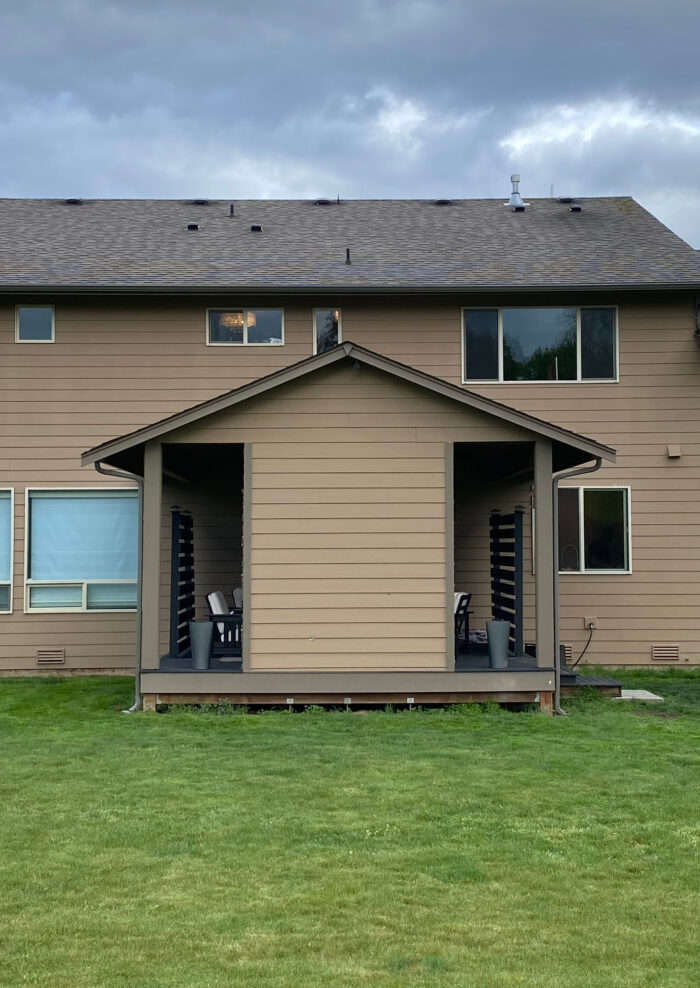
If you need even more of a refresher, here is what the space ORIGINALLY looked like before we started any of the backyard renovations. It’s hard to believe this was taken exactly 2 years ago. It blows my mind how much this space has truly transformed. I can’t even believe this was our backyard for the first 6 years we lived here.
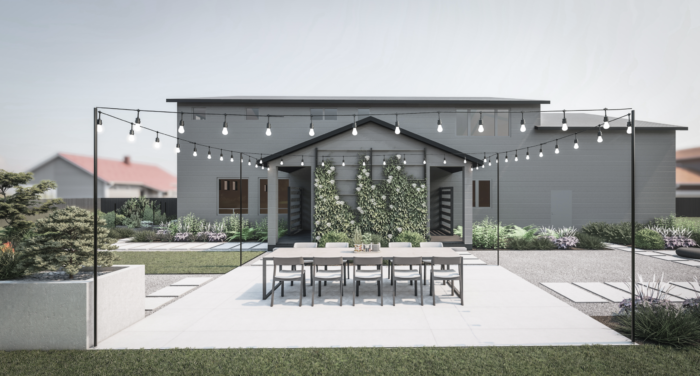
When we were doing our original design plans, I was at a complete loss with what to do with this space. Yardzen helped me visualize some great options here with their renderings for our backyard. They had put a trellis in this spot and I loved the idea of adding greenery to this spot.
DIY Modern Trellis Design
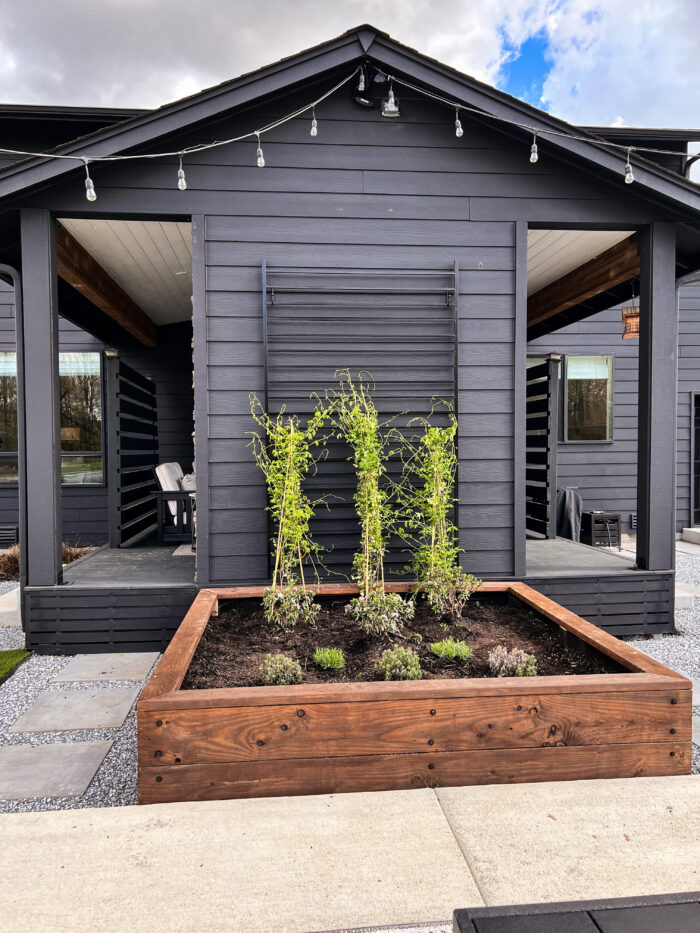
Last spring I was doing some research on how to create my own trellis back here. I stumbled upon this post from Vintage Revivals and loved the look of the black modern trellis. She had used a Black Metal Fence Panel as the trellis, it’s only $93, making this a pretty inexpensive project. The plants definitely cost more!
Supplies

- Black Metal Curtain Hooks
- Black Metal Fence Panel
- WORX Switch Driver
- White Flowered Chocolate Vine Plants
Staining The Planter Box
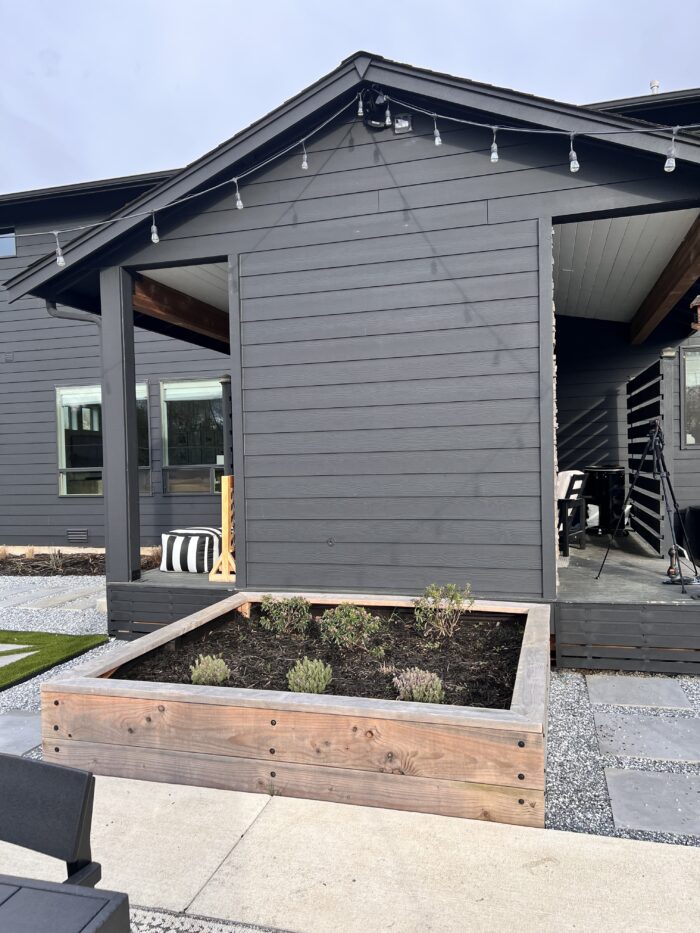
Let’s start at the beginning real quick. I had put a weather proofing sealer on the raw wood when I built it last summer. But this is what it looked like this spring. It definitely didn’t project it as much as I had hoped. After all, we did have record breaking rain this year, but still. It didn’t look very pretty any more.
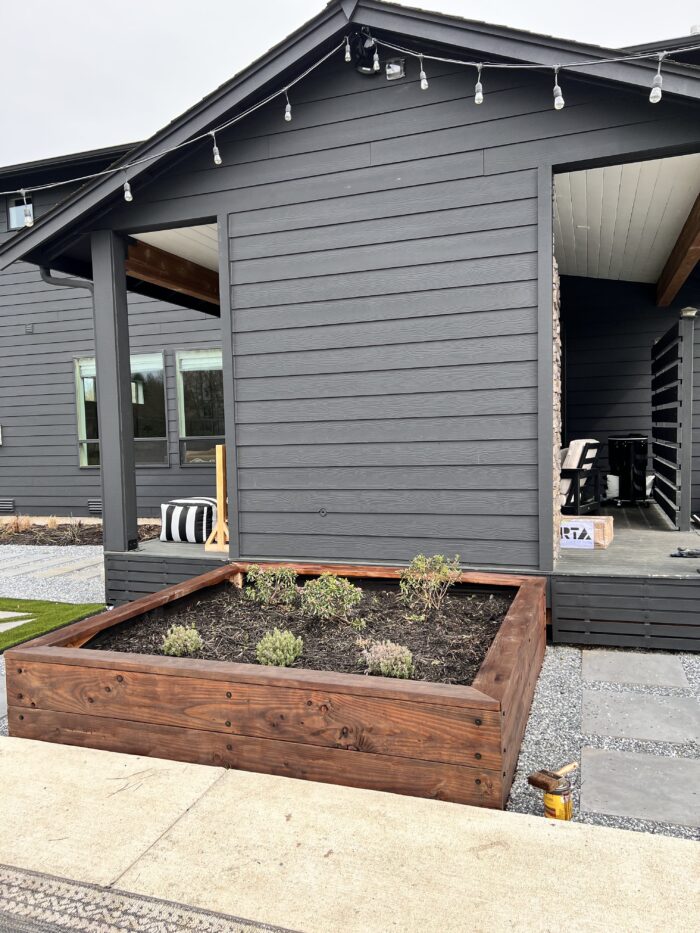
To give it a nice new finish, I gave it a coat of Minwax Early American Stain. It was actually a little darker than I was originally hoping for, but I ended up loving the warmth it gave the backyard. I feel like our backyard has felt a little ‘cold’ with all of the concrete and black furniture, and this wood tone made it feel more welcoming. I also think it pulls the warmth from our stone fireplace.
Easiest Way to Install A Trellis
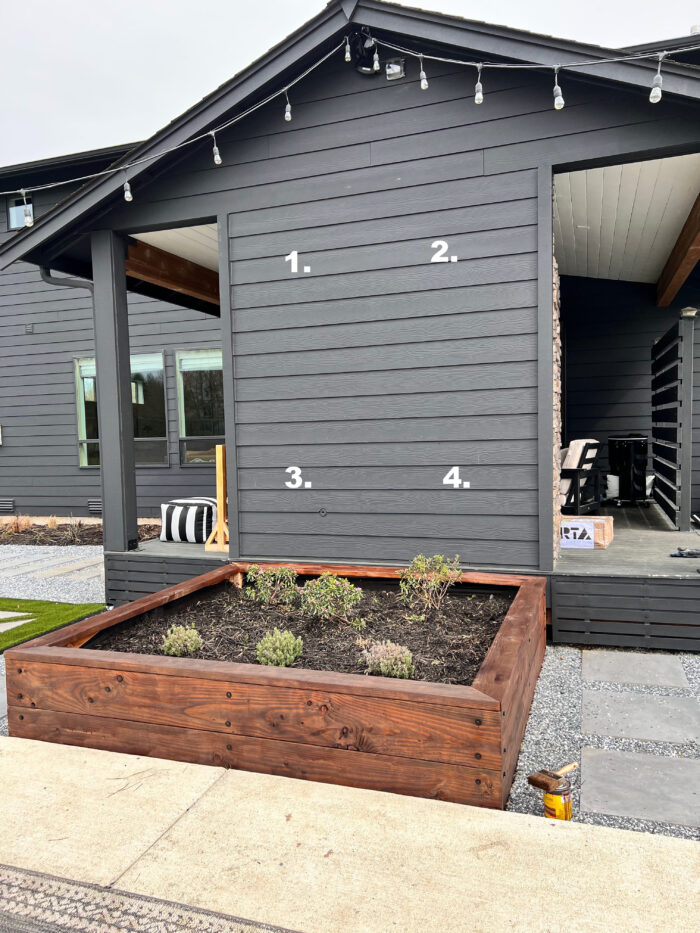
Ok, so I wanted to make this project super easy and not over complicate things. It took me all of 5 minutes to hang the trellis and here is how.
I purchased these Black Metal Curtain Hooks on Amazon for $7.99 and I hung them on all four corners of the trellis. I hung the top 2 first, moving them in about 3″ from the edge of the trellis. I hung the trellis up on them, and then installed the second set on the bottom to make sure the trellis was resting on them.
That’s. It.
Choosing Plants

I’ve never purchased climbing plants before so this was all new to me. I stopped by our local nursery and asked them alllll the questions. I ended up going with these White Flowered Chocolate Vine Plants because 1) they smell amazing 2) they don’t die off in the winter. They will stay green year round.
I was told 2 would probably be just fine for this space because they start climbing really fast and will explode. But I felt like 3 just looked better, so it’s going to get reallllllll lush back here :)

Overall, this was an extremely easy project and took maybe 30 minutes total to hang the trellis this way and put the plants in.






Did you mention the names of climbing plants and I somehow missed it?
sorry! I just updated the post, it’s called a White Flower Chocolate Vine
Thank you!!
Thank you!!