Disclosure: This post is sponsored by WORX Tools, all opinions and creative are my own.
I have a history of creating more unconventional door decor for the holidays. A traditional Christmas wreath is beautiful and charming, sometimes it’s fun to mix things up and do something a little unexpected. This year I brought out my new WORX Tools MakerX and created a little DIY Copper Christmas Door Decor! It’s a little industrial, a little modern and a little glam all in one!
If you are still looking for some gift ideas for you or a friend or family member, add the MakerX!
DIY Copper Christmas Door Decor
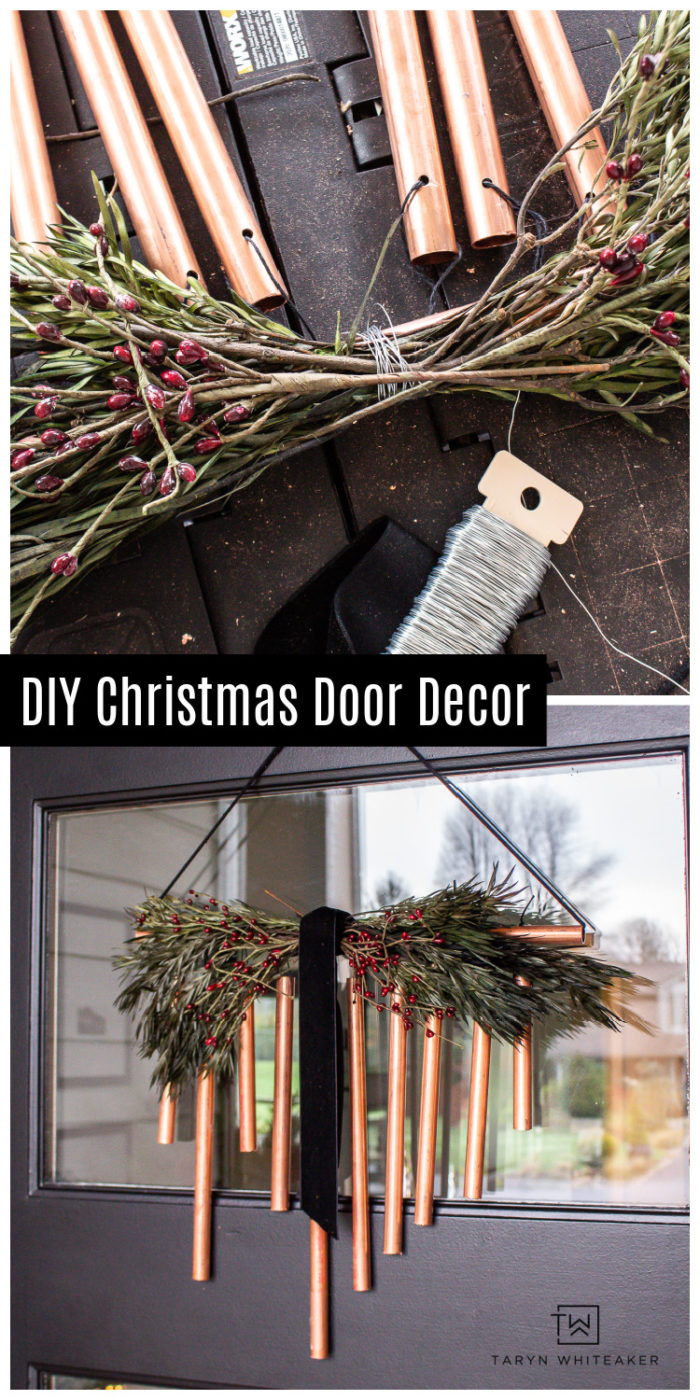
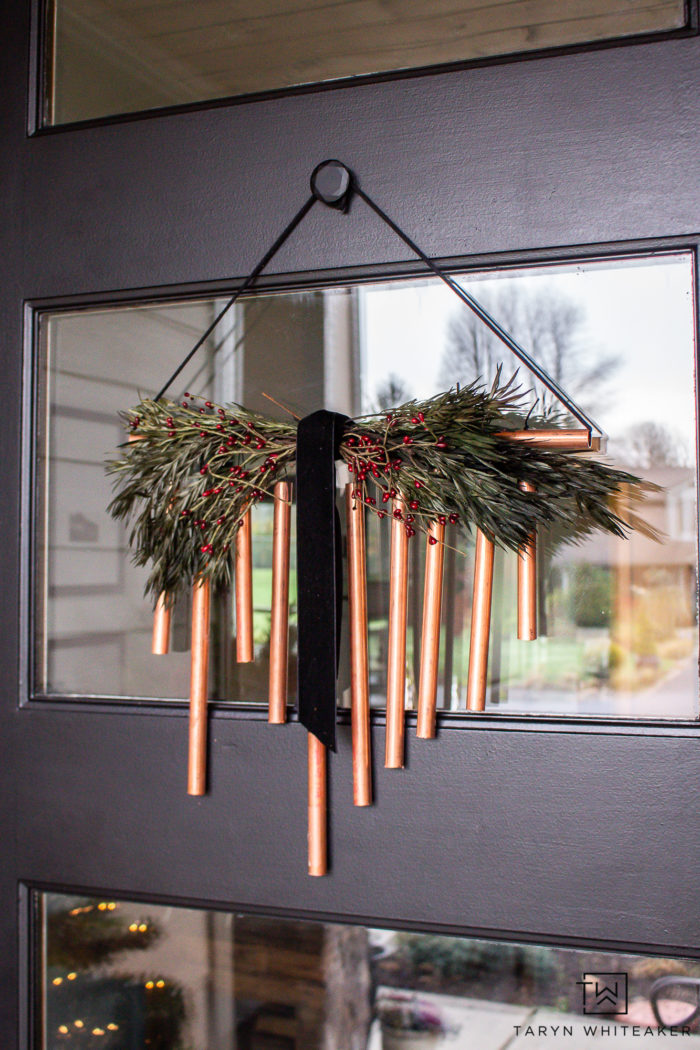
What do you think? I really love how it turned out. Best part, you can completely customize it to fit your style with a different ribbon and adding some different sprigs!
While this a traditional wind chime, it does give off a wonderful sound when we open and close the door.
Copper Wind Chime Supplies
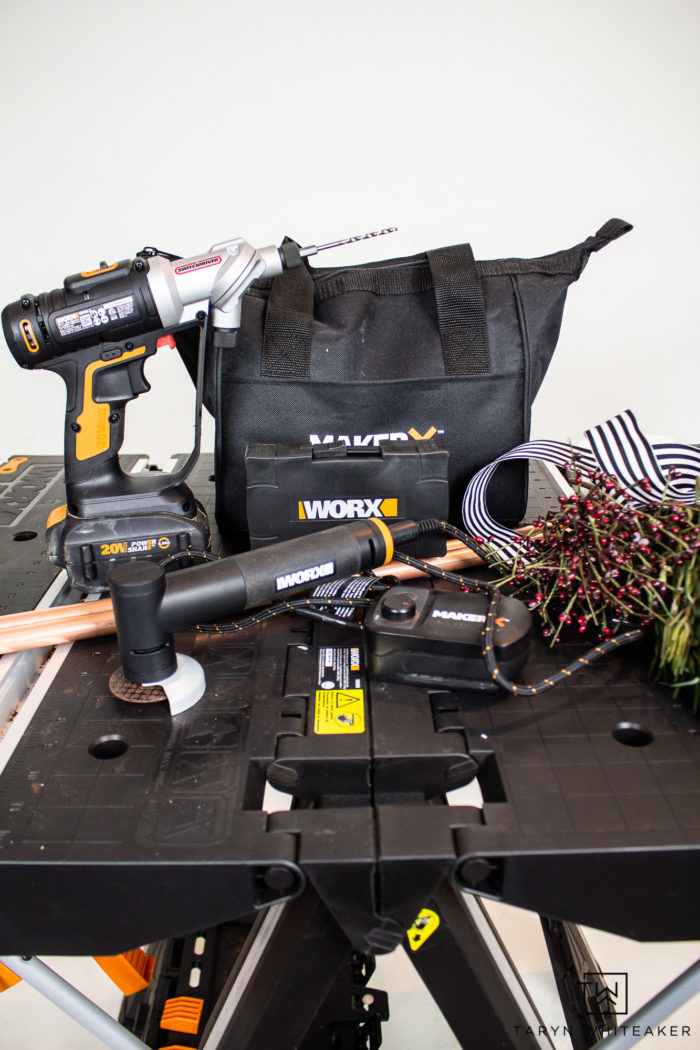
- WORX Tools MakerX with Angle Grinder Attachment
- WORX Tools Switch Driver with metal bit
- 1/2″ Copper Pipe
- Black String
- Greenery
- Floral Wire
- Safety Goggles
How To Make A Wind Chime
Cutting Copper Pipes
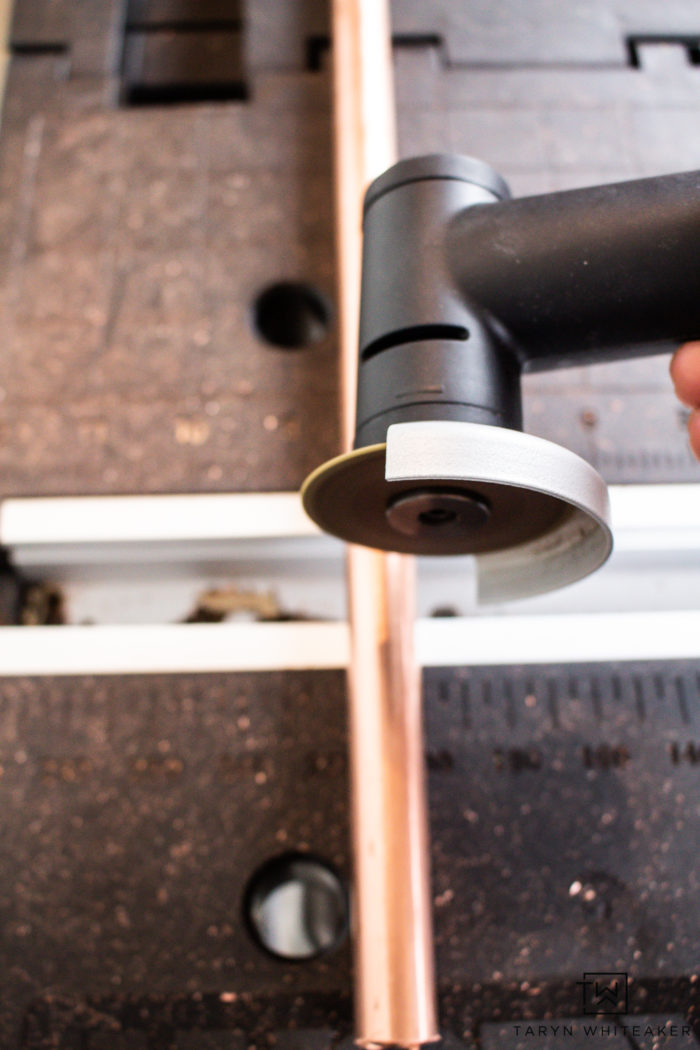
Let’s start building this Christmas door decor! First, cut your copper pipe down to size. I did a variety of lengths, ranging from 5″ to 14″ and one 16″ piece for the base.

I used my WORX Tools MakerX with the angle grinder attachment. I put on the blade to cut metal and it worked perfect. You just have to go slow and steady with it.
I love that this tool is battery operated and portable! It is the perfect size for someone who is just getting comfortable power tools and who loves to create! You can see the DIY Resin Artwork I made using it here too!
Smoothing Out the Edges
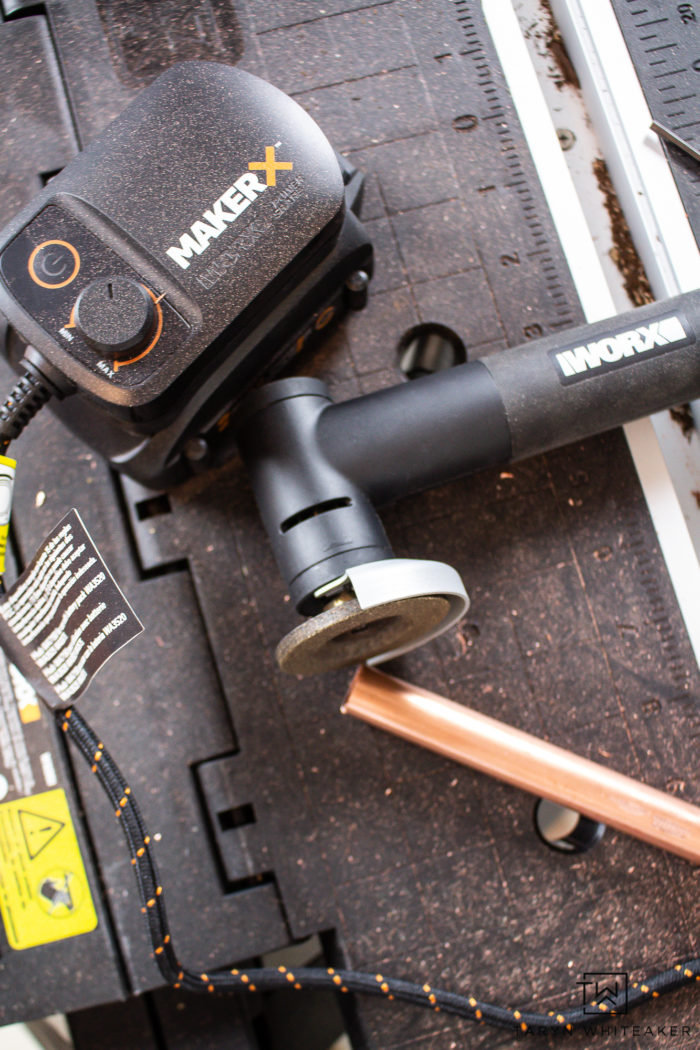
To smooth out the edges on the copper, I switched the blades on the grinder. I put it on a low speed and gently brushed off the sharp pieces. It worked out really well.
Drilling Through Copper Pipe
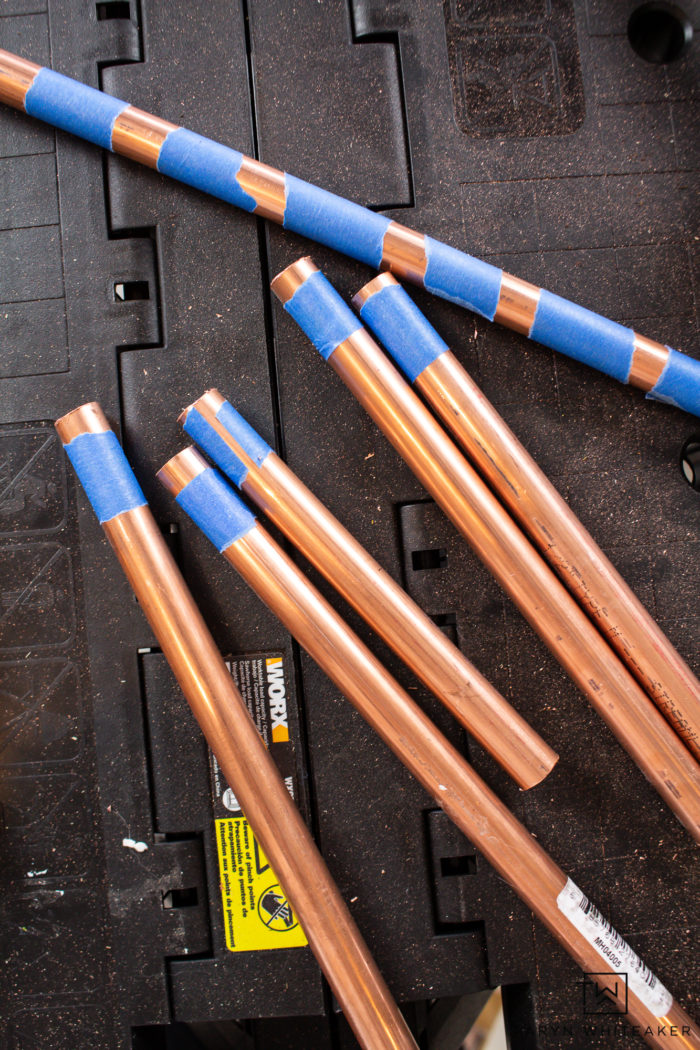
Next, let’s drill through the copper pipes! Whenever you are drilling through tile, metal or glass, a little trick to keep the bit from slipping is to place a piece of painter’s tape over it. It will help keep the bit in place and give you traction.
You will want to wrap each end in tape and place the tape every 1.5″ apart on your base.
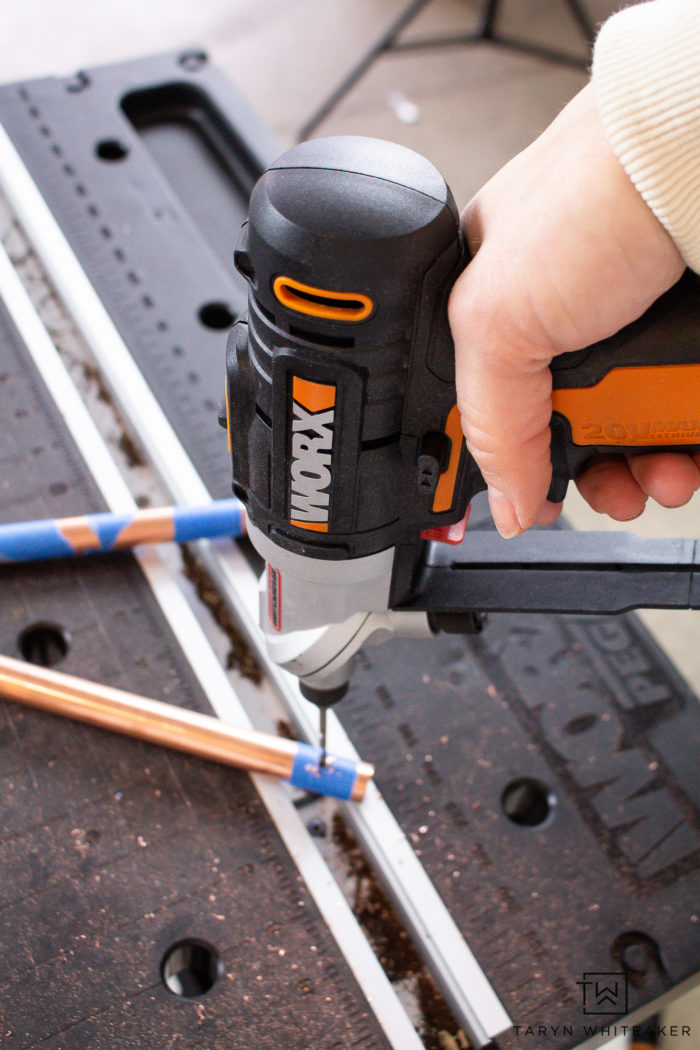
When drilling through the pipe, keep a good amount of pressure on it until it goes through. It is pretty easy!
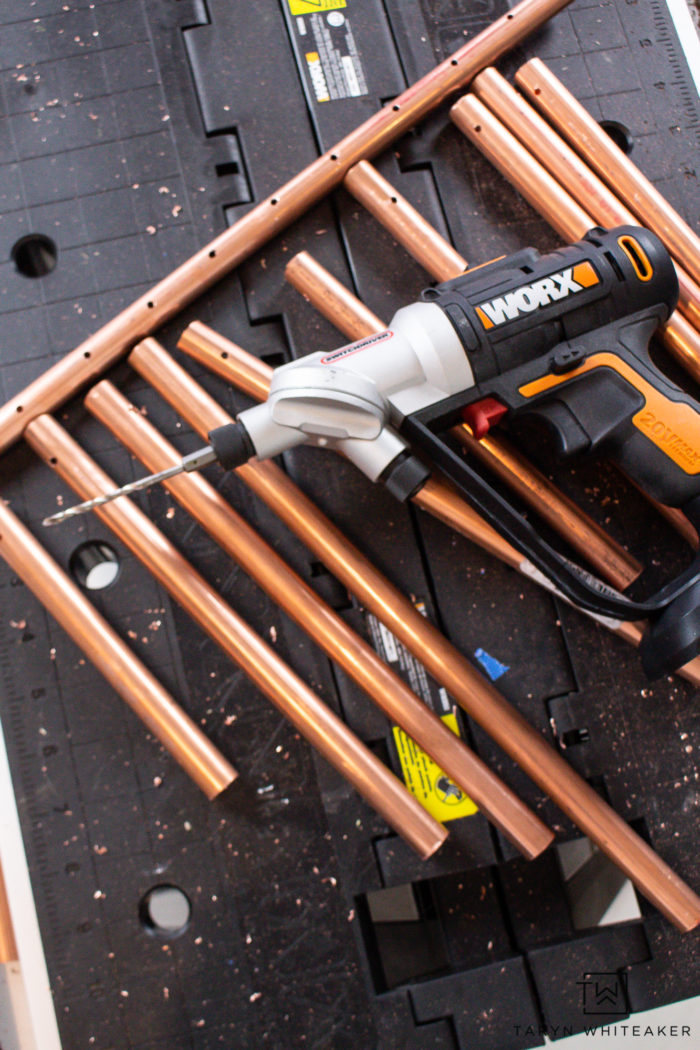
Best Way To String Pipes
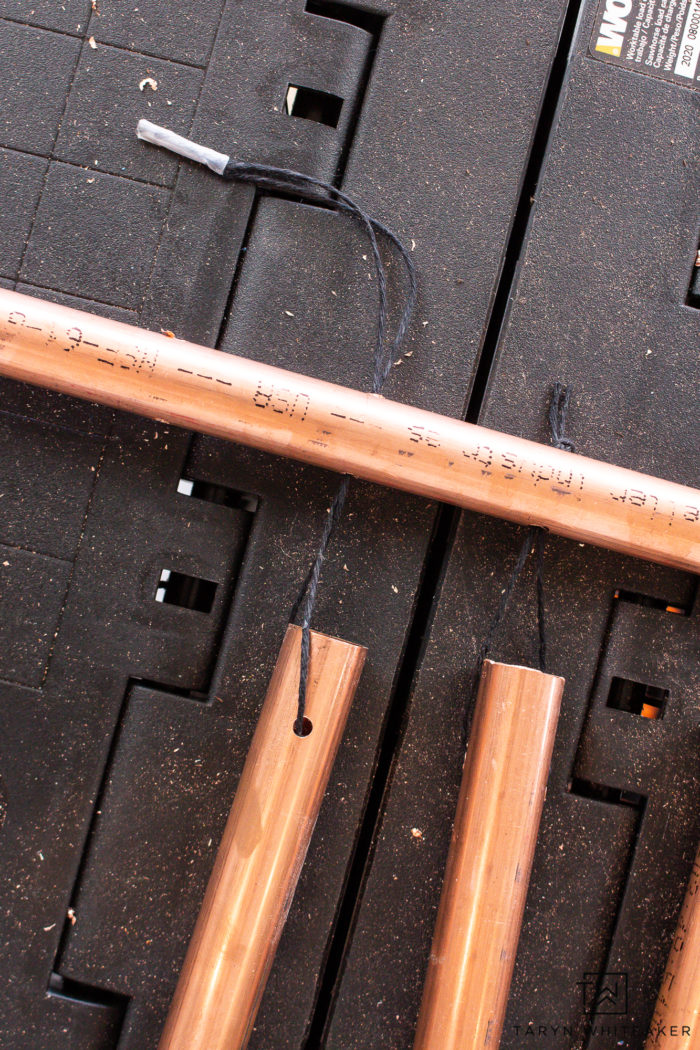
This was probably the most time consuming part of the entire project! You want to place the black string through the ends of the copper pieces, bring the strings up to pull through the base piece.
I had a little trouble with this, so I placed a small piece of scotch tape around the ends to help feed it through. Then tie a few knots and pull it tight!
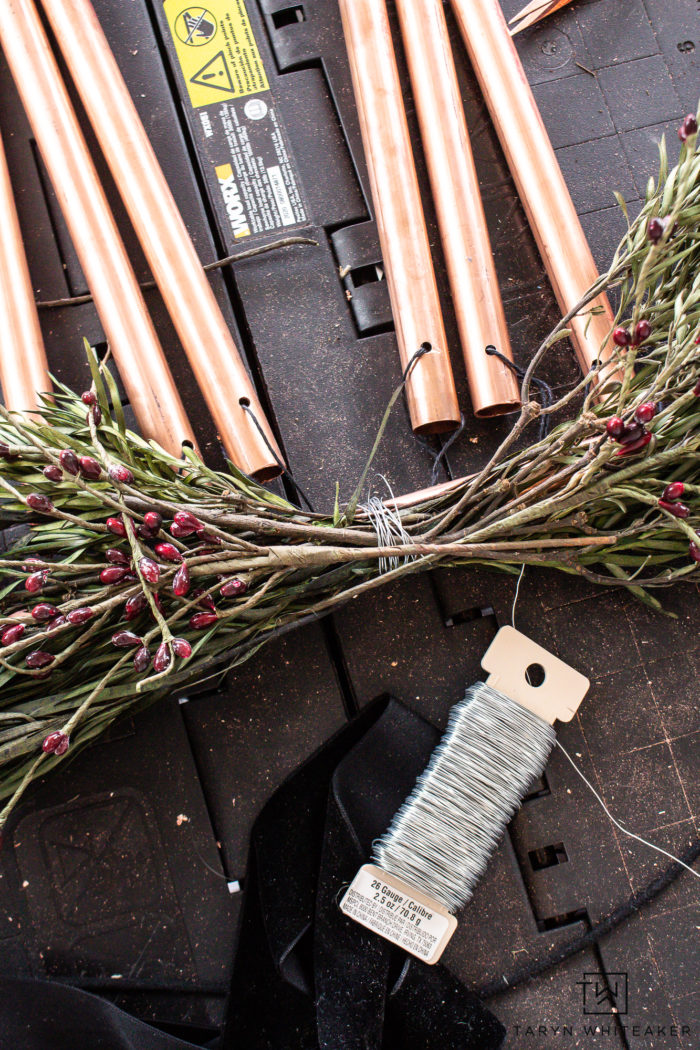
Finish it off by adding a little greenery and Christmas sprigs! I used small floral wire to hold everything together.
Watch A Quick Video Tutorial!
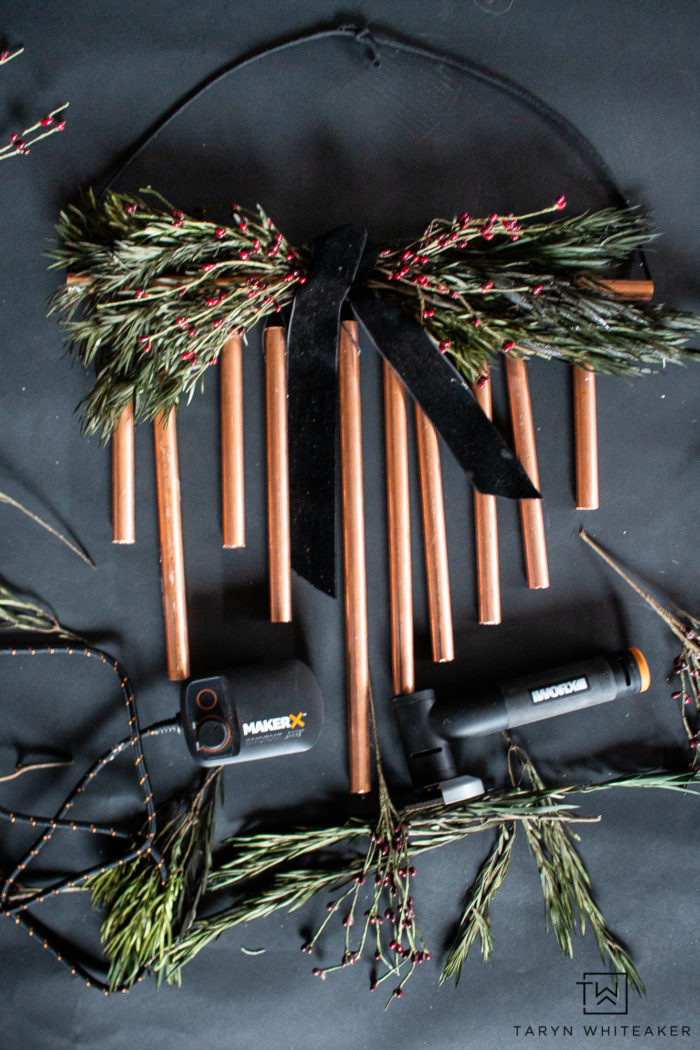
DIY Copper Christmas Door Decor
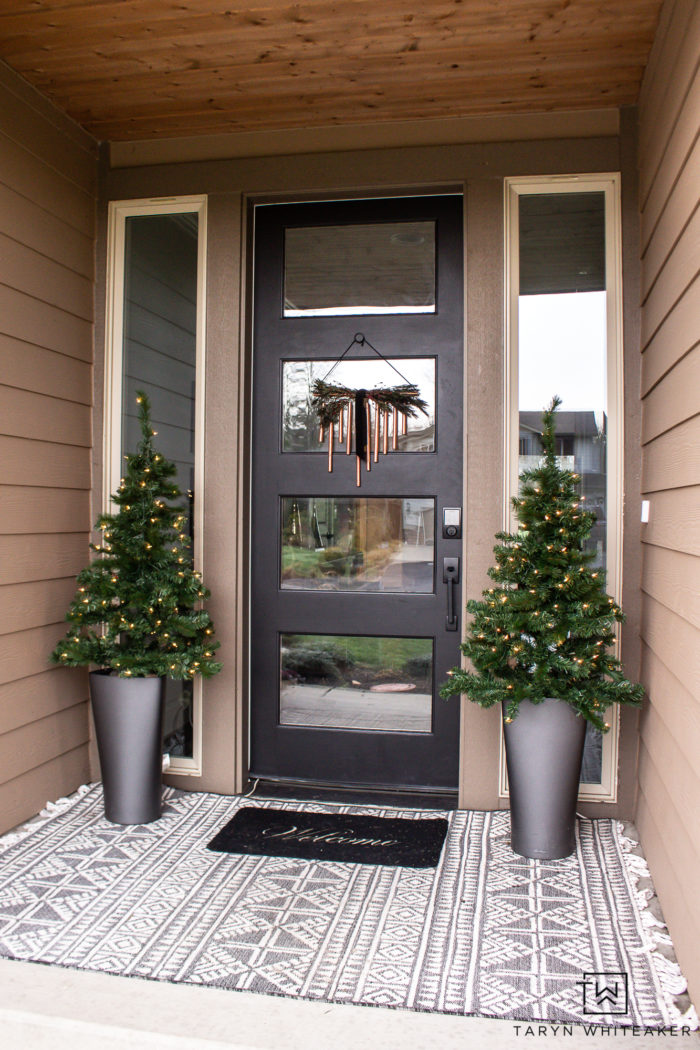
I worked on our Christmas porch this weekend too! I really like the simple and clean look out here, but I keep wondering if I should add more? We will see…
The WORX Tools MakerX is a perfect gift for the holidays! Make sure you add it to your list! You can even find it on Amazon!


Beautiful idea to use cooper and black together! It turned out wonderful.
Thank you so much!