When we did our kitchen remodel back in November, it was the fastest makeover I have ever done, which led to a lot of quick decision making and resourcing. I was already in the middle of the makeover when I decided to rip down an entire cabinet and dive into installing open shelving in kitchen. Holy cow, I am so glad I made that split decision because I am certain that these wooden shelves from Ornamental Moulding and Millwork are what brought the entire kitchen makeover together. And I’m in love.
Installing Open Shelving In Kitchen
If you can’t remember what our kitchen looked like before, here is the original post of our kitchen, from five years ago! Not much changed since then.
If you have been wanting to take down cabinets and put open shelving in, it is honestly one of the easiest DIY projects to do. Don’t debate it any longer. It was so much easier than I ever thought, especially when Ornamental Mouldings and Millwork makes everything for you and all you have to do is follow a few easy steps. Keep scrolling to see my step-by-step.
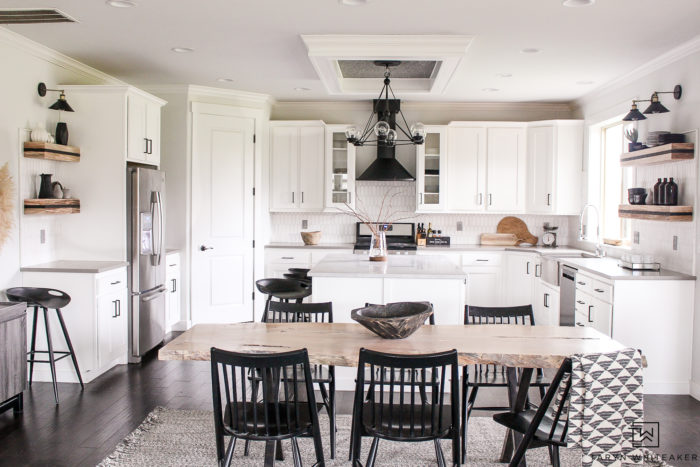
We installed multiple sets of floatings shelves around the kitchen. We first replaced the existing plain white open shelves with the ornate wood ones, then I removed one large cabinet to the right of the sink and replaced it with the same open shelves.
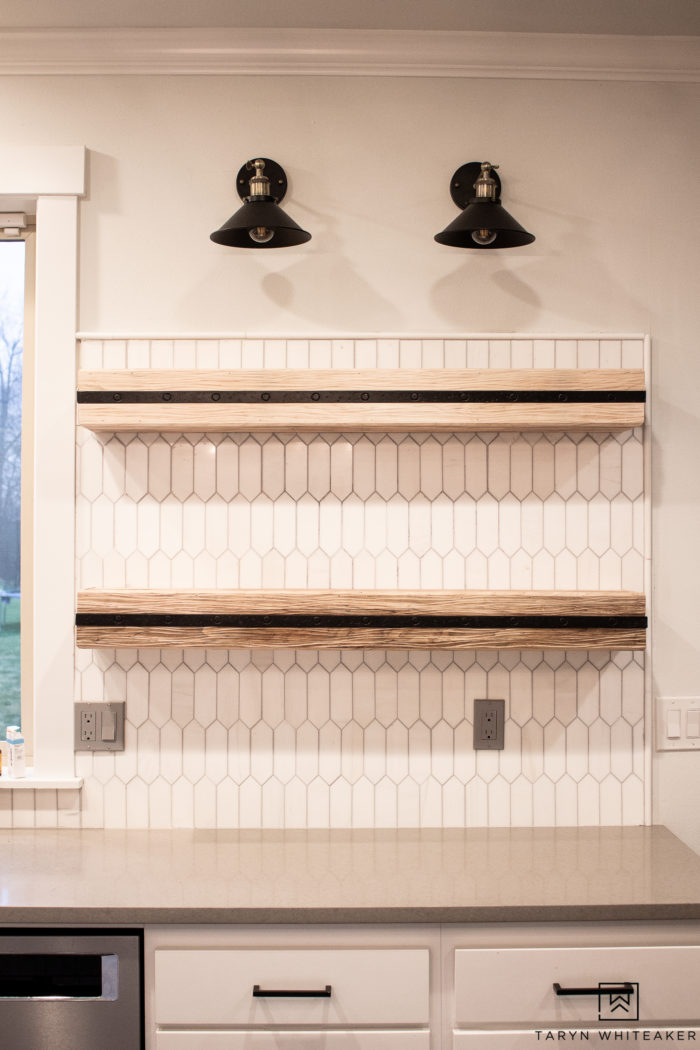
I love how the shelves tie the whole kitchen together . They help your eye move fully around the space from left to right and complete the look. It is the perfect pop against the black and white modern space.
I am truly amazed how much more open and larger our kitchen feels by taking this cabinet out and putting in these pre-made open shelves. It really opens up the space from the kitchen to the family room and I love having a new space to style and decorate!

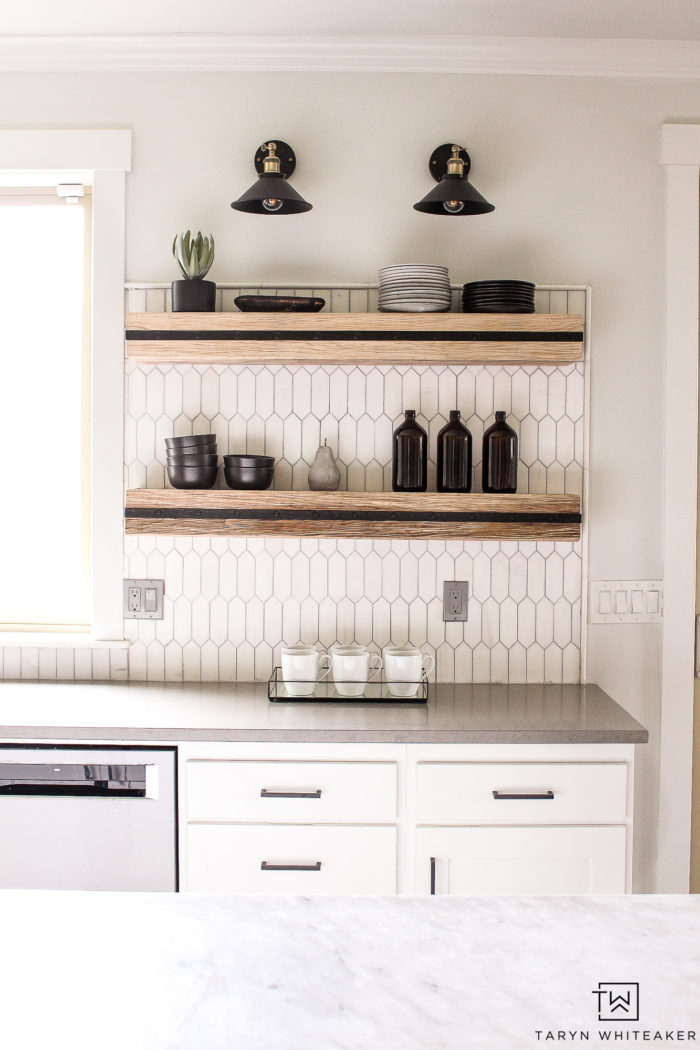
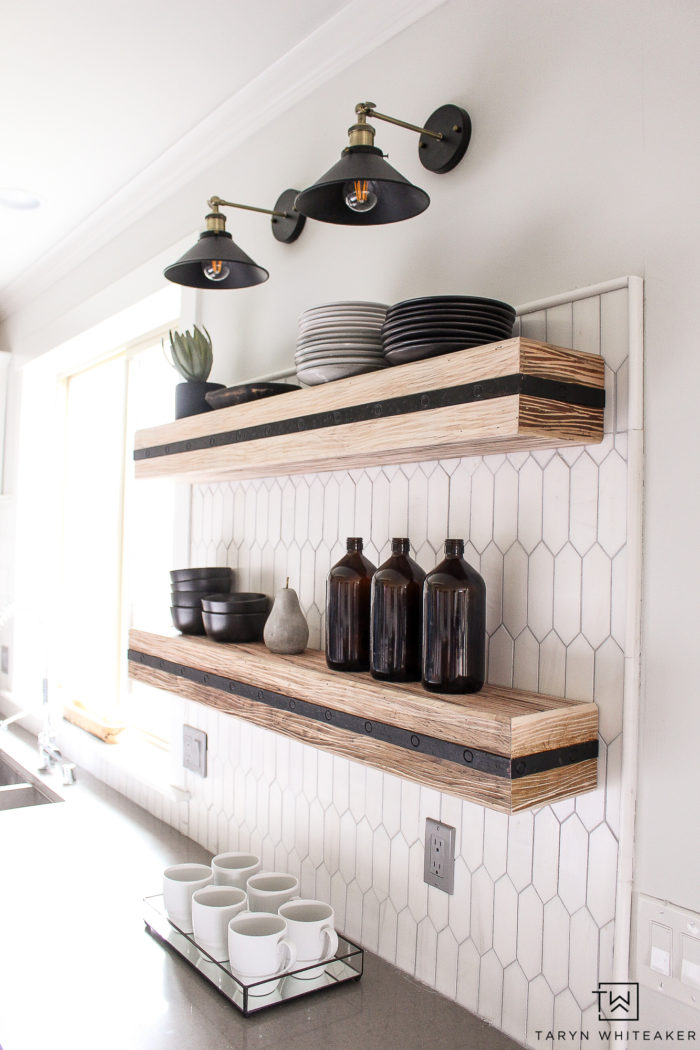
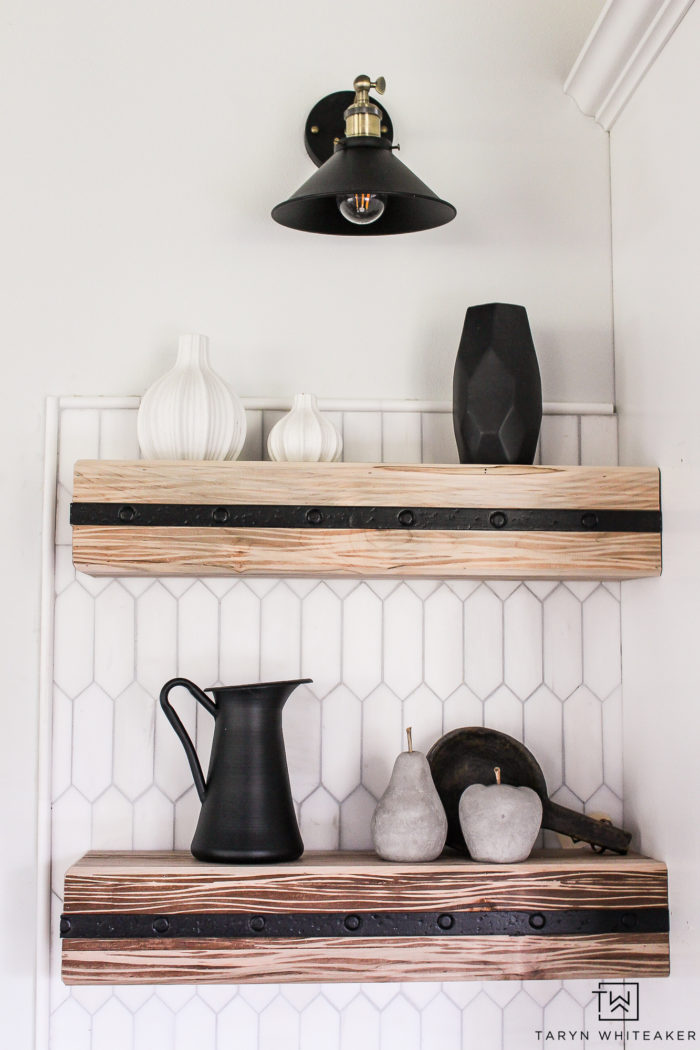
The detail on the shelves is absolutely gorgeous. The natural wood color varies from shelf to shelf, some are a little darker than others but all have that beautiful natural wood color. You can order the pre-made open shelves in either 2′, 4′ or 6′ pieces and they come with or without the black moulding details. I love the detail, I think it brings a unique industrial look to the shelves. From afar it looks like metal brackets, but it’s all wood.
To make the raw wood shelves really stand out and give the kitchen a wow look, we decided to take the backsplash up all the way over the shelves to frame them in. I am so glad I went the extra mile on this because it looks so much better than stopping the tile right under the shelves.
On the opposite side of the kitchen we had existing open shelves, so we ripped them out and replaced them with the wood to create a cohesive look.
Installing Ornamental Moulding Floating Shelves
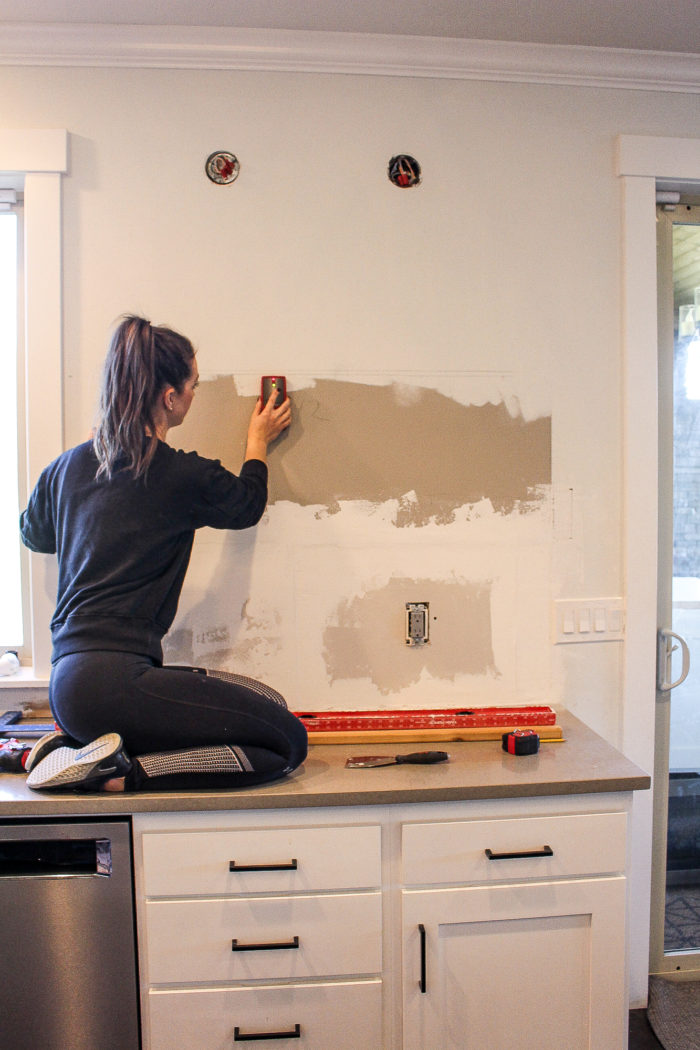
- Clear your walls! Use a stud finder to find your support beams, aka studs. This is what you want to secure your beams to.
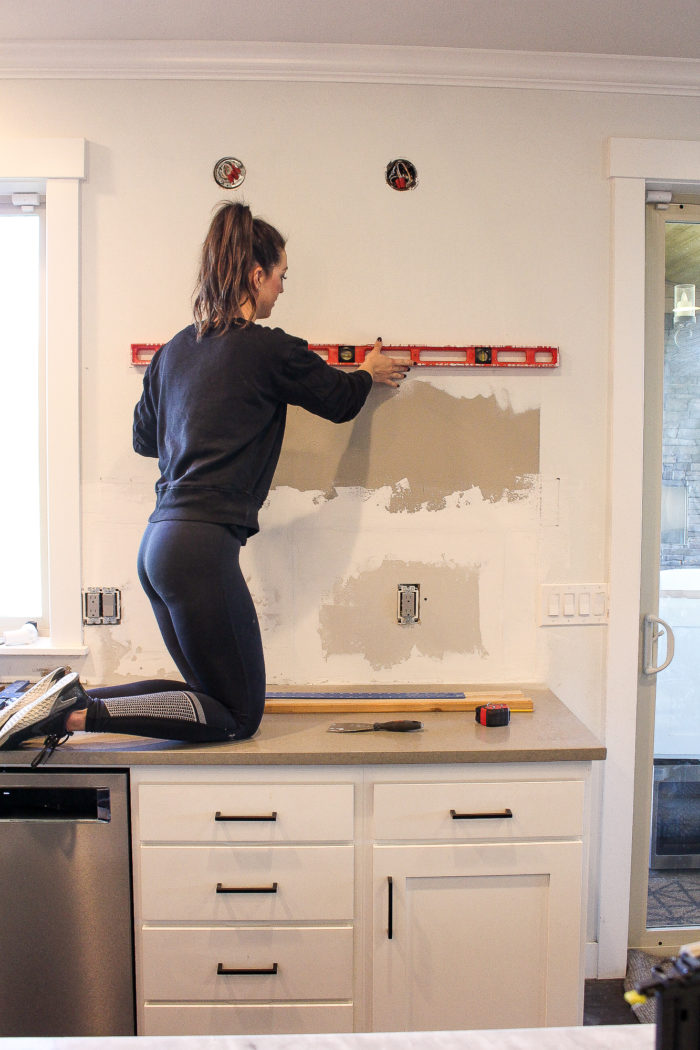
2. Using a level, draw a straight line to connect to the two marks. This will be your guide when installing your support pieces.

3. The shelves come with these support pieces to make it easy to secure them to the wall. Each shelf comes with one 1″ board, but I went ahead and purchased additional pieces at Lowes so I could secure them on both the top and the bottom of the shelf. I felt like these needed extra security with all the dishes going on them. I wanted to be safe than sorry!
We had a big debate in our house whether we should tile the full wall first, then drill into the tile, or install the support pieces directly into the studs and tile around them. Well, the later won! I am happy we did it this way, they look so flush now.

The kit comes with finishing nails that you could easily put in with a hammer. But since we have a brad nailer I used that and added A LOT more. Gotta make sure these shelves stay put!
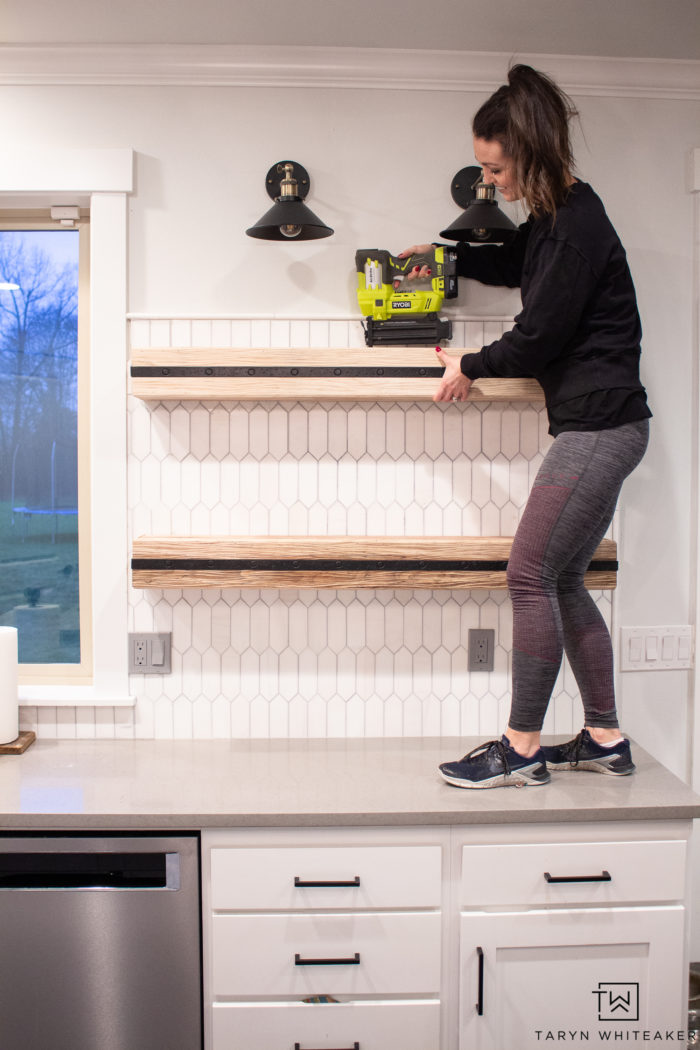
I added nails to both the top and the bottom of each shelf.
Installing them at this point took about 5 minutes. They really are so easy to do yourself. I can’t recommend them enough.
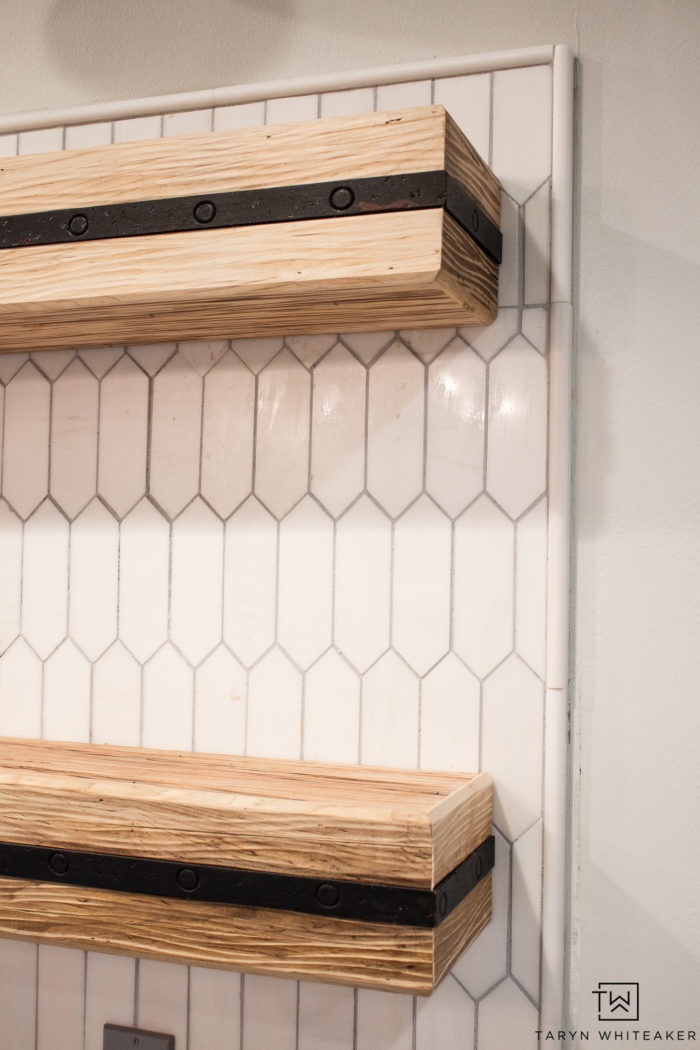
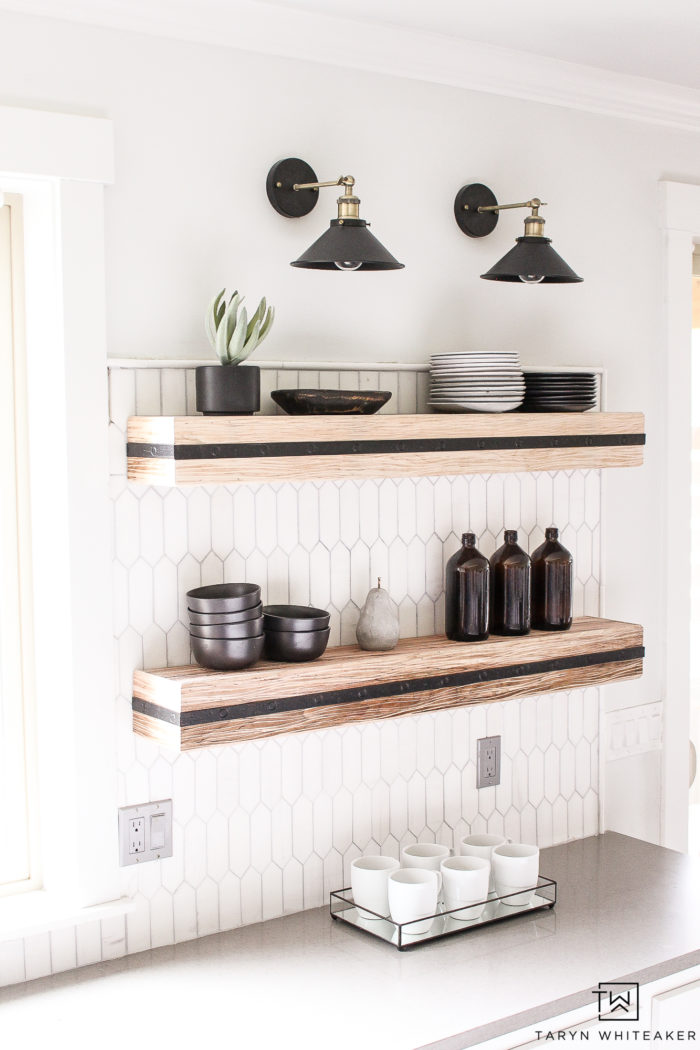
I love that the coloring on each shelf is a little different, it adds more character to the wood. I purposely put the darker colored shelf on the bottom to weight down the vignette and the lighter one on top.
I am so excited to have this space to style throughout the year! It was fun adding additional decor here for the holidays. We are so happy with how they turned out and I think they really make the kitchen.
Below you can watch a testimonial video about my experience with the shelves!
Watch the video!
Video production by Initial Video
About Taryn Whiteaker
Hi! I’m Taryn! The voice behind Taryn Whiteaker Designs. I launched this brand over 11 years ago when I became a stay-at-home mom. What started as a small craft and mom blog eventually grew into a full time design and DIY site. My goal has always been to inspire others (especially women!) with design ideas, DIY tutorials, entertaining ideas and give you the tools you need to complete them yourself!


Hi Taryn, your kitchen looks great! My husband and I have been trying to figure out how to tile behind our floating shelves and really like how you did it. Are you able to see what tile and grout you used? I didn’t see it listed in the post.
Hi! I used DOLOMITE PREMIUM PICKET POLISHED MARBLE MOSAIC from Floor and Decor with the color “rain” grout. You can read all about the tile here: https://tarynwhiteaker.com/installing-marble-mosaic-tile/
I love these floating shelves. Can you tell me where I can buy them?
Hi! Here you go! https://bit.ly/3TWi6VE