Remember the Scandinavian Inspired Christmas Decor I made for our entry way this Christmas? Well, I’m finally sharing the tutorial with you today so you can create your own and customize it for your own home. If you like more minimalistic Christmas decor or just like to do things a little different, this is for you! I used red and green in my design to give it a pop of color, but you can easily do your own colors. Maybe even black and white paint for a piece you can use all year?
DIY Scandinavian Christmas Sign
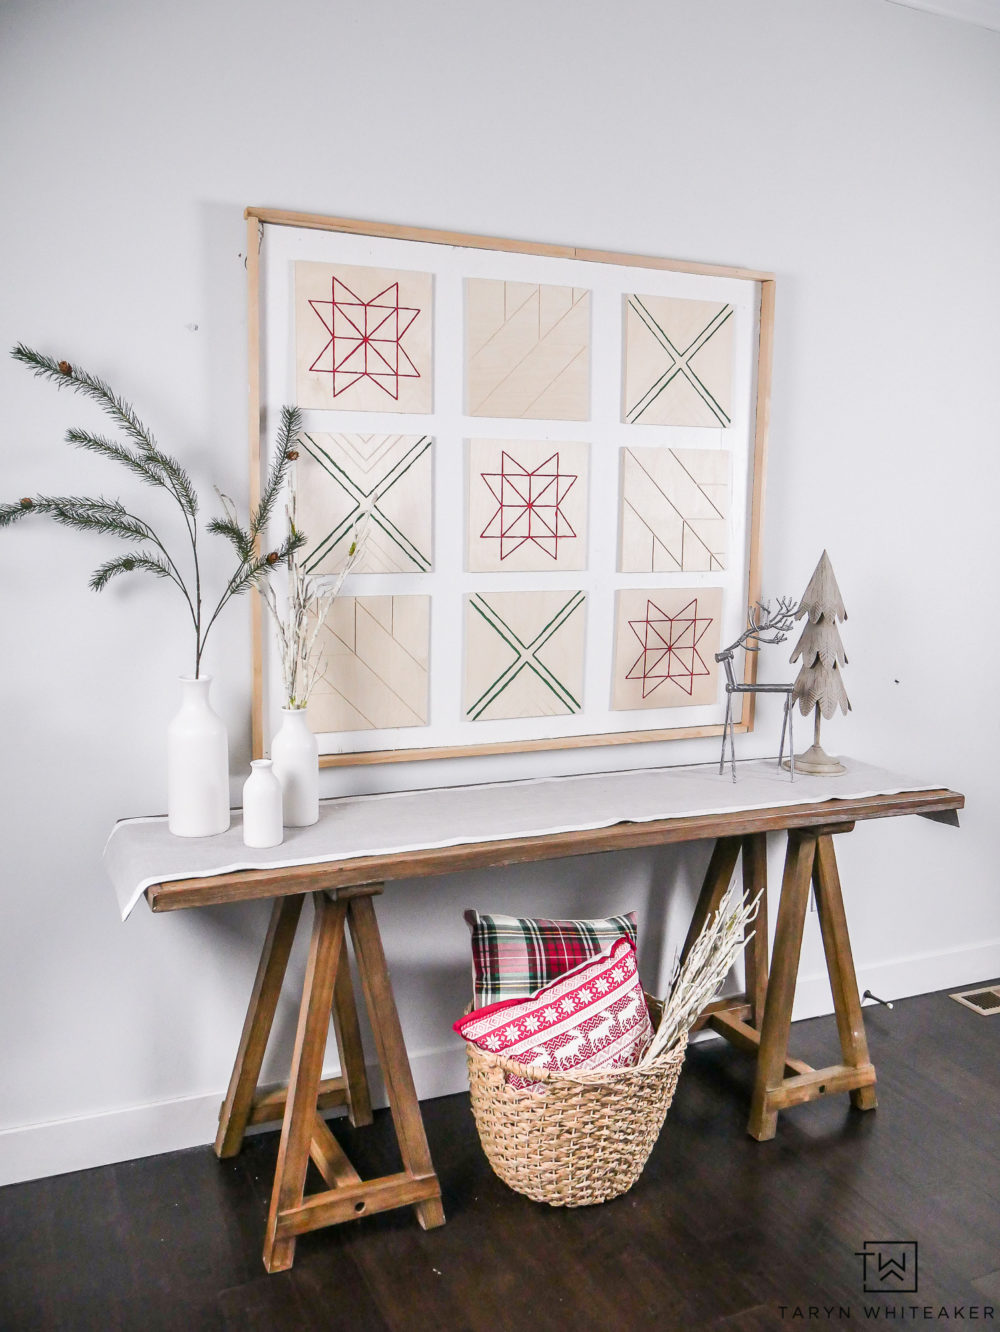
Keep in mind, you don’t have to make yours as large as I did either. You can do, 4, 6 or as many tiles as you want!

How To Make Your Own Christmas Sign
So are you ready to dive in?
Supplies
- 48″ X 42.5″ piece of plywood
- Walnut Hollow Wood Canvases
- 1 X 2″ maple trim
- (8) 1 1/2″ Zinc Brackets
- (2) D Ring Hooks
- White paint
- Red & Green Acrylic Paint
- Wood Glue
Tutorial
Start with your 48″ X 42.5″ piece of plywood. There is typically one side that is smoother than the other, so make sure to use this side when painting!
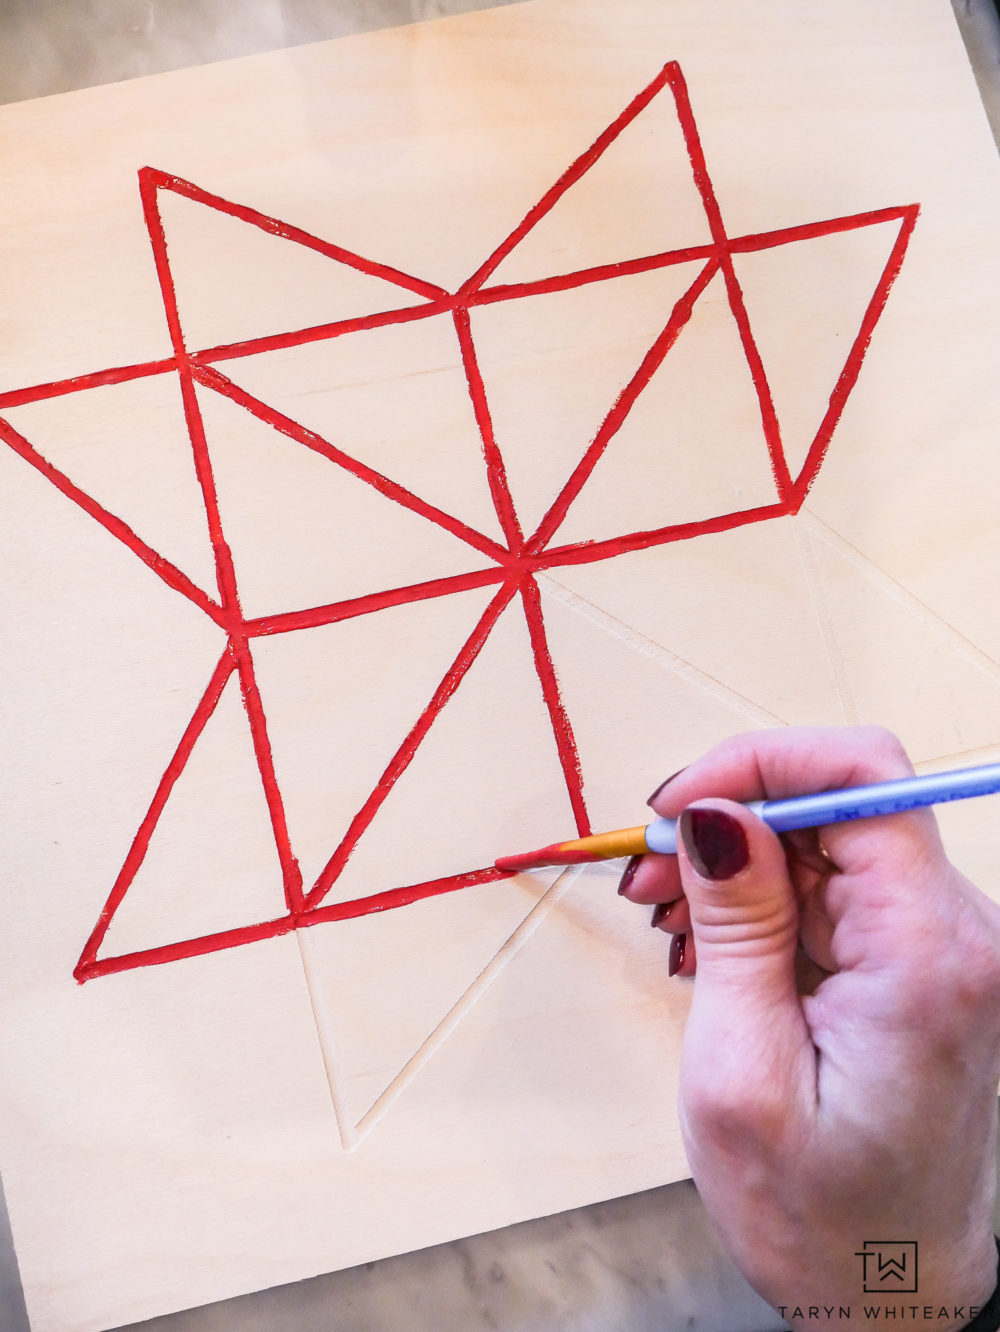
While it’s drying, take your Walnut Hollow Wood Canvases and using a fine tip paint brush, paint the inside of the pre-carved lines to give it a pop. You can see in my final design that I used one color per design. You an customize it all you want!
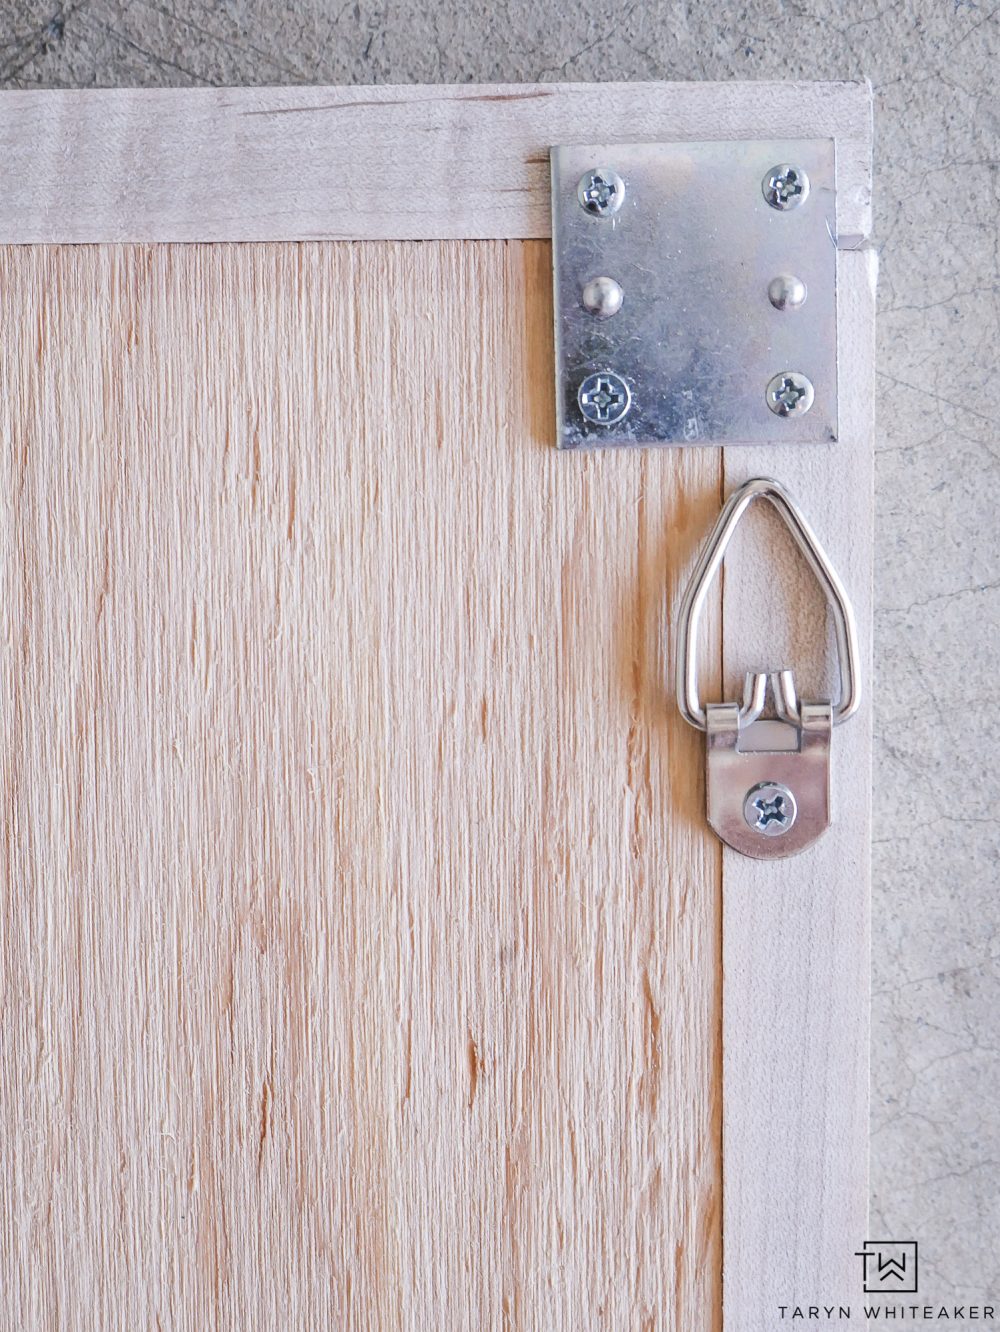
Once the paint is dry time to add your frame and brackets! I used a really pretty maple wood trim. I used a simple box frame and secured it using metal brackets the back of the piece. My nail gun wasn’t working as well as I had hoped on this project because the plywood was just a little too thin. But this system worked great and was able to hold both the frame and the plywood together really securely.
To finished off the piece, I added D Ring Hooks to hang them!
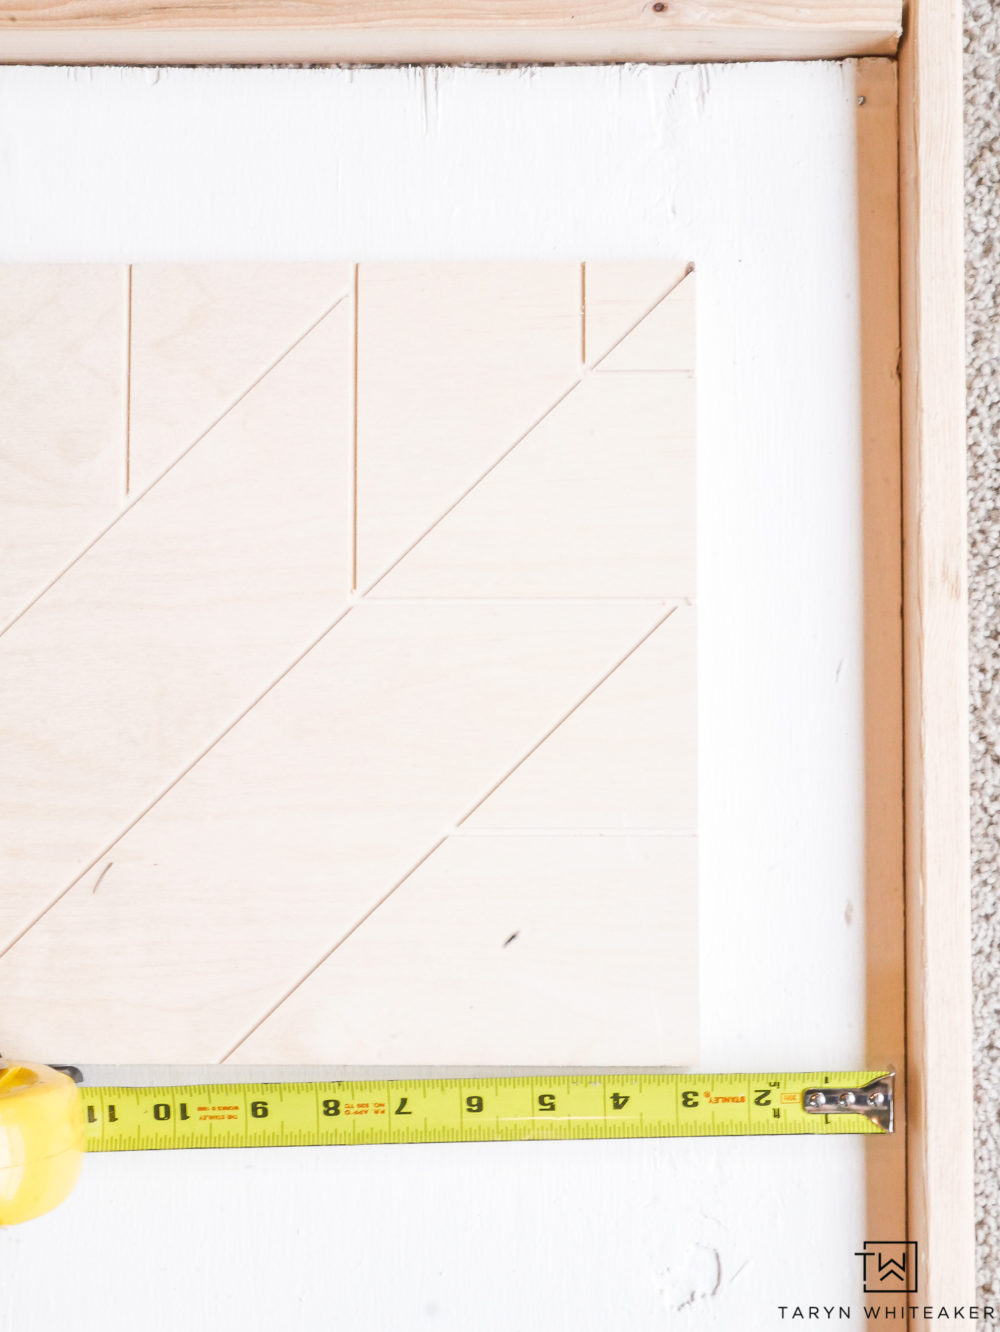
Flip the piece over and lay out your wooden canvases! I did mine in an abstract pattern but you can do yours more symmetrical. I mounted my wood pieces 3″ from the trim, and about 2.5″ apart.
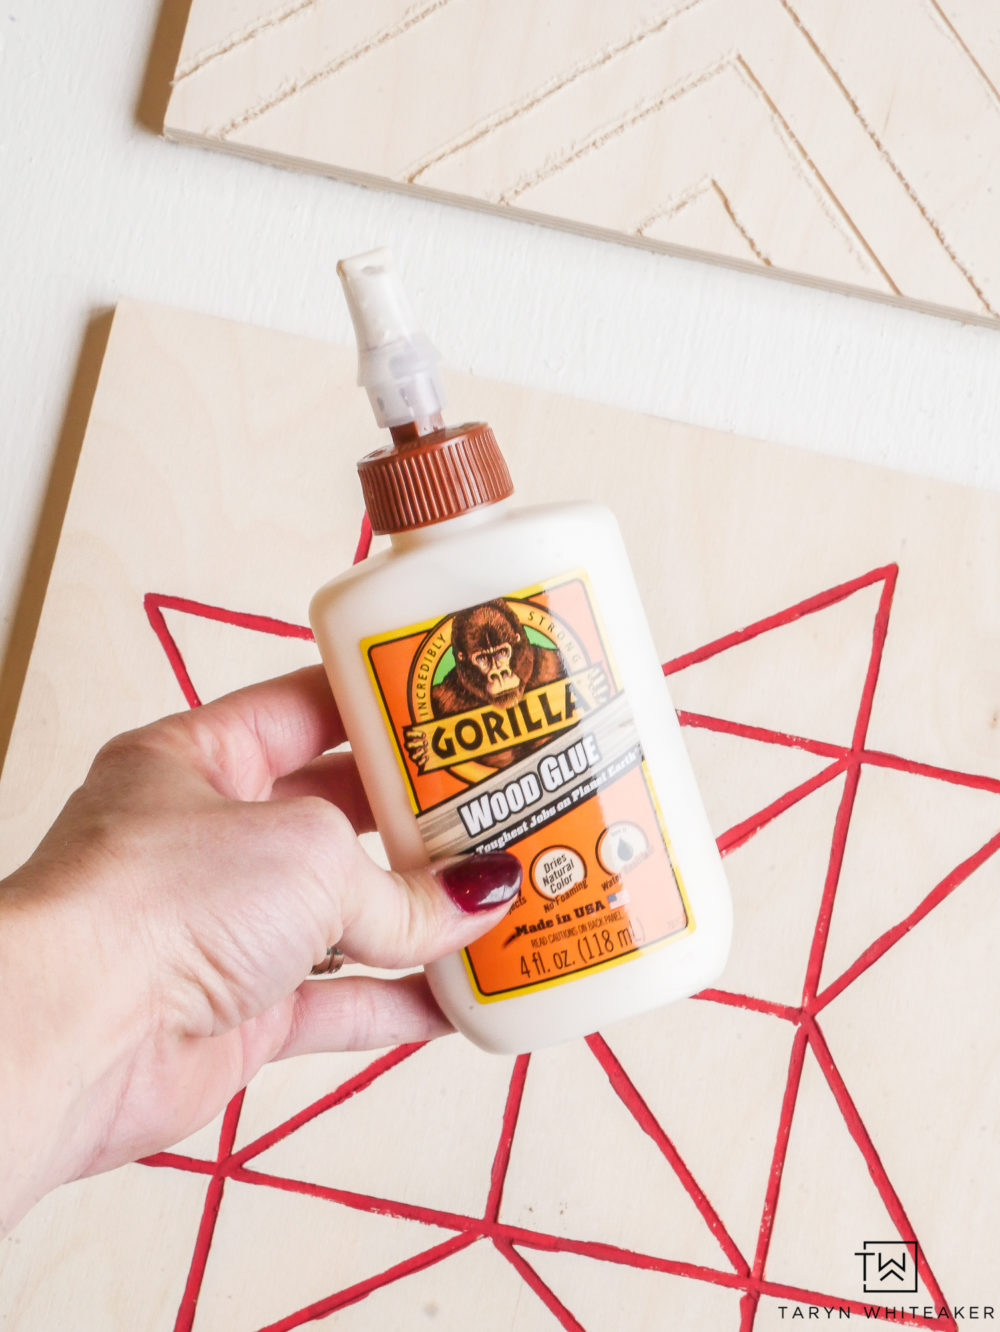
Apply wood glue to the back of each wood piece and make sure all corners have glue on them. Then, press firmly down onto the surface. I suggest waiting overnight for them to dry before you hang the piece, but at least 2-3 hours.
DIY Wood Christmas Art
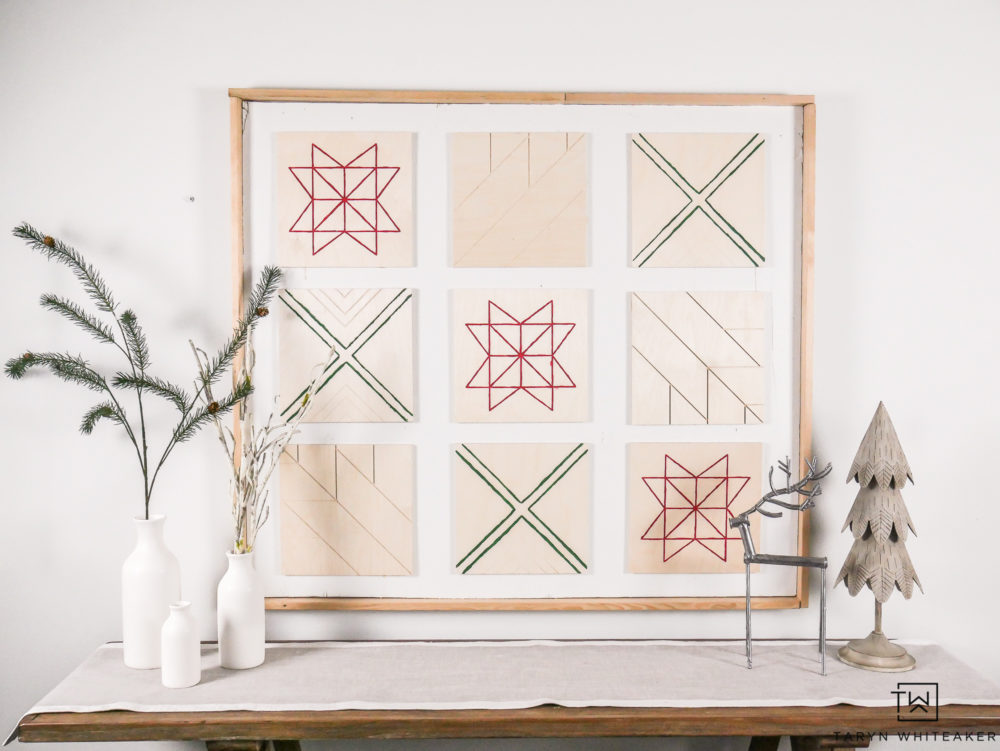
I think this pice could work clear through winter or even in a cabin yea round! There are so many different ways you can customize it. Choose different colors for a more neutral piece that you can keep in your home through all seasons.
Shop This Post

WHITE CERAMIC VASES | BlOOMING PINE BRANCH | METAL CHRISTMAS TREE | METAL REINDEER | WOOD CANVASES | WICKER BASKET | RED & GREEN TARTAN PILLOW | RED & WHITE NORDIC PILLOW
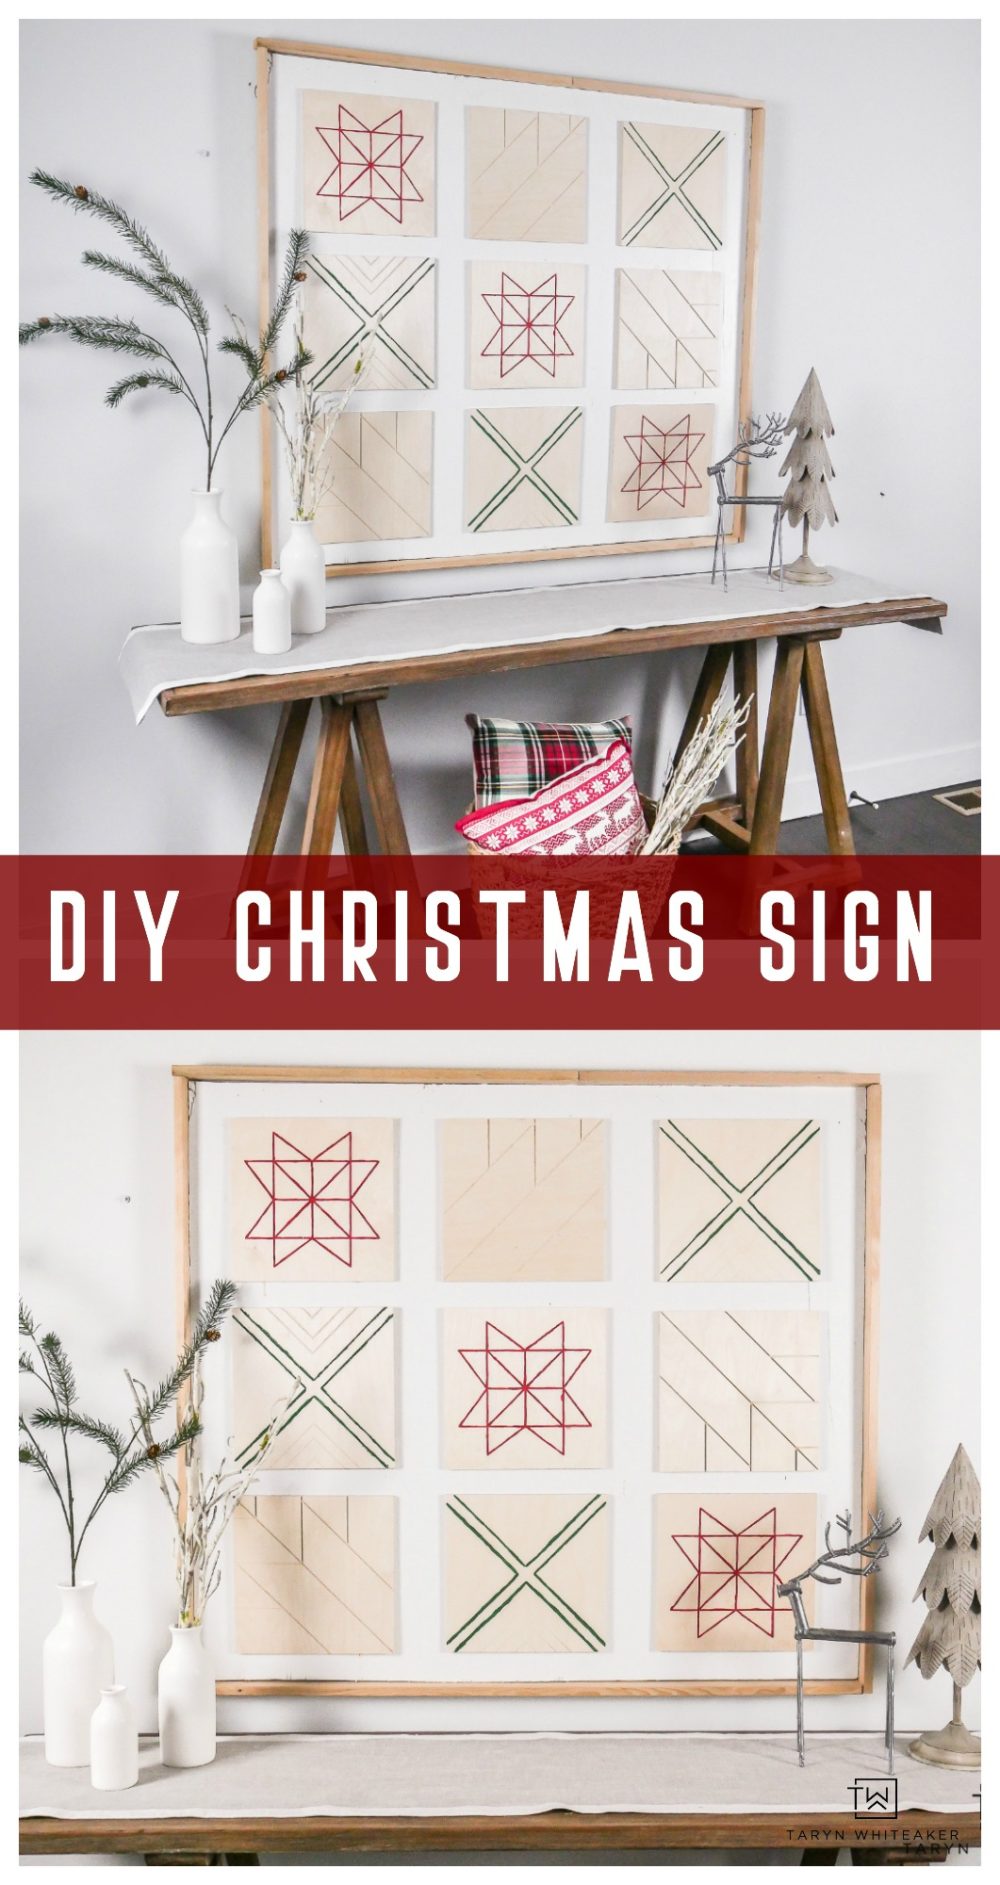
Pin For Your Idea Boards




Leave a Reply