This week I set aside some time to get creative. I’ve been able to get in a lot of computer time while home schooling the kids, but it hasn’t been as easy to get projects done during all of this. But you know what, it felt SO good. Letting those creative juices flow and getting in my zone is just what I needed. If you are in need of the same thing, I am sharing this quick DIY wood slice serving board project today. It only took me about 30 minutes to make!
I’m also joining quite a few other bloggers as we all share upcycled DIY projects today. To keep scrolling down to see them all!
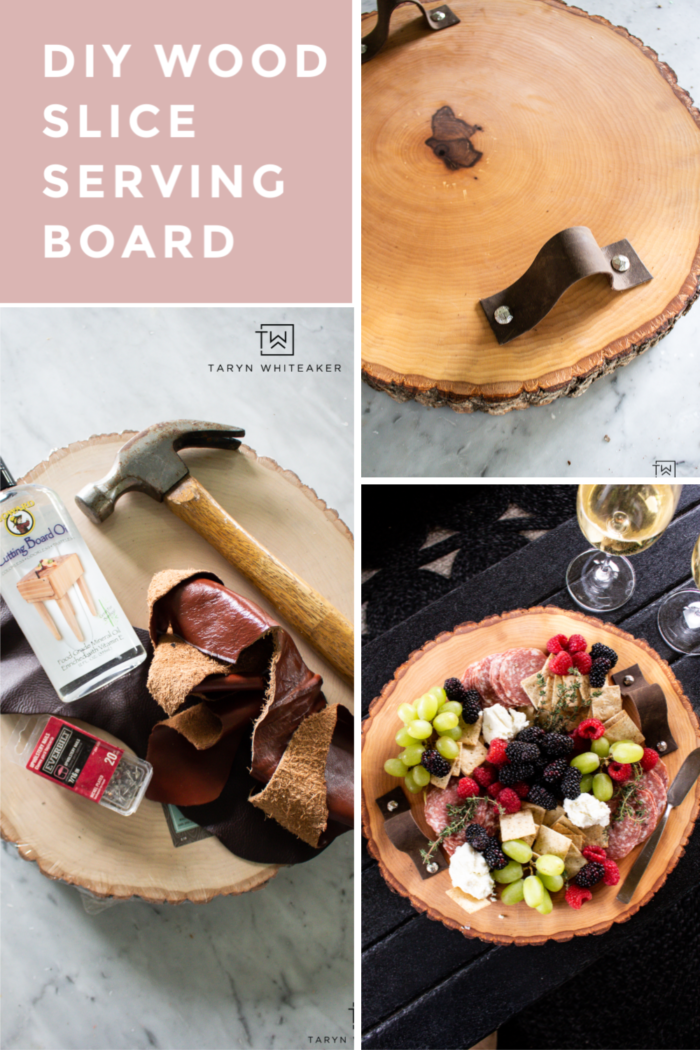
Like most of you, I don’t have the luxury of heading to the craft store to grab supplies whenever I want, so I headed to the garage to see what I could find to work with. I made this tray using 100% left over materials from other projects and I LOVE that. I will link everything for you below though so you can order everything!
DIY Wood Slice Serving Board

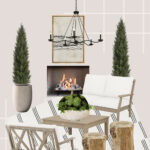
Sitting out here has been a little escape for me. It’s still a little cooler out up here but I have really enjoyed putting the fire on and relaxing a bit… I mean 10-30 minutes depending on how long it takes the kids to find me ;)
PS. You can see more of our spring porch decor here.
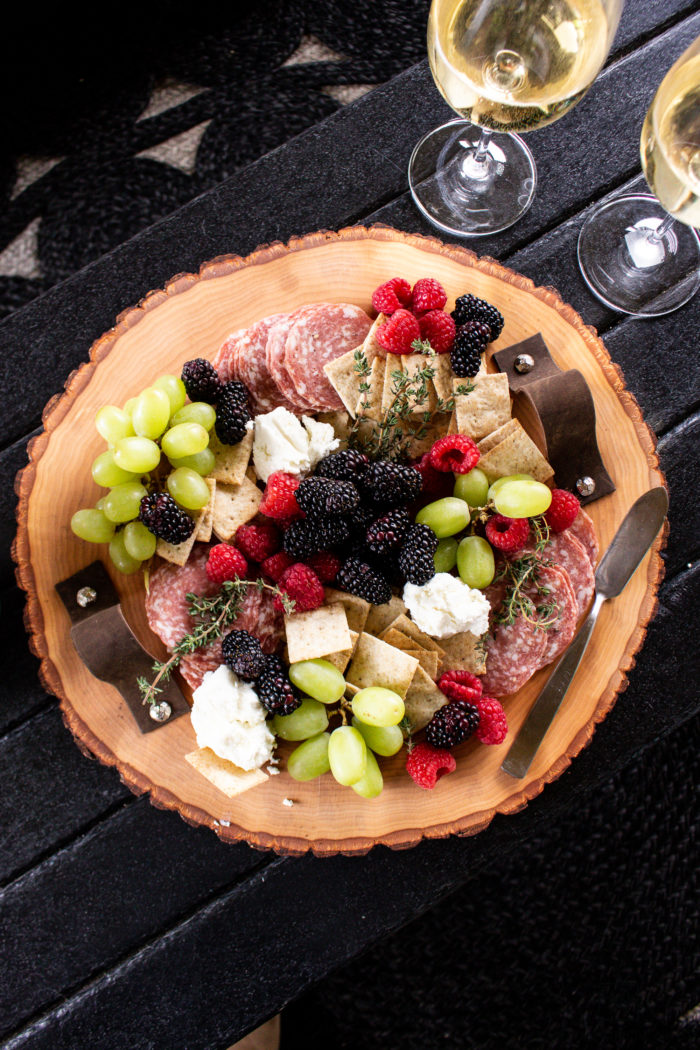
Every so often my husband and I like to plan little date nights out here too! We gotta take what we can get!
How To Make A Wood Slice Serving Board
Wood Round Serving Board Supplies
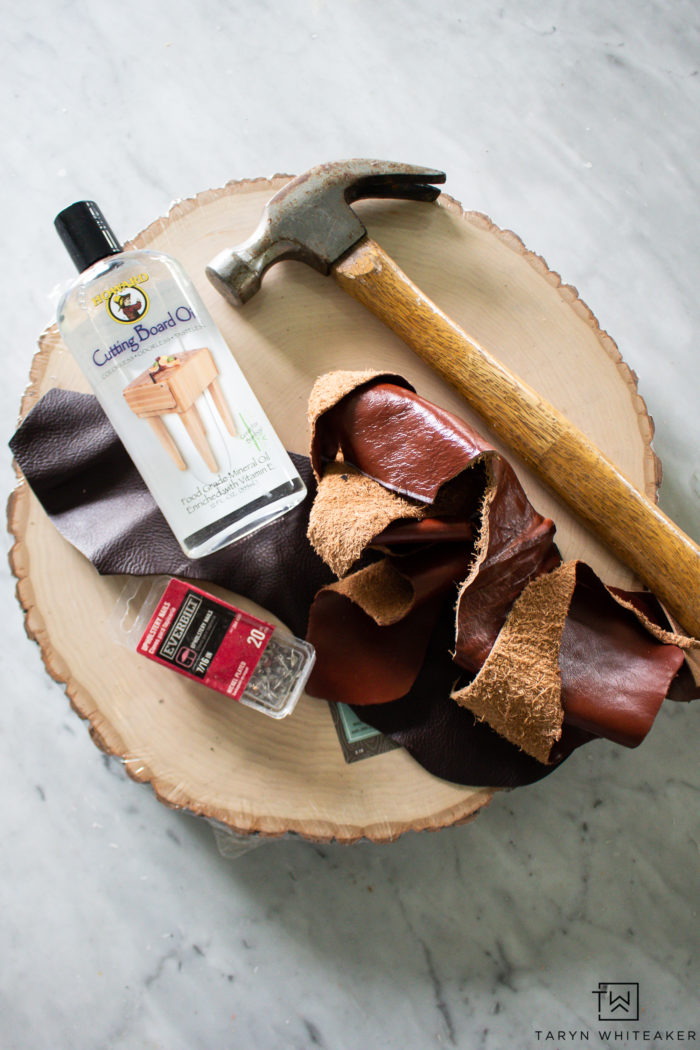
I found this large wood slice in my project supplies. You can also use one you cut yourself from an old log. You will just want to sand it down quite a bit so it’s smooth. This was already done for me!
After the surface is smooth and prepared, you’ll want to seal the wood to make it food safe and so it doesn’t stain as easily. I used this Butcher Block Food Safe Oil. You apply using a circular motion and keep applying until the entire surface is covered and even. I probably put 4 coats on since this was the first application and the wood really absorbed it.
Let it dry a bit and then add the leather handles. You can make these a variety of ways. Like I said before, I was using only things I found in my craft supplies so I was limited with these pieces. You want to make sure you use thicker Leather Straps so they stand up and are sturdy.
*NOTE: I also suggest adding a little wood glue or super glue under the tacks to make them more secure.

I almost personalize it with our last name with the wood burning tool, but decided it was better just clean and simple.
DIY Charcuterie Board
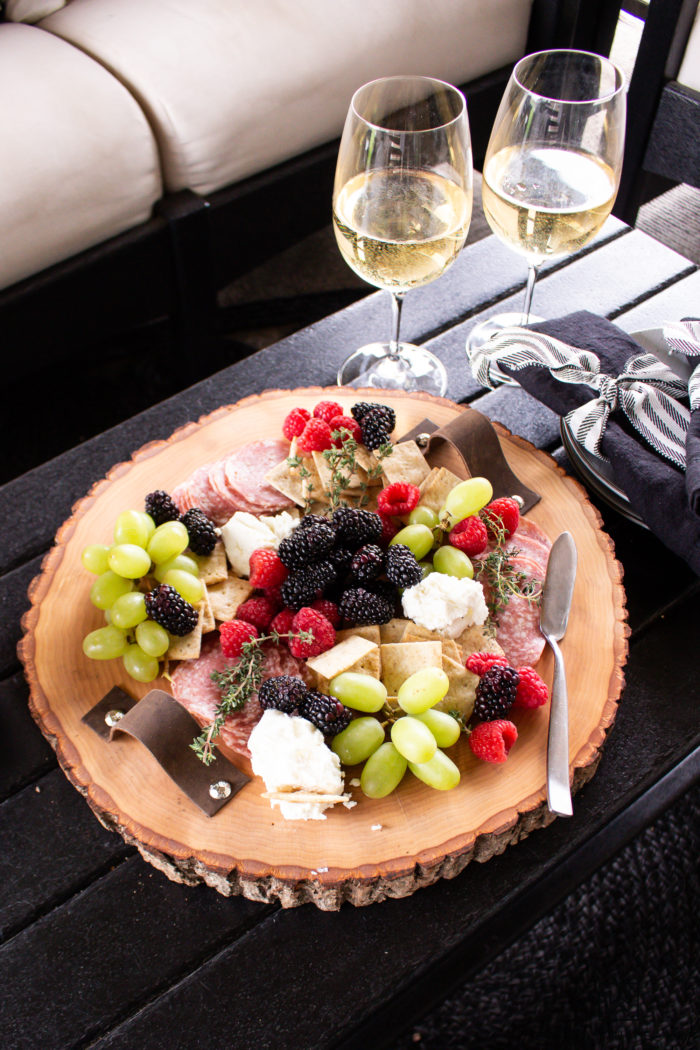
I decided to use mine as a charcuterie board, but you could also use it as a simple tray to put vases or flowers on!

Now shhhh, don’t tell the kids I’ll be out here for awhile getting some peace and quiet!
SHOP THIS ROOM
MORE UPCYCLED PROJECTS
Be sure to check out these other projects using things you might already have around the house!
14 Repurpose Project Ideas
 Egg Carton Crafts String Lights – My 100 Year Old Home // DIY Furniture Restoration – Grace In My Space // Butterfly Kaleidoscope Art – The Handmade Home // Moss Covered Tin Can Vases – The Happy Housie
 Easy Tin Can Project – Happy Happy Nester // 3 Ways To Repurpose Your Candle Jars – Modern Glam // Gold Leafed Wine Bottles – Cassie Bustamante
 Faux Cement Planter DIY – Craftberry Bush // DIY Wooden Ball Mirror – Zevy Joy // DIY Tabletop Tiki Torch – My Sweet Savannah // Canvas Banner Hoop Wreath – Lolly Jane
 DIY Wood Slice Serving Board – Taryn Whiteaker Designs // DIY Farmhouse Wood Framed Mirror – She Gave It A Go // Faux Mother of Pearl Inlay Tray – A Blue Nest






Now that the craft stores are closed, this was a tough project. I love that you took something you already had and made such a gorgeous charcuterie board! Looks amazing!
this looks amazing! i want to come hang out and eat your blackberries!
Taryn, LOVE this!! The straps are darling!
xo
Thank you!
This turned out so beautifully! I love the sweet little handles!