I’ve gotten a lot of questions about the wall treatment I did in my little guy’s room and I’m here with all the info today! A few months ago I shared the DIY Forest Tree wall I did I put together along with the tree tutorial, but today I’m focusing on the DIY Painted Ombre Wall. My goal was for it to look like a mountain range/moody dusk, but ombre seems to be the best word to describe it.
DIY Painted Ombre Wall
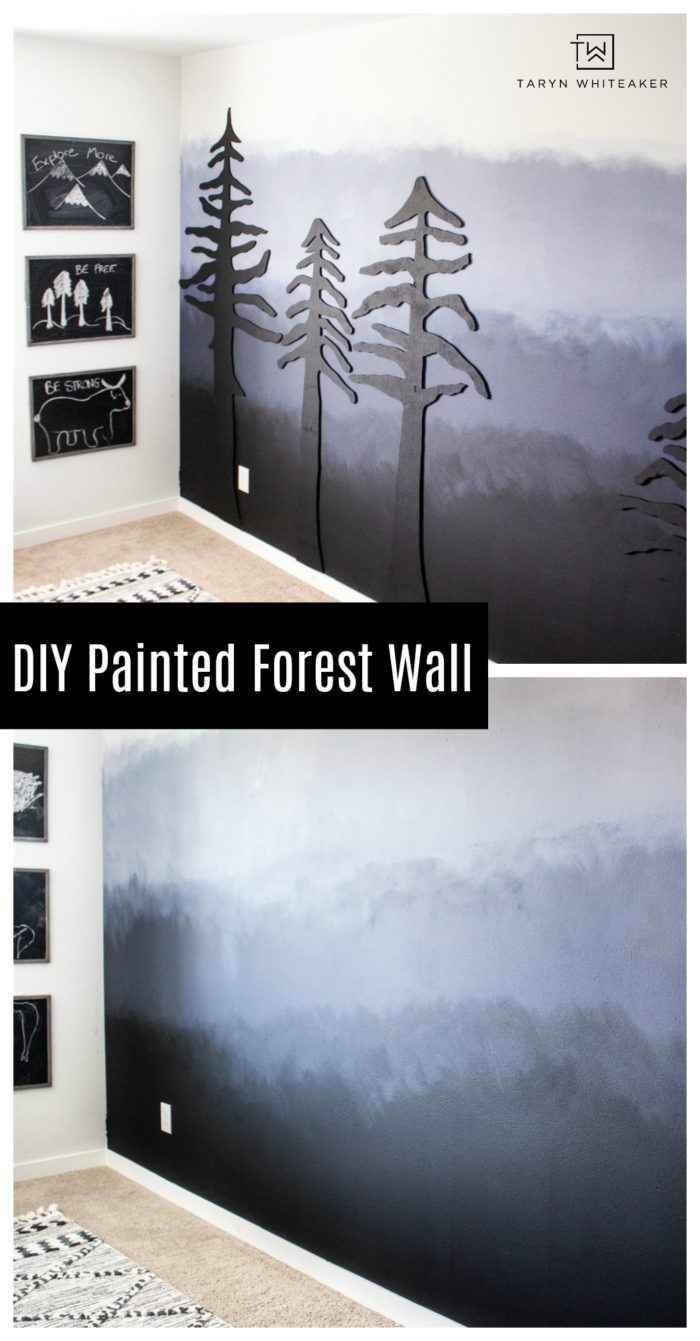
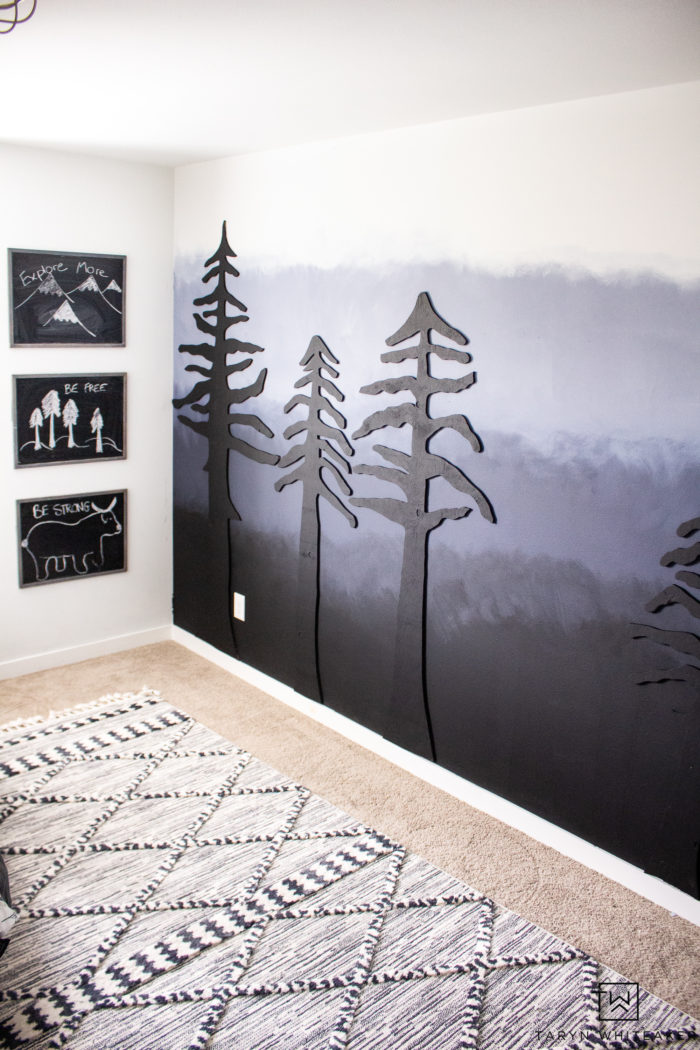
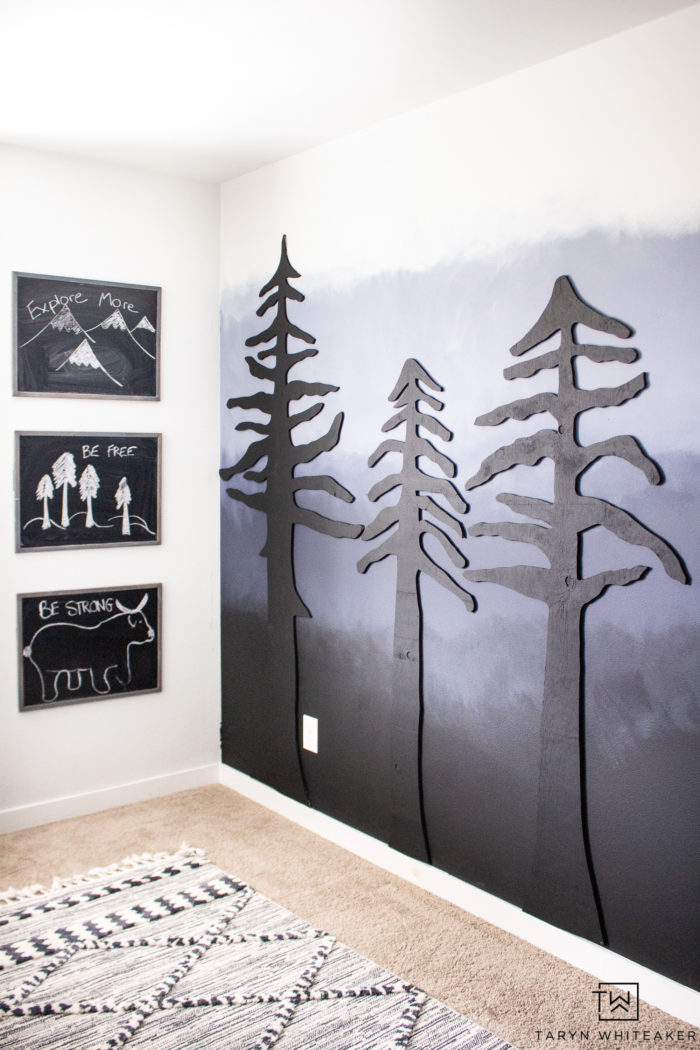
Here is how the completed wall looks! I’ve never done anything like this before, and I don’t consider myself very skilled in painting murals. So if I can do it, you can too!
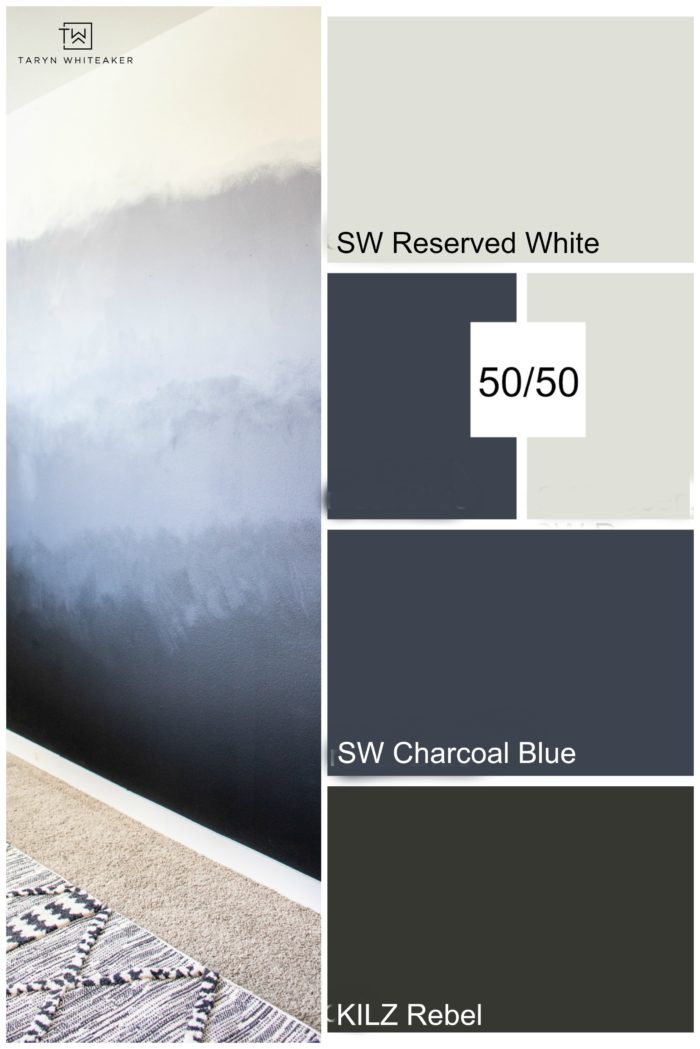
Let’s start out with what colors I used. Every color here is a color I already have in my home, which helped it blend in with the aesthetic of our home. I started out with an almost black color, moved onto my favorite gray/blue and then lighted that color up a bit by mixing it with about 50% Reserved White. We have Reserved White throughout our entire house, it definitely has a subtle gray tint to it, but not as much as the color swatch shows online. You can see that it appears white in pictures.
- Sherwin Williams Reserved White
- Sherwin Williams Charcoal Blue
- Kilz Rebel
- You will also need:
- Painter’s Tape
- Paint Brush (One for each color)
- Old Rags
Prepping Your Walls
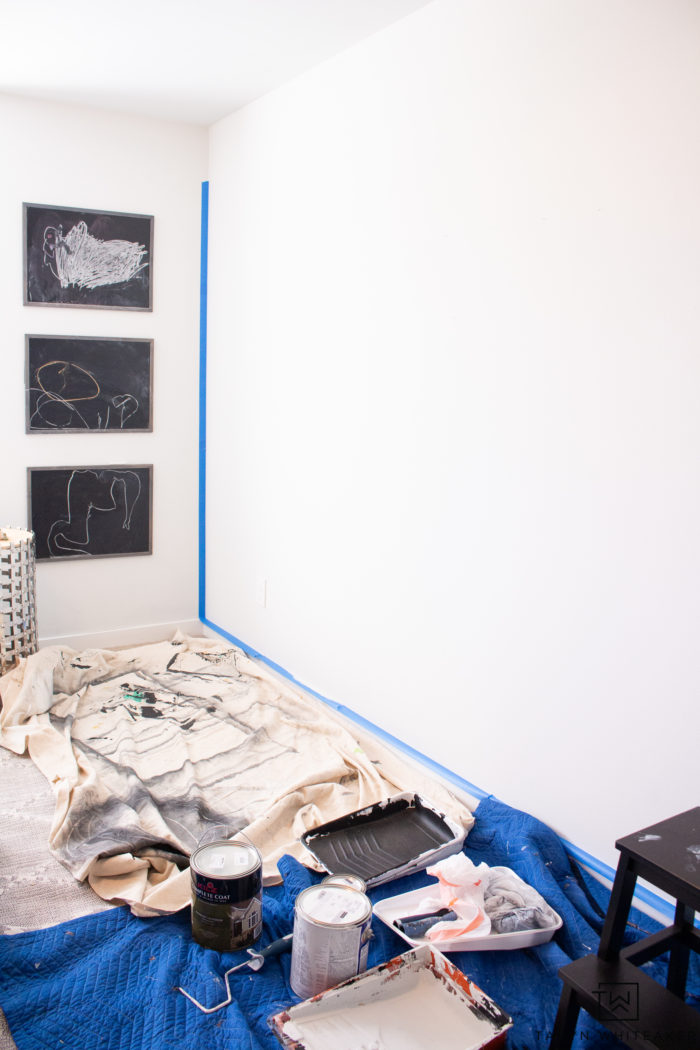
This room had wallpaper on it before, you can see that room here. I removed the wall paper, cleaned the walls, taped them and gave them a nice coat of white paint. I was originally going to keep the walls white and do just the black silhouette trees, but it felt really plain and my husband and I both had the same thought about adding in this treatment! So it was a go…
Paint In Sections

When I decided to do this technique I did a quick Google search to see how other people have done it. I cam across this paint tutorial on the Sherwin Williams site that looked a lot like what I had in mind. So I took a lot of their tips and tried to find my groove.
- I found it was easier to paint in 3 ft sections, otherwise the paint would dry too fast and didn’t blend very well.
- Do one coat of the darkest color on the bottom, then a block of the medium color.
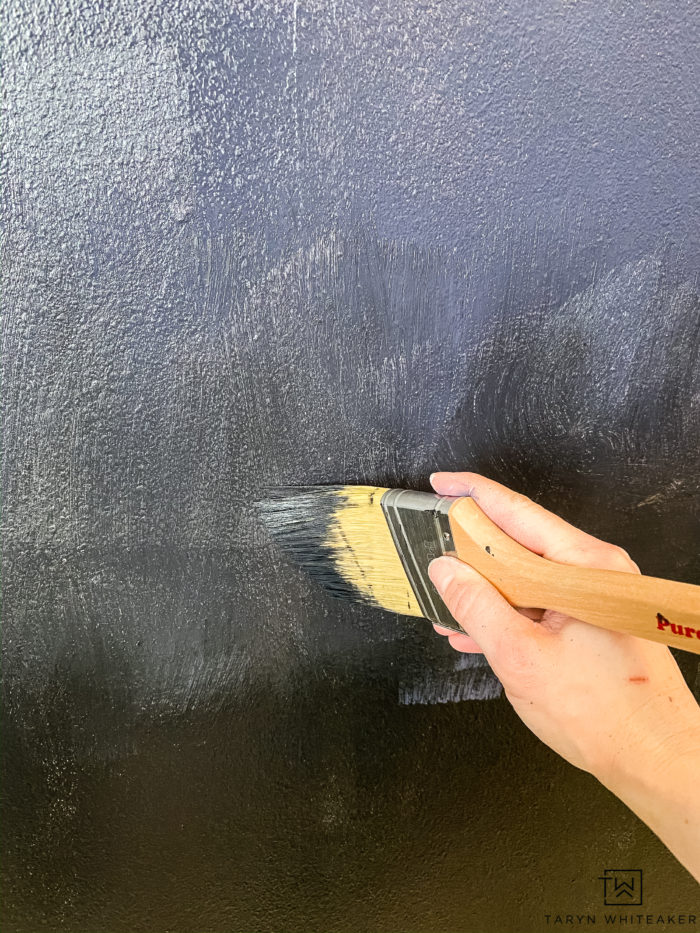
Using a brush that is dry, use a ‘dry brush’ technique to blend the two paints color. This simply means you don’t dip the brush into any paint, you simply use the dry brush and using an “x” motion, blend the two paints together.
If I felt like the brush wasn’t doing enough blending, I got out an old rag and tried rubbing the two paints together in a circular motion. Just another tool to use to see what you like best!

Apply your third color and use the same technique using a different clean dry brush.

You can see the difference between the dry and wet paint in the picture above. I noticed myself ‘overworking’ the paint at times because I felt like it could be blended more, but I recommend letting the paint dry first to get a better idea.
I gave the wall two coats of paint. So I went through this process twice. I like how the second layer gave a little more texture to the wall (see below).

The full wall turned out better than I could have expected and it was relatively easy. I think it only took me 2-3 hours to do the full wall.
Here is a the tutorial for the DIY Wood Trees I built for the wall!
Here is a short video of the InstaStories I shot while doing the wall. Sometimes it helps to see the paint in motion!
About Taryn Whiteaker
Hi! I’m Taryn! The voice behind Taryn Whiteaker Designs. I launched this brand over 11 years ago when I became a stay-at-home mom. What started as a small craft and mom blog eventually grew into a full time design and DIY site. My goal has always been to inspire others (especially women!) with design ideas, DIY tutorials, entertaining ideas and give you the tools you need to complete them yourself!


Leave a Reply