Disclosure: This post is sponsored by HART Tools at Walmart. All opinions and creative direction are my own.
It’s reveal day! This time we are taking a trip into my son’s modern adventure room and giving his feature wall a facelift using my fav HART Tools from Walmart! I still love outdoor theme in here, but it was time for an update. I noticed that my son has slowly been peeling the previous wallpaper off the wall and eventually half a sheet ripped off, EEEK! Which gave me a great excuse for a little makeover and an excuse to make this forest accent wall.
DIY Forest Accent Wall
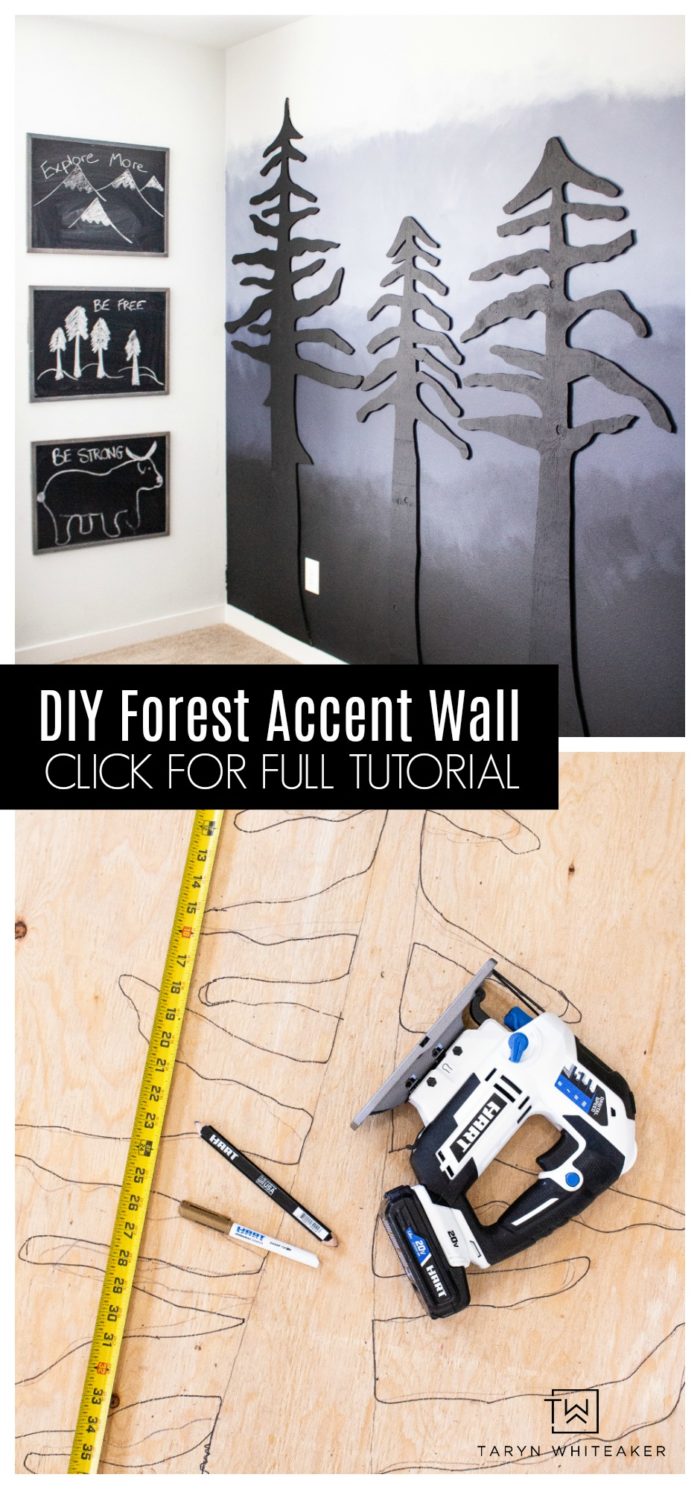
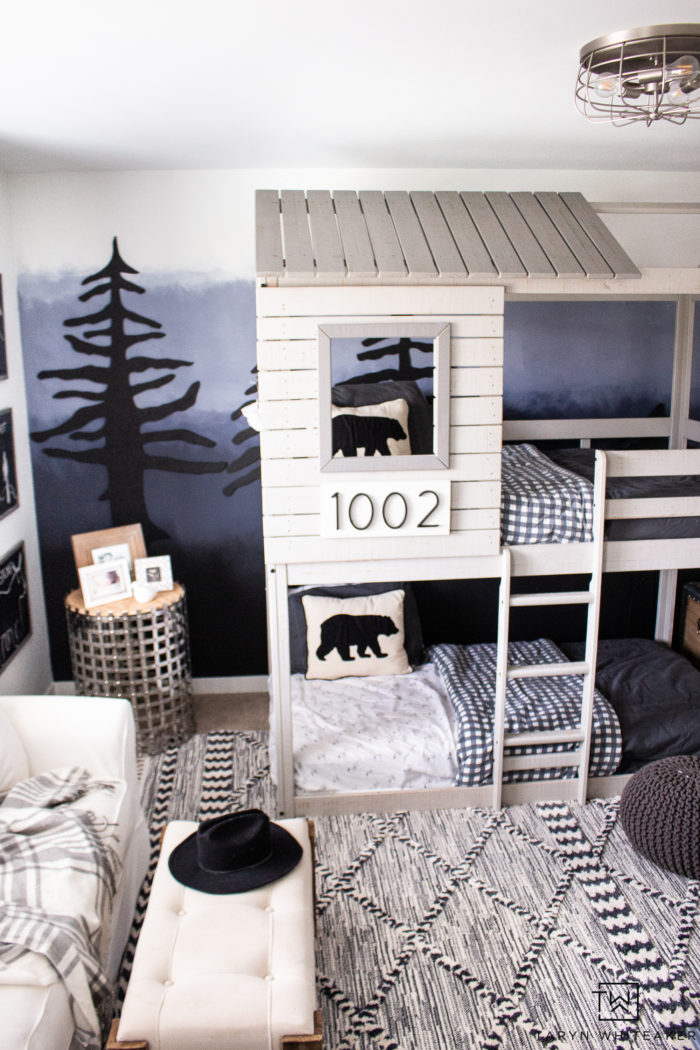
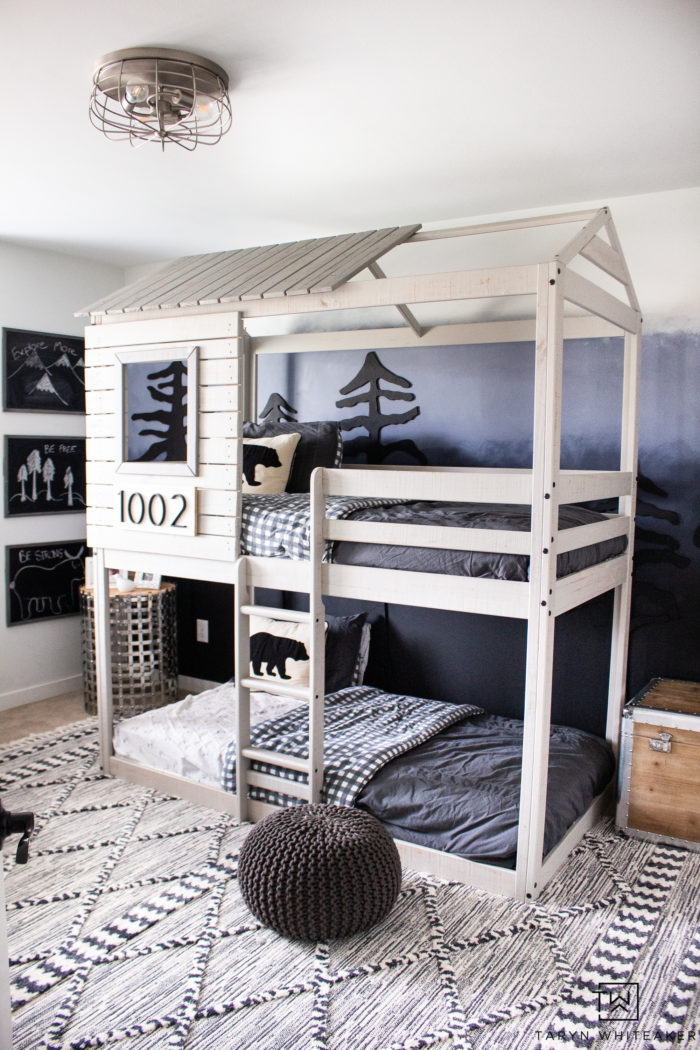
This room went from soft and neutral nursery to bold and modern boys room. I am so in love with this bold ombre wall and the DIY forest scene. It really gave this room a new fresh look.
Living in the pacific northwest, I really channel nature and mountains in all of my designs. I love bringing the outdoors in and adding some form of wood tones and nature each space. This room already had a great cabin theme to with animals and wood and just took it a little farther.
Bedroom Before
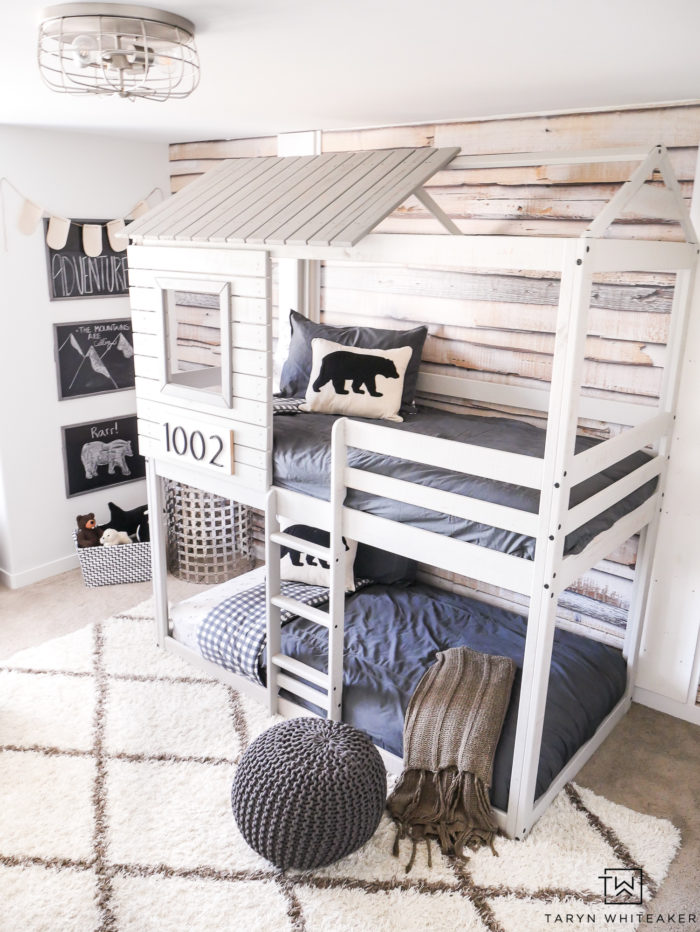
If you aren’t familiar with how the room looked before, here is a pic! I put the wood wallpaper up for the nursery in here over five years ago and then transitioned the room into a big boy room about two years ago. It was very soft tones and neutral. It was definitely time for something new and I am SO glad I jumped right into this project.
DIY Blue Ombre Wall

I was inspired by these prints hanging in our laundry room. I loved the tree silhouettes and the moody dusky feel of the skyline.
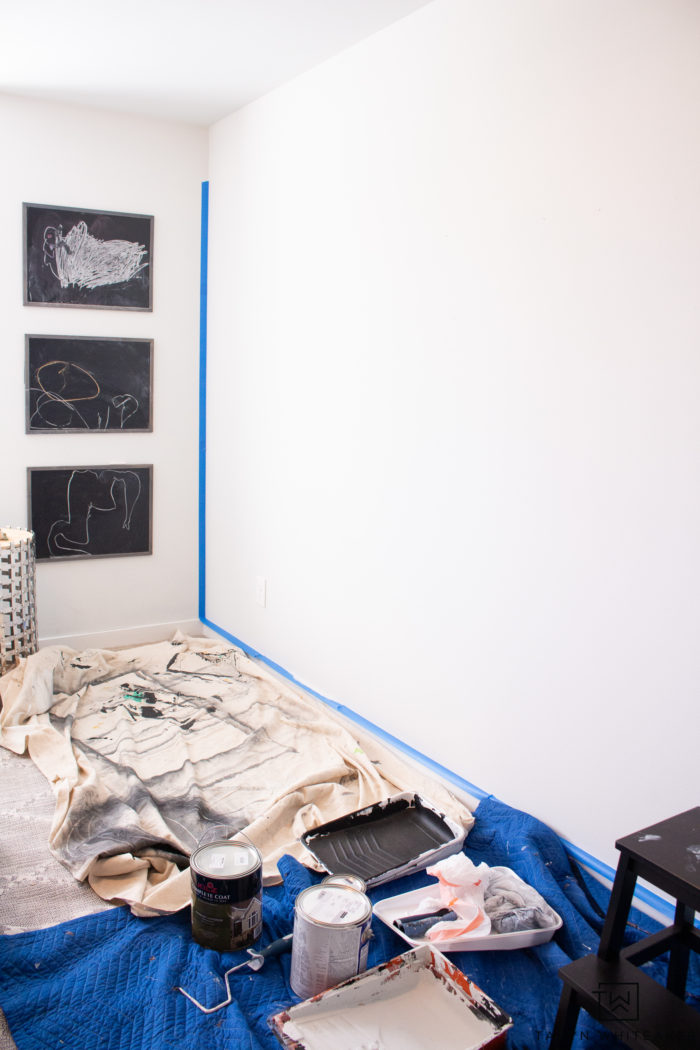
To start, I removed all the wallpaper and took down the trim work to completely started the room from scratch. Honestly, my original plan was to just do a white wall and have black trees on it. Then after I painted it white an moved the bed back I realized how plain that would look and I needed something more. Something that would make a bigger impact. Go big or go home right! So I decided on painting the ‘dusk’ foggy mountain background to complete the look.
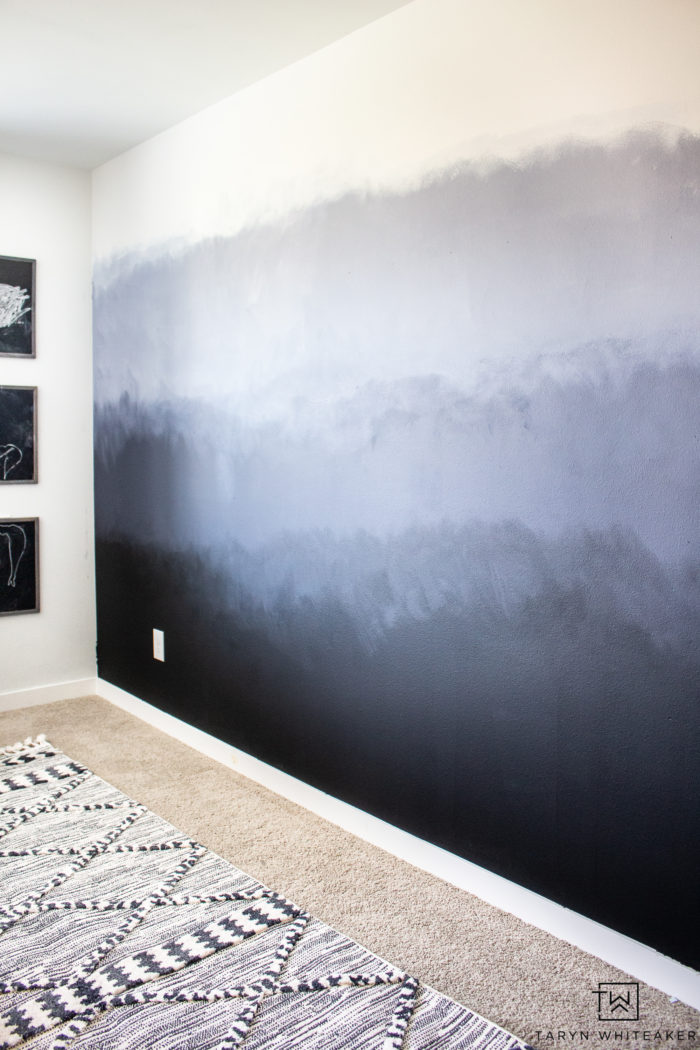
I painted my own ombre wall using varying shades of black, blue and white.
How To Make DIY Plywood Trees

To start, I gathered up my fav HART Tools from Walmart and got a little creative!
Supplies
- 4 Sheets of Plywood
- HART Tools Pencil
- HART Tools Jigsaw
- HART Tools Circular Saw
- HART Tools Tape Measure
- HART Tools Rotary Tool
- Black Paint
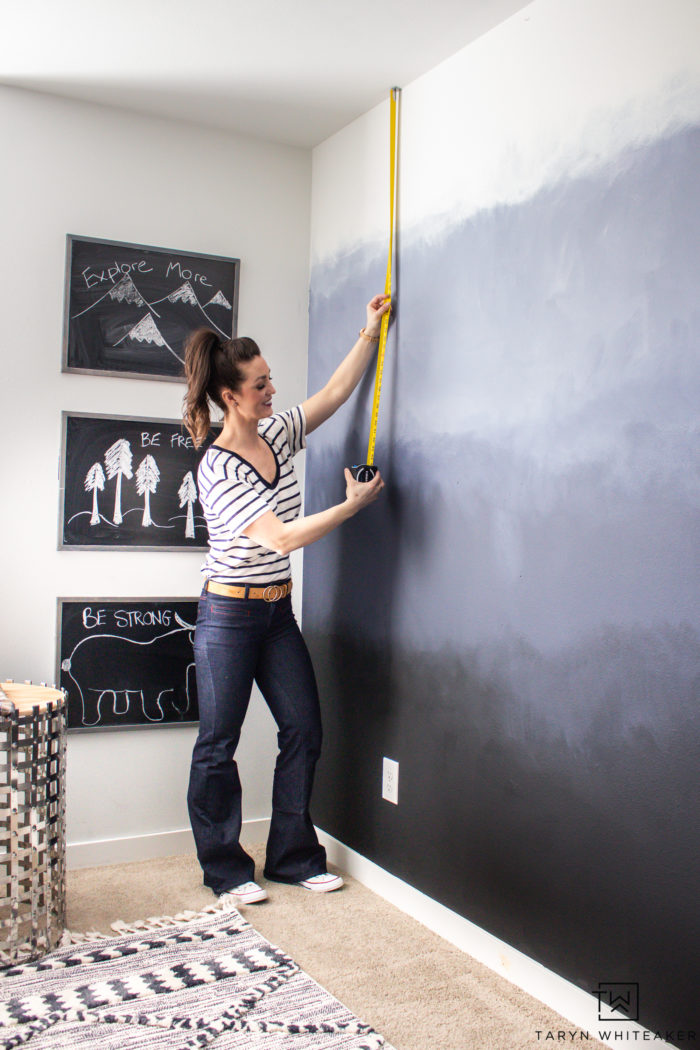
Start by measuring your wall and deciding how tall you want your trees. I varied mine in height. We have 8″ ceilings in here and my tallest tree measures 82″ inches.
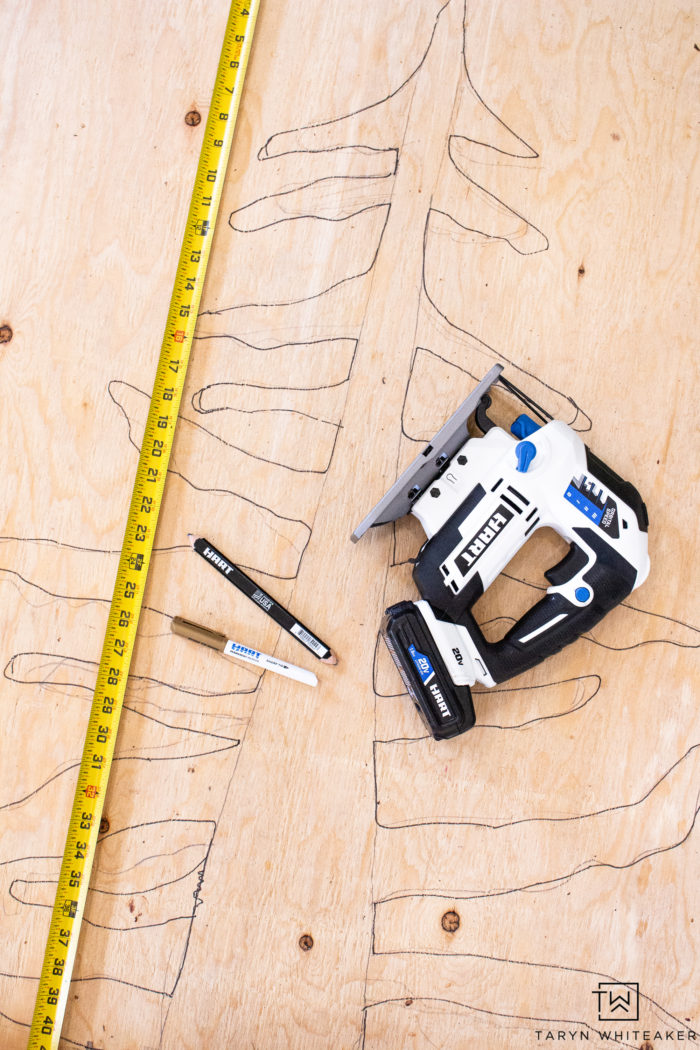
Take your piece of plywood and draw the shape of the tree. I referenced a few tree shapes I found online and then free-handed them onto the plywood. I ended up creating my own version of the trees. Here are a few tips I discovered while drawing the trees:
- Draw your trunk first and make sure it is more narrow at the top and thicker towards the truck.
- For a more natural look, have your branches vary in size and direction and also bend a few of the branches.
- Draw your tree first in pencil and then go over it again in a darker marker, this way you can make any tweaks to the original drawing.


I am absolutely in love with this Jigsaw ! It is so smooth and easy to use and turns like a dime. I have used other jigsaws that were hard to handle and navigate and this one is amazing. Everyone needs on of these in their home especially DIYers who like to make their own artwork and unique pieces.
I used the HART Tools Jigsaw to cut out the outline of the trees. My brother worked with me on this project and was able to get very precise on the cuts.
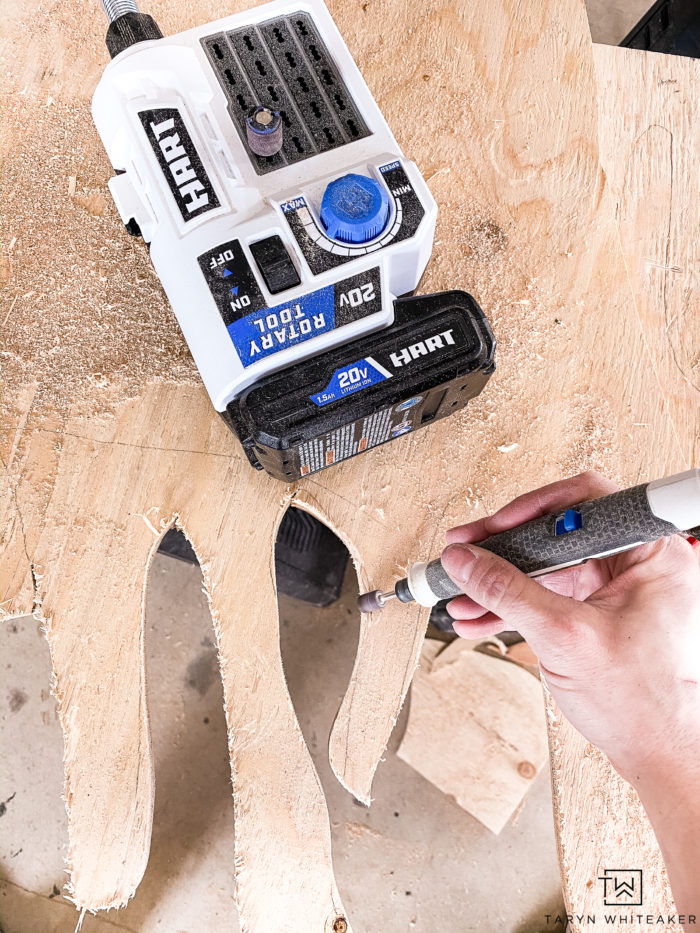
After all the trees were cut, we used the HART Tools Rotary Tool to smooth out all of the edges and finish them off nicely.
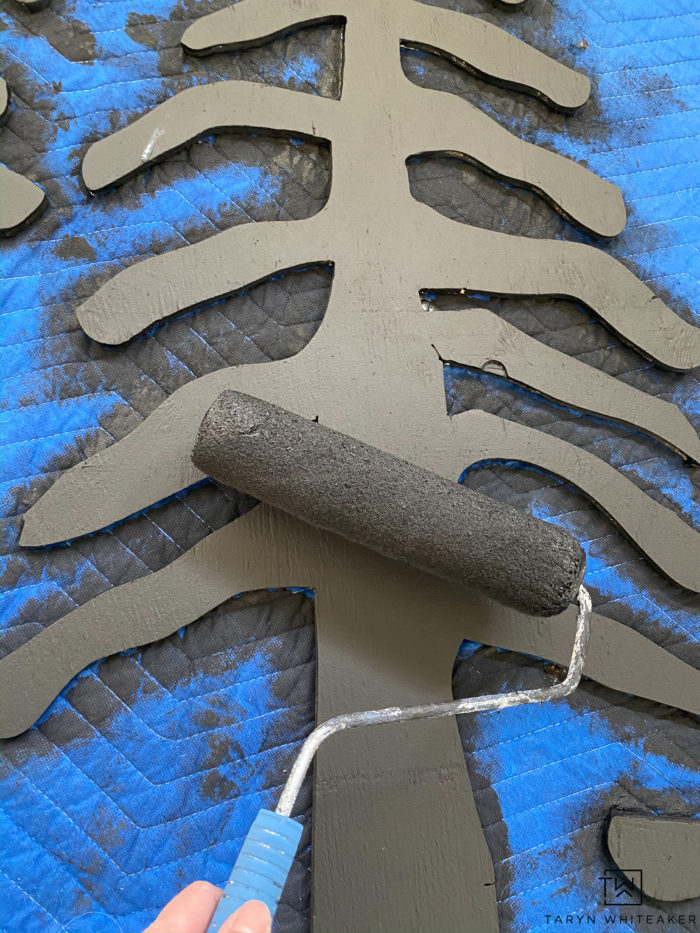
I gave them a coat of my fav black charcoal paint so they appear as silhouettes on the wall. Then let them dry.
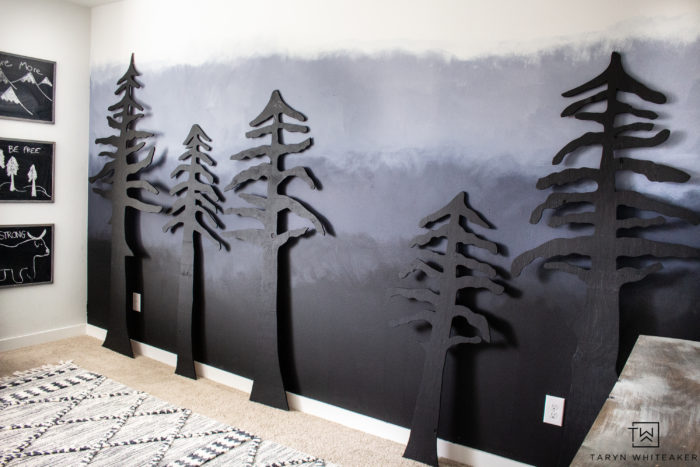
I always work in odd numbers when decorating, while I love symmetry and balance and odd number almost always works better.
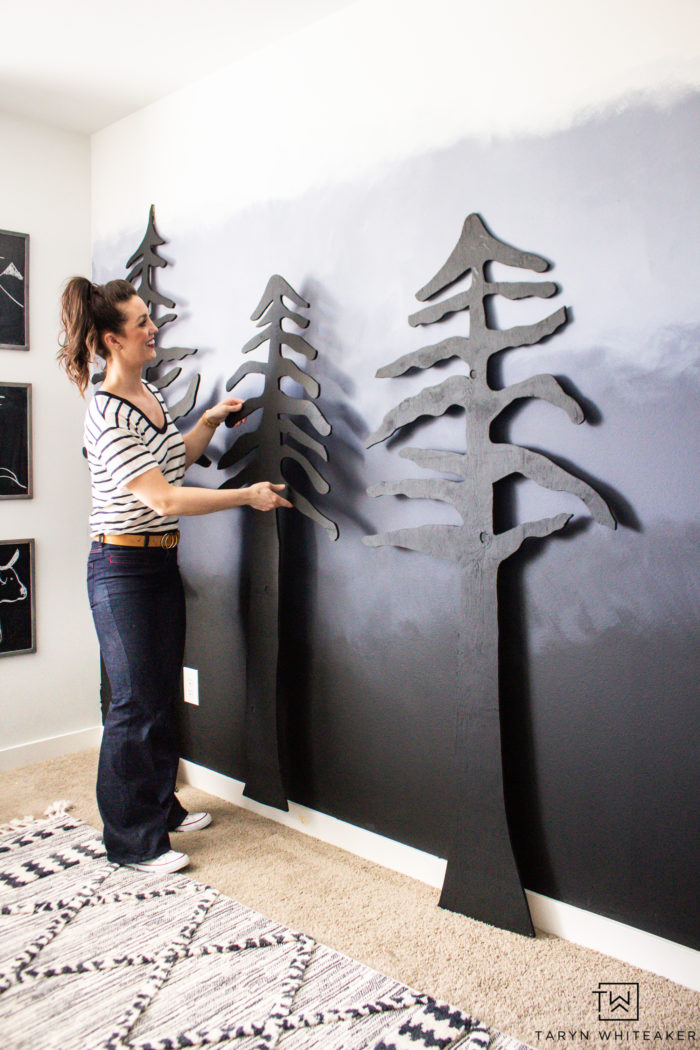
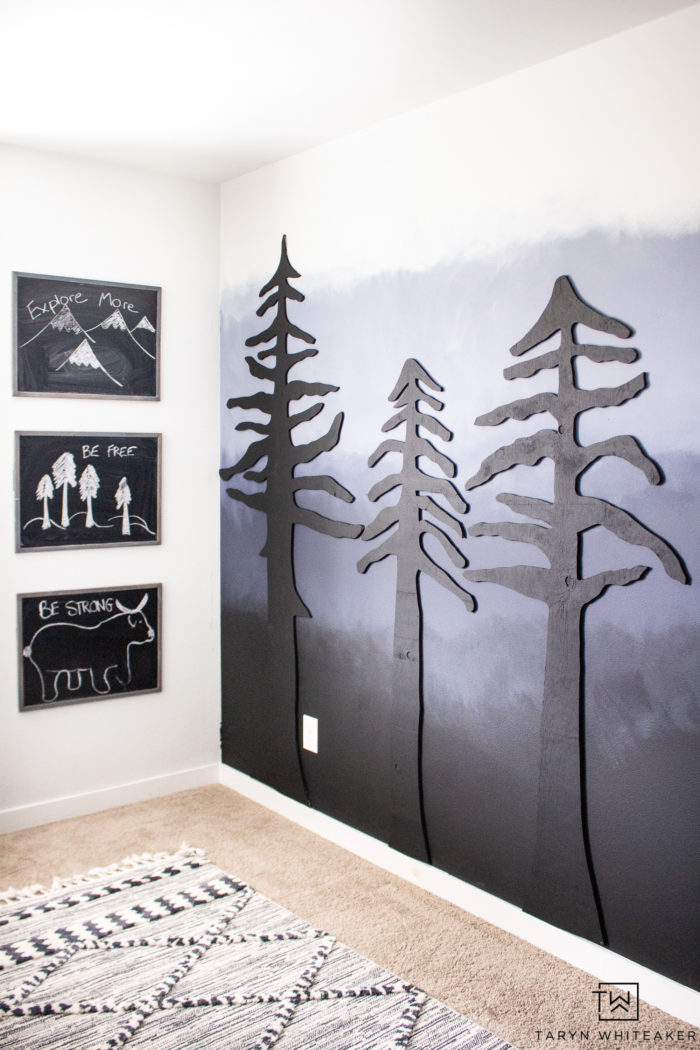
I moved the trees around until I found the perfect arrangement. I decided on three trees on the left and two on the right.
Forest Accent Wall
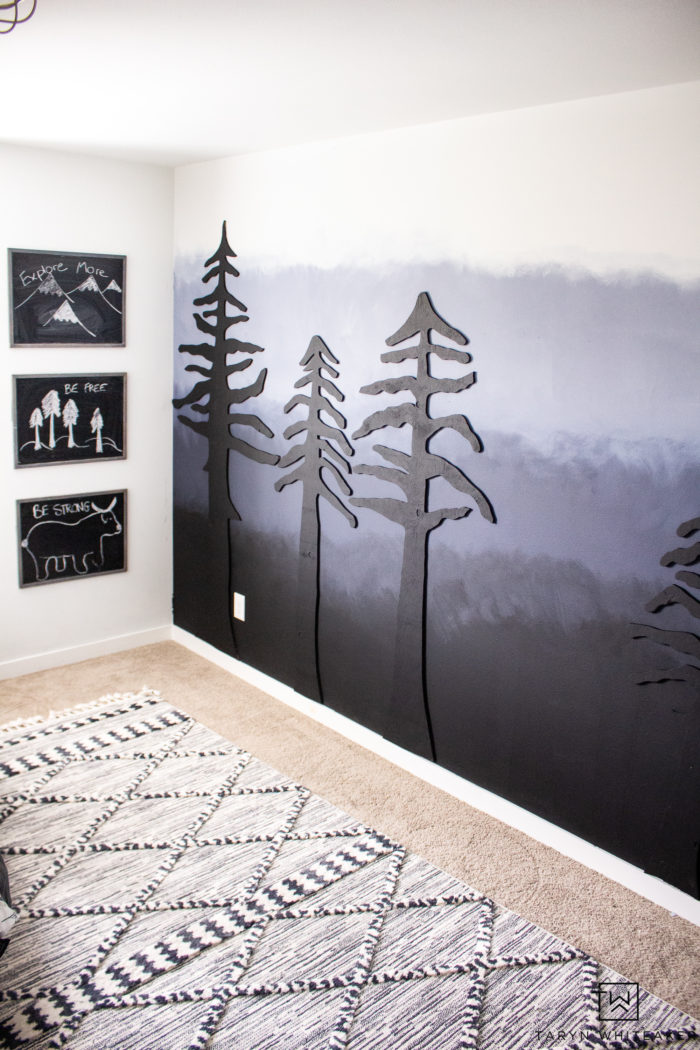
They went up extremely fast using finishing nails. I love the dimension they bring to the wall! They add so much more than simply painting them on. And I love the wood texture.
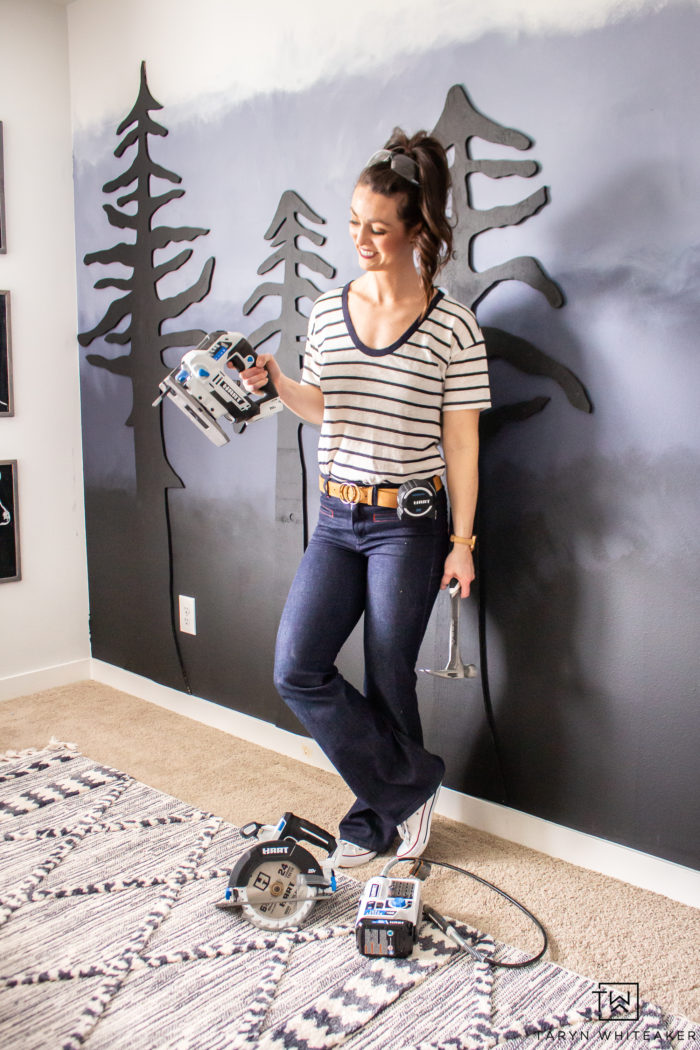
This project was way easier than it looks. Honestly, it all comes down to drawing your trees, and cutting them out using the jigsaw and giving them a coat a paint!
Modern Adventure Boys Room
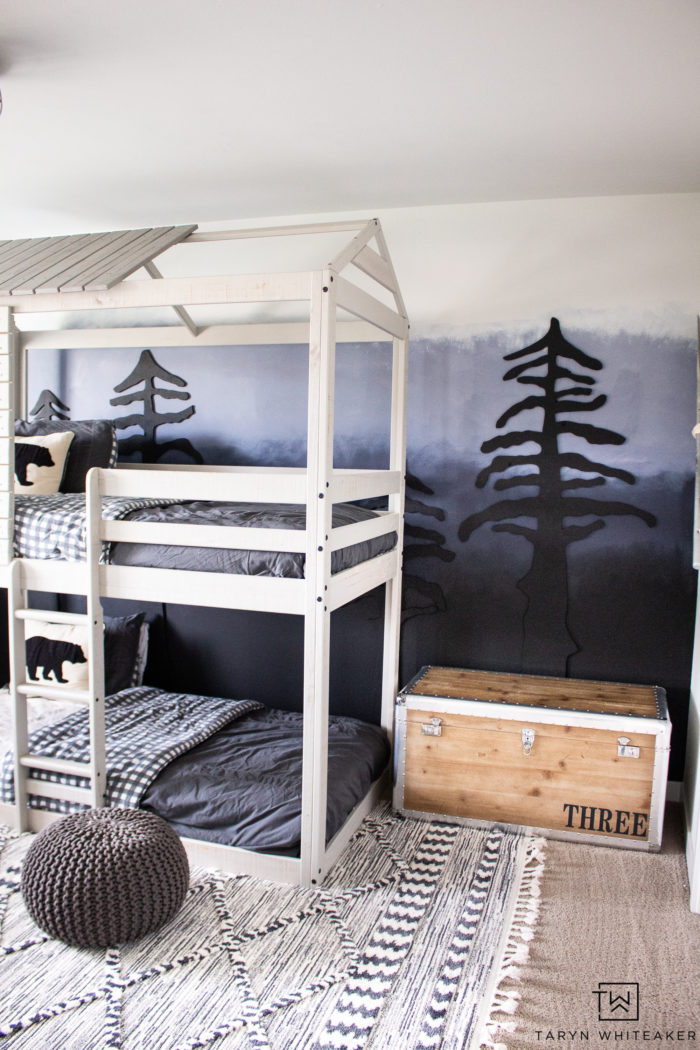
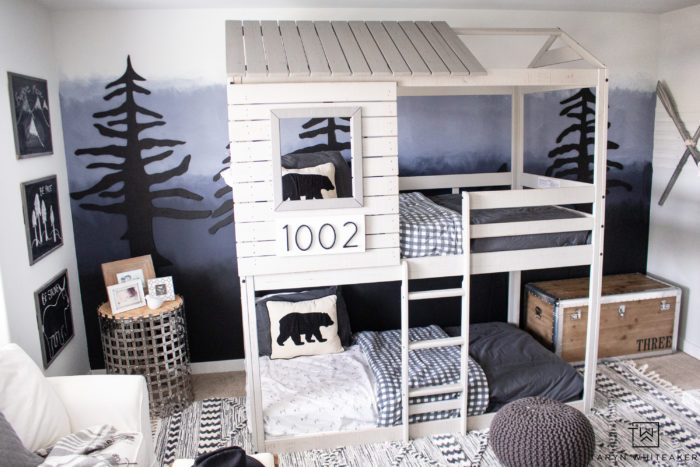
I absolutely love how this new wall gave a bolder and more modern look to the room! The oversized trees and the darker wall make such an impact and allow the bunk beds to pop. I LOVE it.





Wow…I love this room. Looks great!!
It looks amazing! I love it. What a fabulous space
Thank you!
This is adorable, I love how the trees really add a 3D element to the wall.
Thank you SO much!
Could you send me details on the materials and technique you used for the walls? Paint or glaze? Love the whole room!
Hi! I hope to do a post on it soon!
Love it! Where did you get the rug from? Thanks!
Hi! Here is the link to the rug! https://bit.ly/2tFBsoS