• Skip to primary navigation
  • Skip to main content
  • Skip to primary sidebar
  • Skip to footer
  • Home
  • About
  • Contact
  • Partner with Taryn

Taryn Whiteaker Designs

DIY and Interior Blog

  • Our Dallas Home Tour
  • Shop My Pics
  • Home Styling
    • Room Reveals
      • Our Current Home
      • Our First Home
    • Seasonal Home Tours
  • DIY Projects
    • DIY Home Decor
    • Crafts & Sewing
    • Before and Afters
    • Before and Afters
    • Furniture Builds and Makeovers
  • Seasonal Decor
    • Christmas
    • Easter
    • Fall
    • Fourth of July
    • Halloween
    • Spring
    • Valentine’s Day
  • Printables
  • Entertaining
    • Parties
    • Tablescapes
  • Fashion
  • Travel

September 25, 2020

DIY Mantel Tutorial

Alright folks! I revealed my mantel makeover earlier this week and I was overwhelmed by the response to it! I had so many people ask for a tutorial on how I made the mantel cover, turns out a lot of you have the same plain mantel and are looking for an easy way to cover it, without having to rip it out and build a new one! So here is my DIY Mantel tutorial, it is relatively easy and turned out even better than I expected.
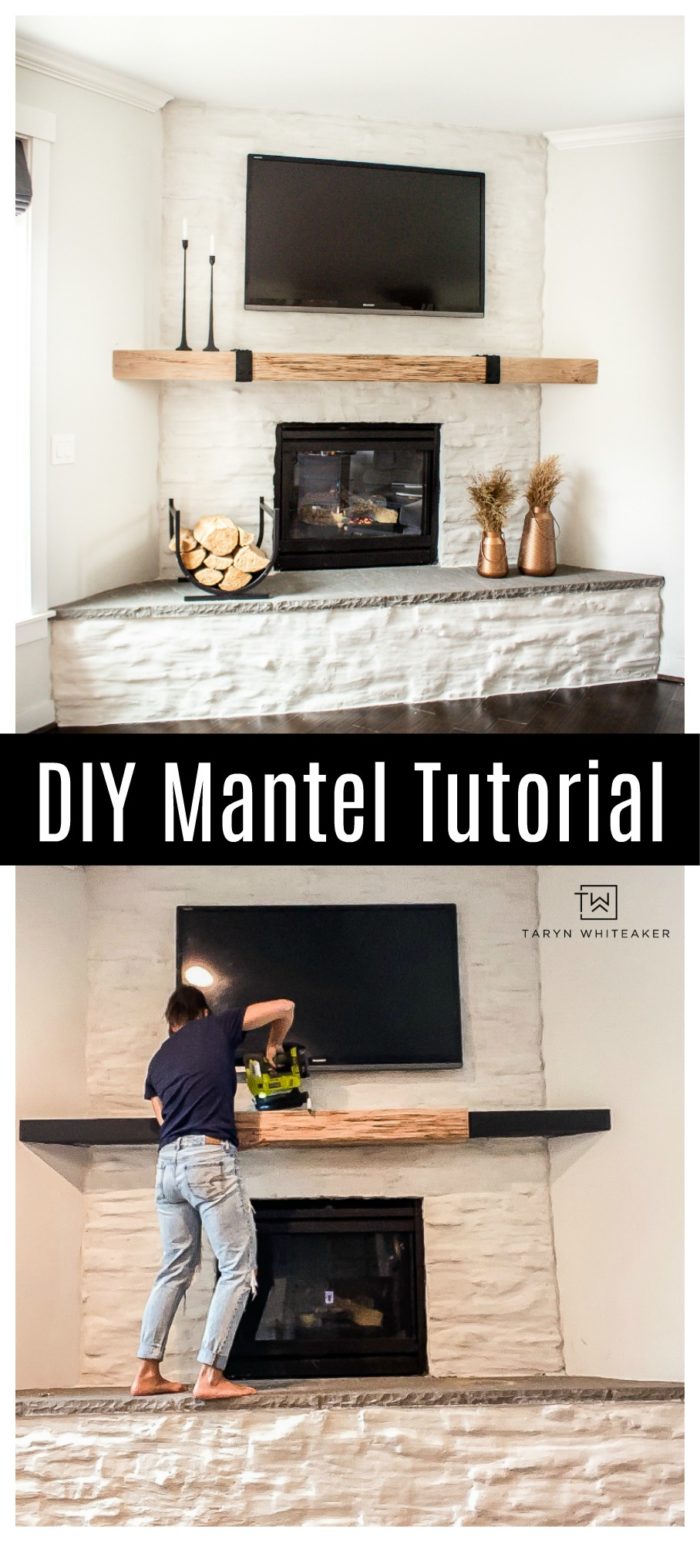
DIY Mantel Tutorial

Using this DIY Mantel Tutorial you can learn how to make your own wood mantel cover from open shelving, it's easy and full of character.

Rustic Modern Fireplace Makeover

Get this DIY Mantel Tutorial and learn how to make your own reclaimed wood mantel using open shelving. Awesome modern farmhouse fireplace or rustic modern!

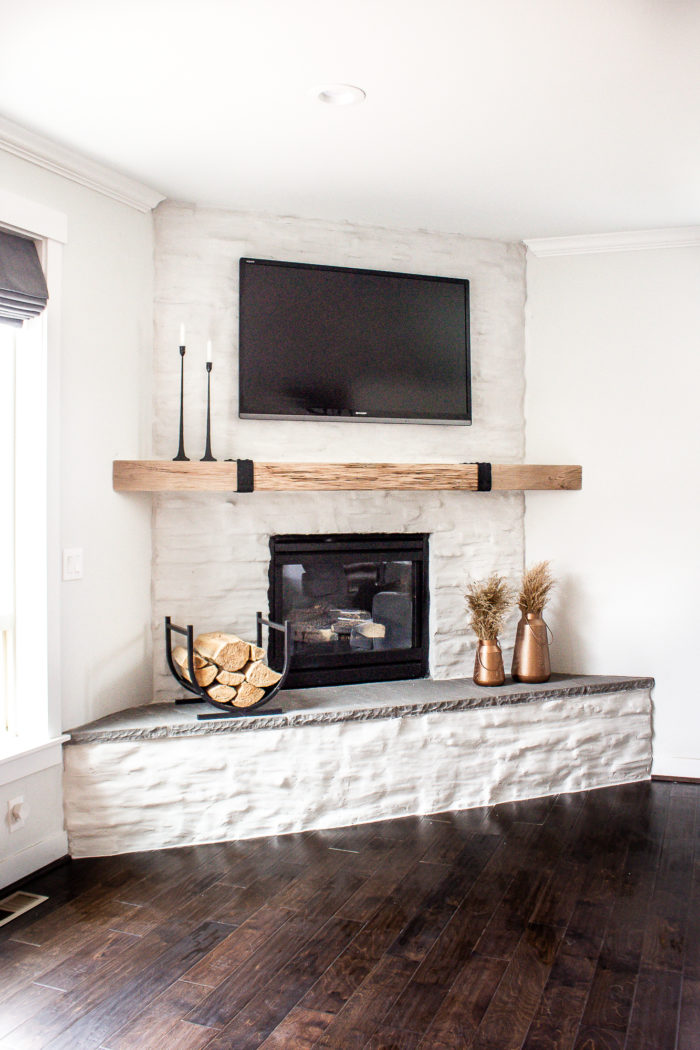
The new mantel really made the makeover! This was the priciest part of the refresh but worth it. The paint and the mortar for the first two steps were very inexpensive.

Mantel Supplies

  • (2) 4 ft. Open Shelving
  • Rubber Beam Straps
  • Hammer
  • Liquid Nails
  • Brad Nailer
  • Circular Saw or miter saw

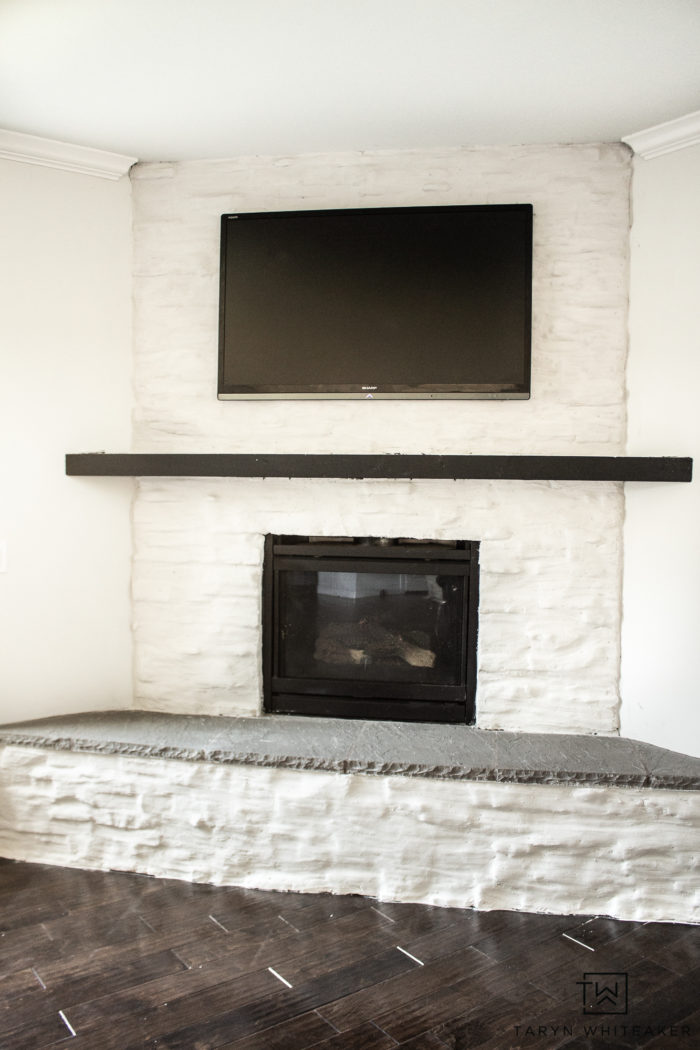
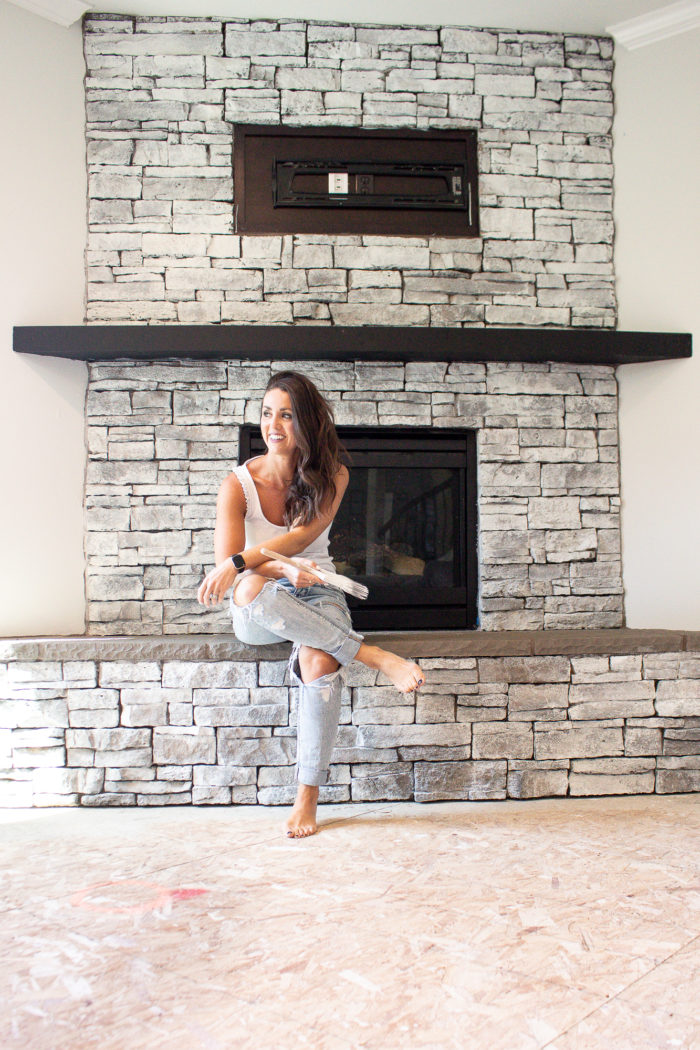
Ok so here is how we left off after I did the 2 coats of plaster, aka the “German Smear” look. Our existing mantel was just a piece of stained wood, nothing special at all. It was too thin for our fireplace and I just wanted something more unique and full of character.

Converting Your Open Shelves To A Mantel

I absolutely fell in love with the pre-made open shelving we used in our kitchen makeover! I had some left over pieces and decided to see if the opening was big enough to slip right over our existing mantel and… BINGO! It was a perfect match. Love it when that happens.

So I ordered two 4 ft. Open Shelving . Your sizing will depend on the size of your mantel, but this worked perfect for mine. Once they arrived, I gently knocked off the end caps and the two support pieces in the center with a hammer.

I had to use my saw to clean up the edges a little bit, but overall it was a super easy process to get them prepped.

The first piece, I left the full 4 ft , this will be the long piece in the center of the mantel.

For the second piece, I cut it in half, straight down the center. My miter saw worked great for this, I just had to use my circular saw to help with a few pieces and clean up the edges.

Because I have a corner fireplace, I had to cut the end pieces at an angle so they fit flush.

Installing Your Wood Mantel

You’ll want to use a level to make sure your pieces are sitting level before you secure them. Then, I used my Brad Nailer to secure them to the existing mantel.

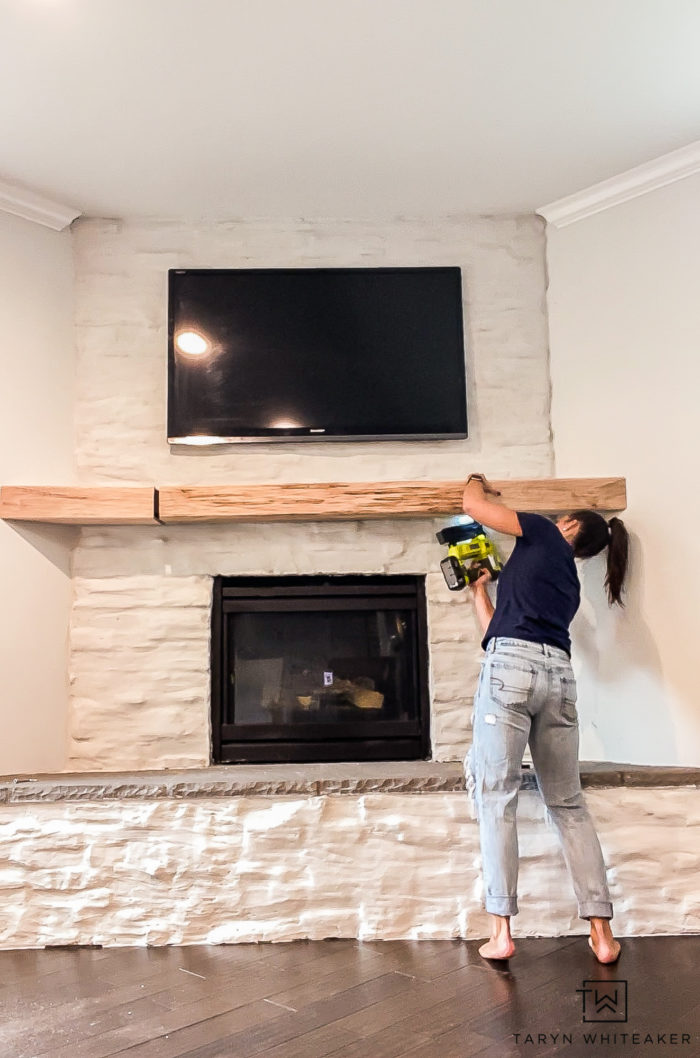
I also nailed under the mantel as well to make sure it was fully secure.

Since the stone is uneven, I had some gaps where the mantel met the stone, so I grabbed a piping bag of mortar and filled in the gaps to create a really clean and polished look. I also did this on the top and bottom.

Time to cover the seems! I tried to find metal u-shaped brackets, or beam straps to go over the seems, but I couldn’t find any that fit the depth of my mantel. So I went on a search online and came up with these rubber faux “beam straps”. I thought I’d give them a try! PS. They are solid black in person, not sure why they are more rustic in the picture.

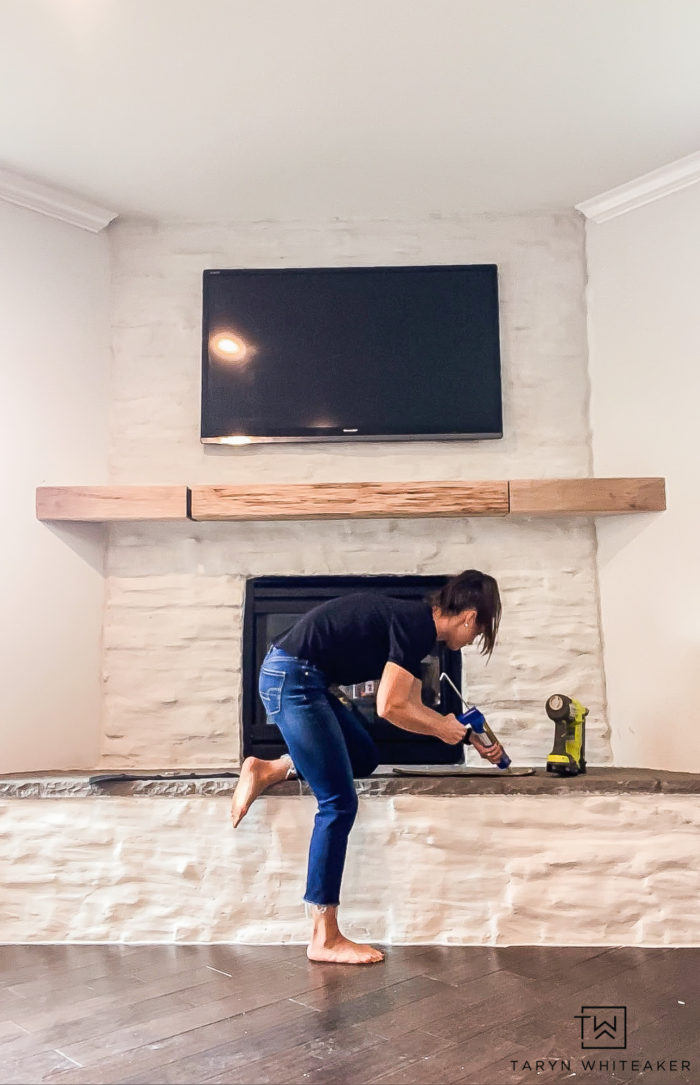
First, cut them to size. Then, you just want to apply liquid nails to the back and make sure you get all the edges and corners.

In the directions, it says to use a tack to keep the rubber in place and then remove them once the adhesive dries. I decided to put a few finishing nails in and it worked great. You can hardly see them.

I absolutely love how it turned out. The whole process on the fireplace, from painting, to German Schmear was very tedious, the mantel was actually the easiest part!

Shop This Post

Other Posts You May Like:

White Wash Brick Tutorial

German Schmear Stone Fireplace Tutorial

About Taryn Whiteaker

Hi! I’m Taryn! The voice behind Taryn Whiteaker Designs. I launched this brand over 11 years ago when I became a stay-at-home mom. What started as a small craft and mom blog eventually grew into a full time design and DIY site. My goal has always been to inspire others (especially women!) with design ideas, DIY tutorials, entertaining ideas and give you the tools you need to complete them yourself!

Filed Under: ALL POSTS, Before and Afters, DIY Home Decor, DIY Projects, Our Current Home, Our Home Projects, Room Reveals

Reader Interactions

Leave a Reply Cancel reply

Your email address will not be published. Required fields are marked *

Primary Sidebar

Looking For Something?

CONNECT

Meet Taryn

Taryn Whiteaker

Hi and welcome! I'm Taryn and the voice of style behind Taryn Whiteaker Designs. Sharing our journey of modernizing our European style home in Dallas. Thanks for stopping by and don't forget to subscribe to my mailing list to get all the latest updates! Read more...

Footer

THIS SITE

  • Home
  • About
  • Contact
  • Partner with Taryn

Privacy Policy

If you are interested in learning more about data that might be collected by this site you are encouraged to read the Privacy Policy

COPYRIGHT POLICY

All images on this site are copyright of Design, Dining and Diapers, LLC. Unless otherwise noted. You may not use these images without written permission. If you would like to feature a project shown on Design, Dining and Diapers you may use a maximum of 2 images and include a visible link back to the project.

More From The Gram

tarynwhiteaker_designs

Taryn Whiteaker Designs
Help me pick a chandelier for our back stairwell! Help me pick a chandelier for our back stairwell! The very last one was my initial pick, but now y’all have me questioning a few others after my stories today…

Comment SHOP if you want links to any of them! 

#interiordesign #homedecor #neutralhome
Comment STAIRS for the links to the gold stair rod Comment STAIRS for the links to the gold stair rods I used! $600 vs. $4000 is a huge difference for two staircases! Love the elevated, timeless look. They add such an elegance. ✨ #homedecor #diy #diyhomedecor #lookforless #interiordesign
No regrets. One of the best decisions we made in 2 No regrets. One of the best decisions we made in 2025. 🐶🐾 was I prepared for the sleepless nights? No. Do I have to vacuum every day now? Yes. But she the perfect fit. They are so cute together 🥺

#puppystagram #goldenretrieverworld #goldenretrieverlovers #dogmom #puppy
Comment TRIP for all the details on our family tri Comment TRIP for all the details on our family trip to @bigcedarlodge in Missouri and my complete travel guide. This was just a 6 hour drive from Dallas and the perfect way to end our holiday break. Winter in the Ozarks completely exceeded our expectations, there is SO much to do and now we just want to com back in the summer and experience every season.

Highlights include:

⛸️ice skating and tubing 
🔥outdoor fires and inside ones too!
🚤peddle boating on the lake 
🍮coffee and treats at Truman Cafe 
⛳️Nature at Night Golf Cart Adventure 
🎯Games at Fun Mountain
🌊Swimming Under The Stars ✨ 
🌾Finley Farms and Mill Tour 

If you are a nature loving family, or just want to experience a family friendly resort on the lake, you must add this to your list! 

#bigcedarlodge #topoftherock #finleyfarms #ozarks familytravel 

(Hosted)
The Most Popular Home Items I shared in 2025! Comm The Most Popular Home Items I shared in 2025! Comment LINKS to shop! A combination of affordable finds for a luxe look and investment pieces that will last for decades. 

#neutralhomedecor #homedecorideas #myhomedecor #decorating
Comment INFO for all the details on the big DIY pr Comment INFO for all the details on the big DIY projects from 2025! A fun bold teen bedroom with gaming station and hidden door, a mudroom makeover to keep us organized, the big staircase renovation (more to come), and some small styling projects that are always making our home feel a little more cozy. 2026 is already looking to be a big year with even more DIY renovations….

#diyhomedecor #homedecor #homedesign #diyprojects
Comment SHOP for all the top selling Amazon finds Comment SHOP for all the top selling Amazon finds from 2025!  It’s always the random finds that are my favorite! #amazonfinds #amazonhome
It’s that magical time of the year…. Savoring It’s that magical time of the year…. Savoring this week. ❤️

#christmastreedecorating #christmas
Staircase reveal part one! SWIPE for the before an Staircase reveal part one! SWIPE for the before and to see all the details. This has been a major project over the course of the last 7 months, and it has been so exciting to see it all come together. My goal was to create an elegant and timeless look to our staircases, adding character with unique features of the railings, classic neutral runners with gold stair rods to complete the look and a moment for the large luxe chandelier that you can see from the courtyard. And of course a fresh look with smooth creamy walls. 

But I’m not entirely done just yet! Part 2 will be coming in 2026! 

#homestyle #mylowesfinds #homerenovation #staircasedesign #staircases
Follow on Instagram

Copyright© 2026 · Brunch Pro Theme by Shay Bocks · Hosting by 3116 Digital