Disclosure: This post is sponsored by WORX TOOLS, all opinions and creative ideas are my own.
I’ve been having so much fun playing around with my MakerX Crafting tool from WORX Tools. I’ve shown you a few projects already, remember this DIY Resin Canvas Art and my DIY Copper Christmas Decor? Today, I’m showing you one more project and making DIY Wooden Taper Candle Holders.
DIY Wooden Taper Candle Holders
If you aren’t familiar with this tool yet, it’s amazing! It really is the ultimate tool for the crafter. If you enjoy crafting or DIYing, this tool gives you so many attachments that allow you to do anything from wood burning, soldering, grinding/cutting metal, air brushing and using the heat burning tool. Add it to your Christmas list!
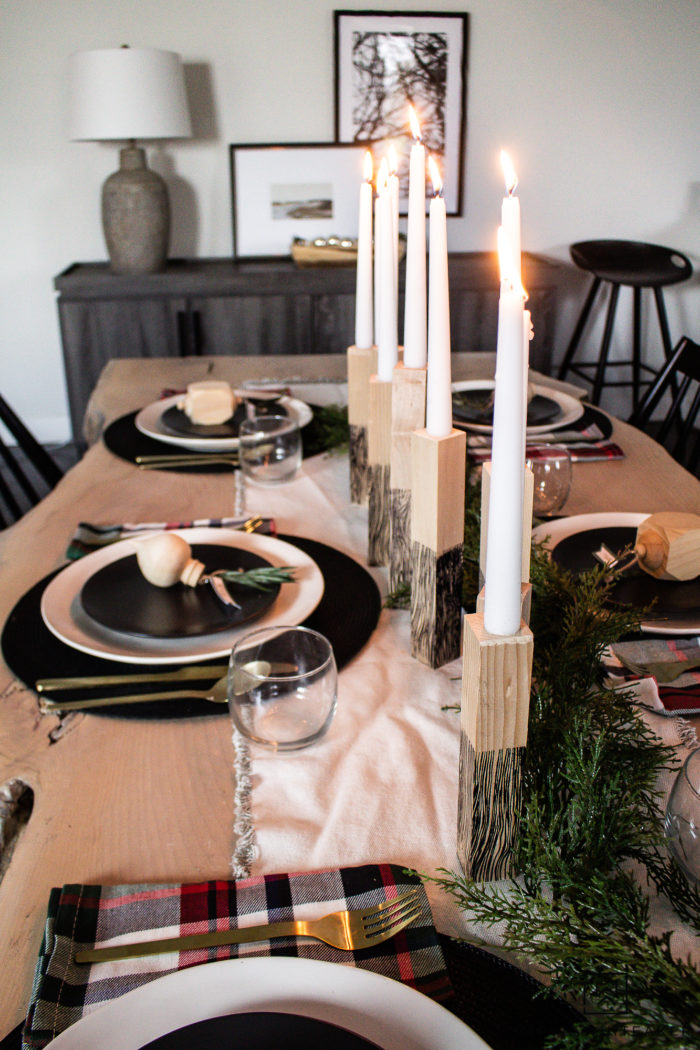
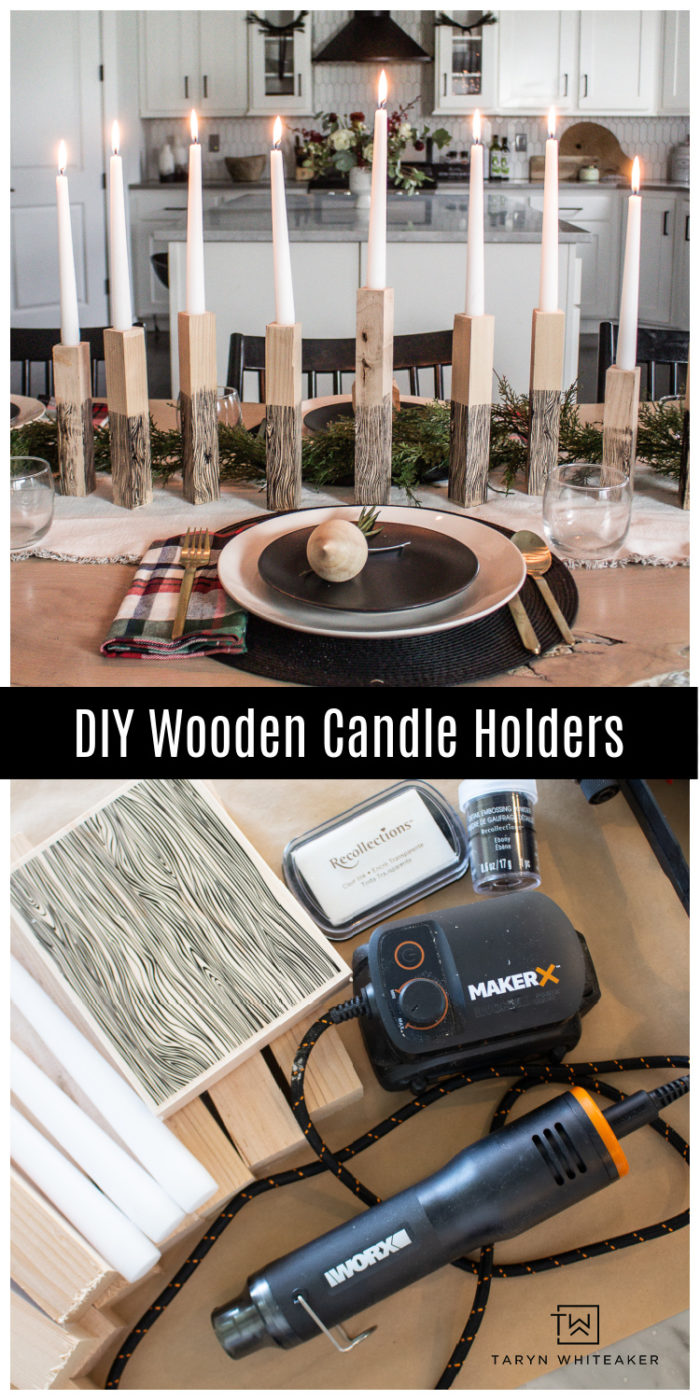
I’ve been wanting to make my own modern wooden taper candles for awhile now and I am so happy with how these ones turned out! Best part, they were SO easy make. It actually didn’t take me as long as I expected.
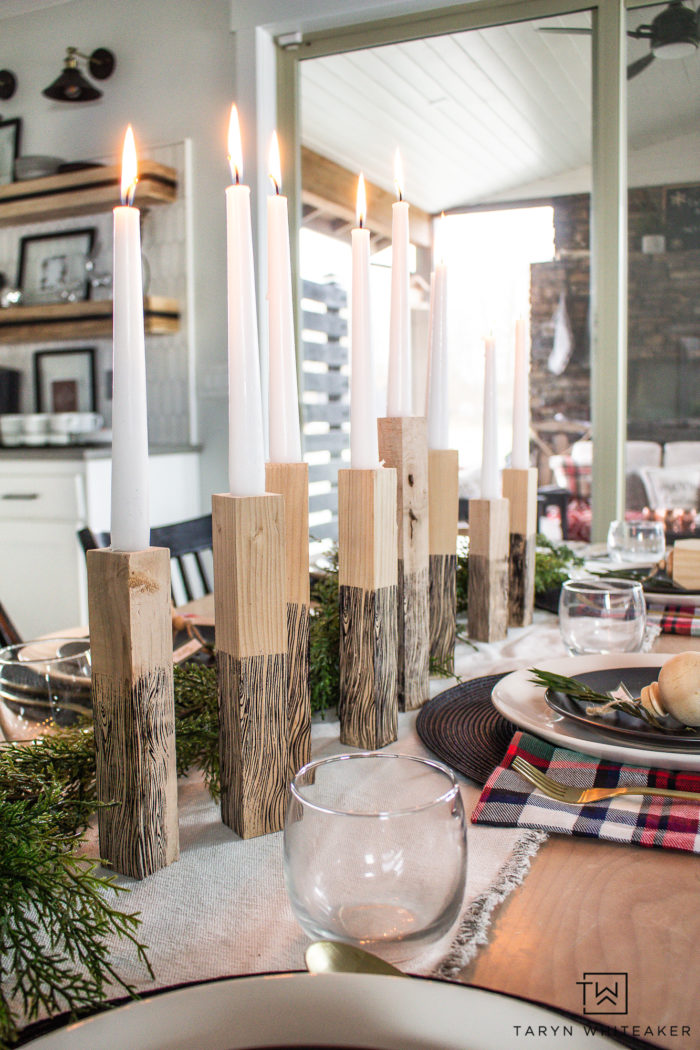
These rustic modern candle holders are made with natural wood and then I embossed a raised wood grain pattern on half of the base to create a unique and textured look.
These candle holders are cute for a rustic Christmas, but you would really use them all winter long. Maybe even all year!
Taper Candle Holder Supplies
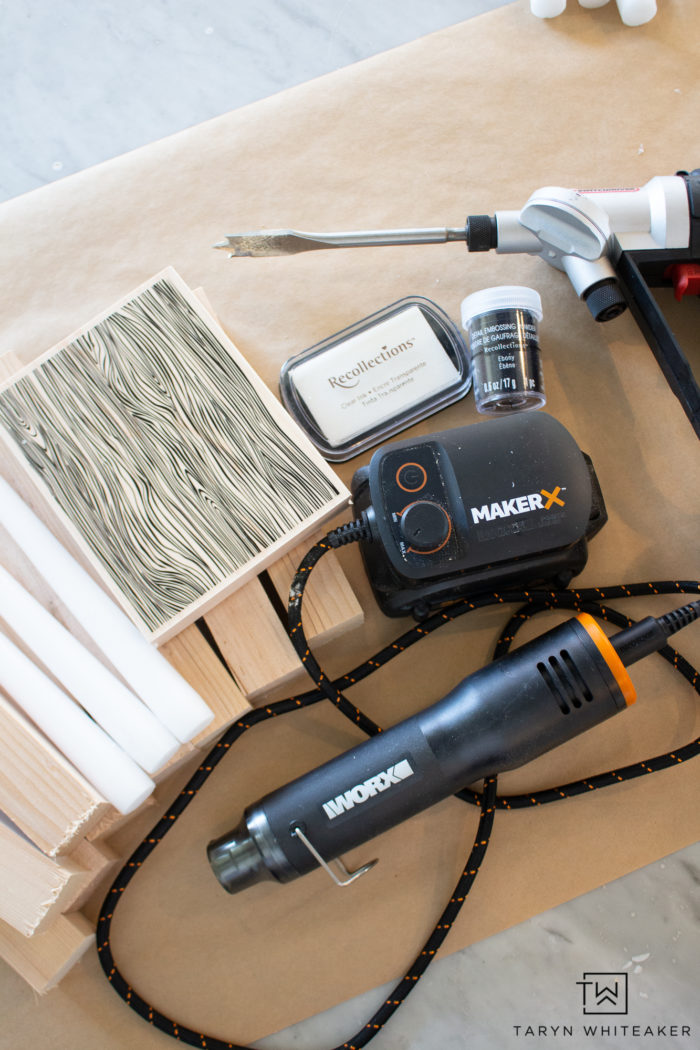
- 2X2″ square wood cut in varying lengths
- WORX Tools MakerX Crafting Tool
- MakerX Heat Gun Tool & Rotary Tool
- WORX Tools Switch driver with 3/4 Flat Bit
- Embossing Ink & Black Embossing Powder
- Wood Grain Rubber Stamp
- White Taper Candles
How To Make Wooden Taper Candle Holders
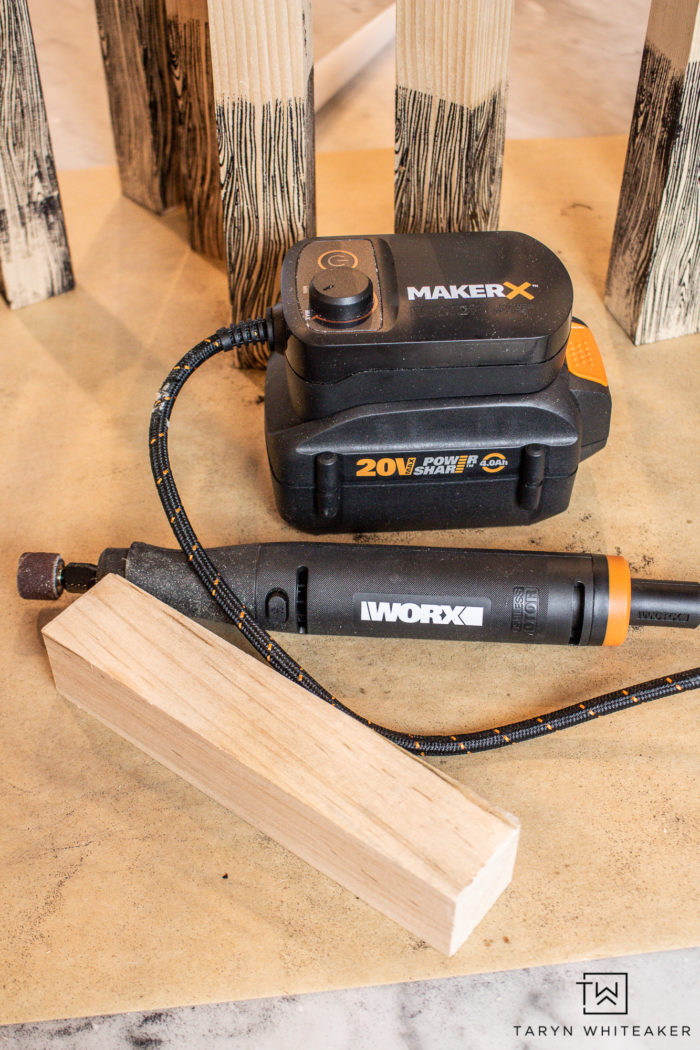
Cut your wood to size. I did nine candle holders, ranging in size from 6″ – 10″.
Using the Rotary Tool with the sanding attachment, on a very low speed, gently sand down the edges of the wood to smooth out any splinters.
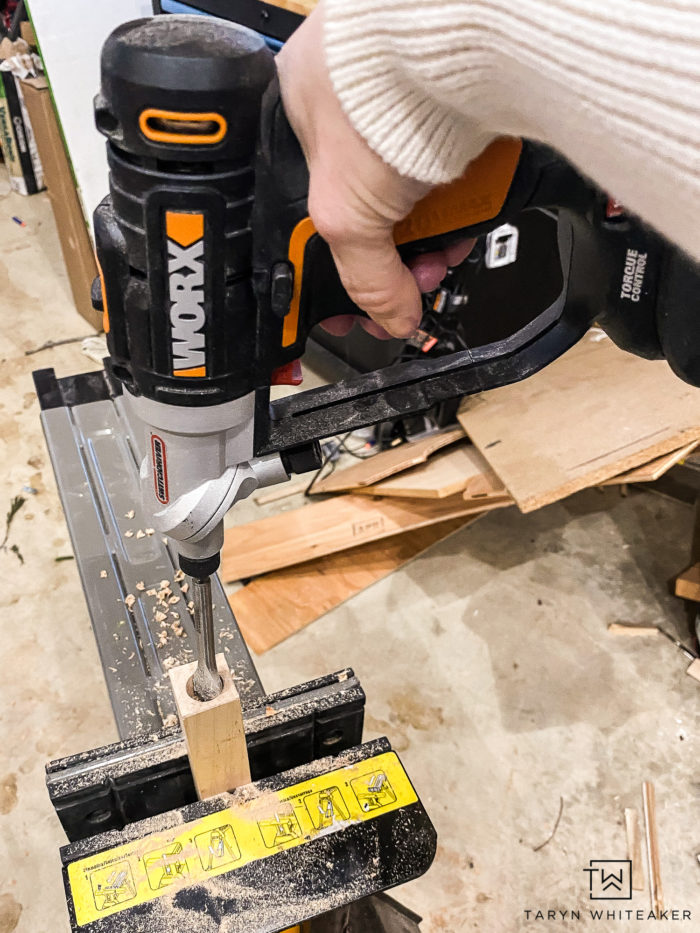
Then, take your WORX Tools Switch driver with 3/4 Flat Bit and drill a 2″ hole in the center of the wood. I seriously love this tool! If you haven’t heard of it already, it has two heads to it so you can have two bits going at the same time. Meaning you can use one, and just flip it to use the other bit. Instead of having to change them out. It saves so much time!
And that is IT for making the base of the candle sticks.
How To Emboss Wood
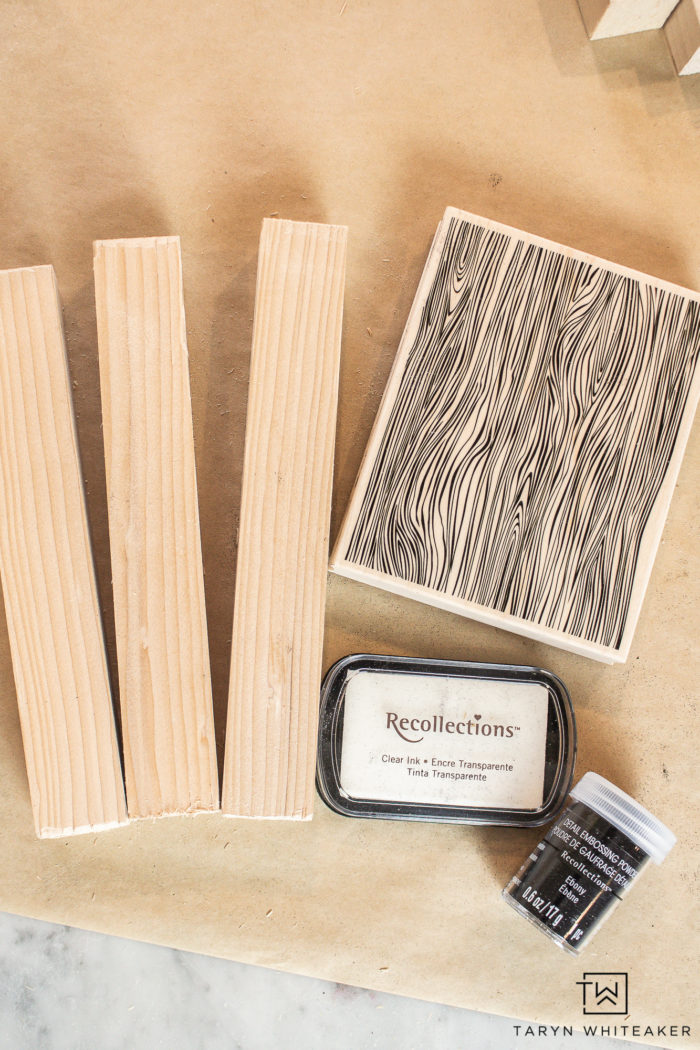
This is the very first time I have embossed on wood! In fact, I don’t think I have done any embossing since I was kid making stamped cards. But you guys, this just blew my mind! I can’t believe I got this look using a rubber stamp.
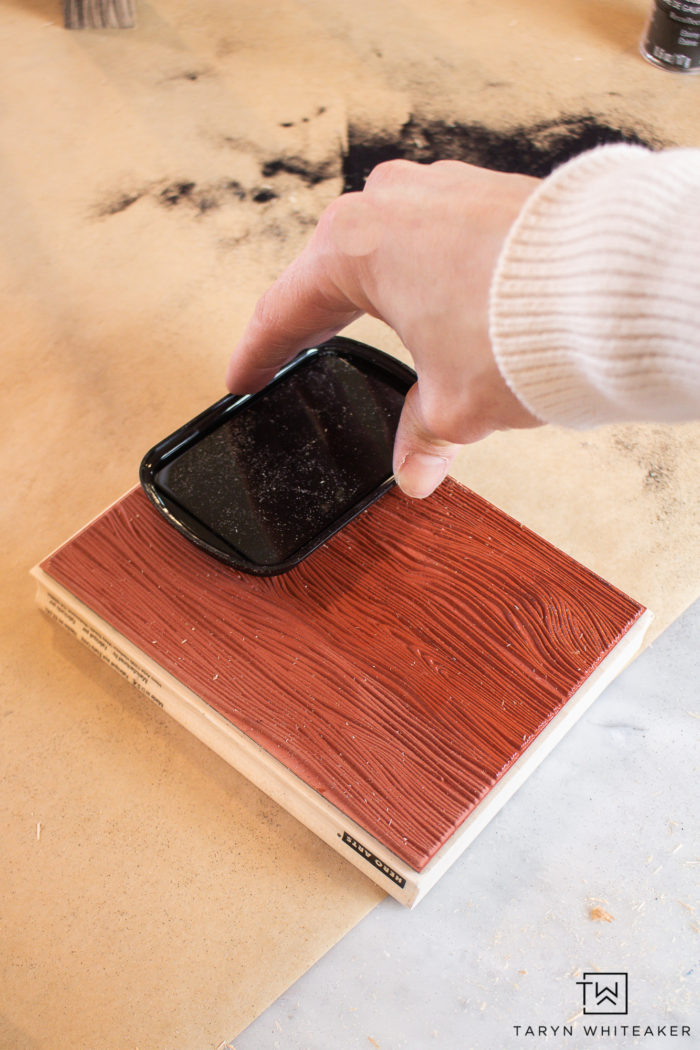
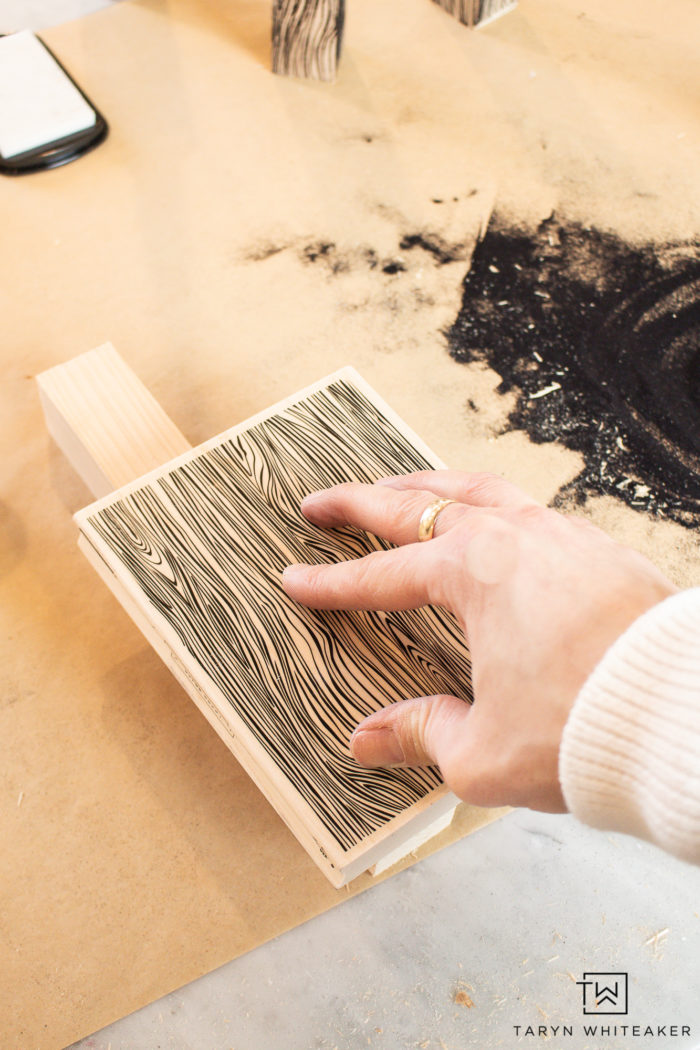
I just pushed the clear ink onto the stamp, then gently pushed it onto the wood.
I sprinkled the embossing powder over the design, and then shook the excess off.
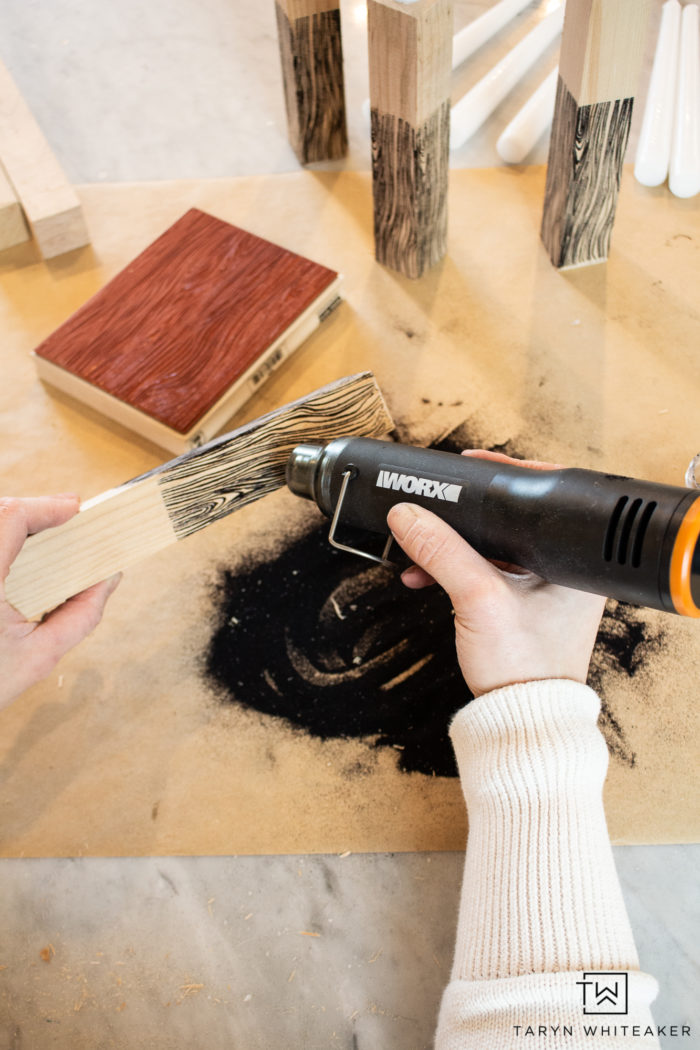
Using my MakerX Heat Gun Tool I heated the embossing powder until it melted and solidified. I typically did two sides of the wood, and then the other two.
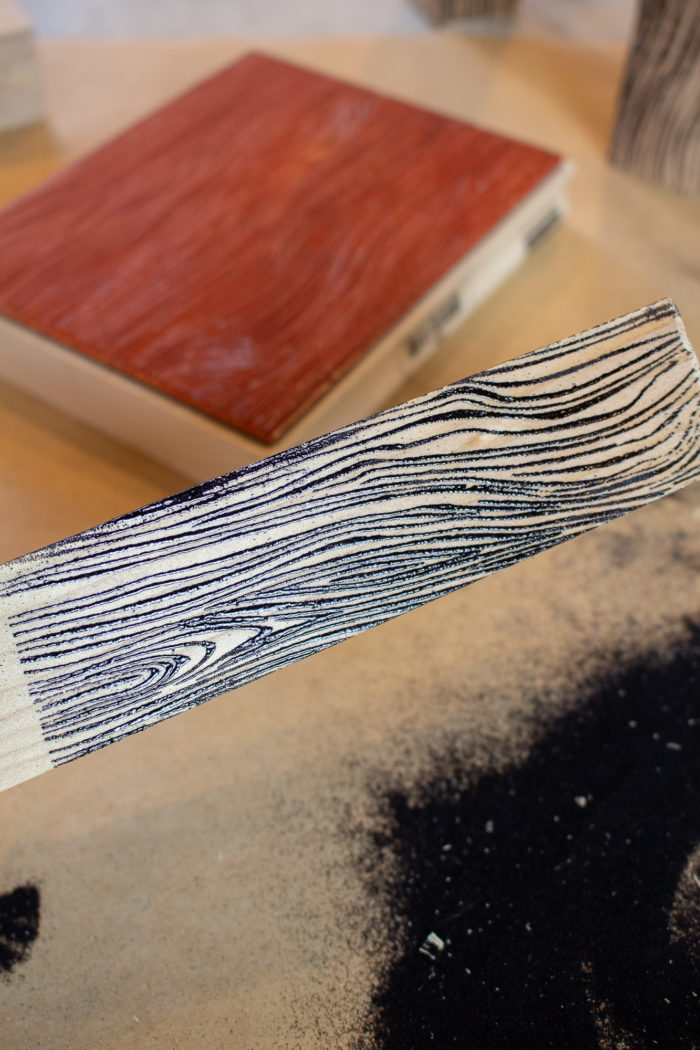
You just want to make sure you heat the powder until you see it turn to a shiny texture.
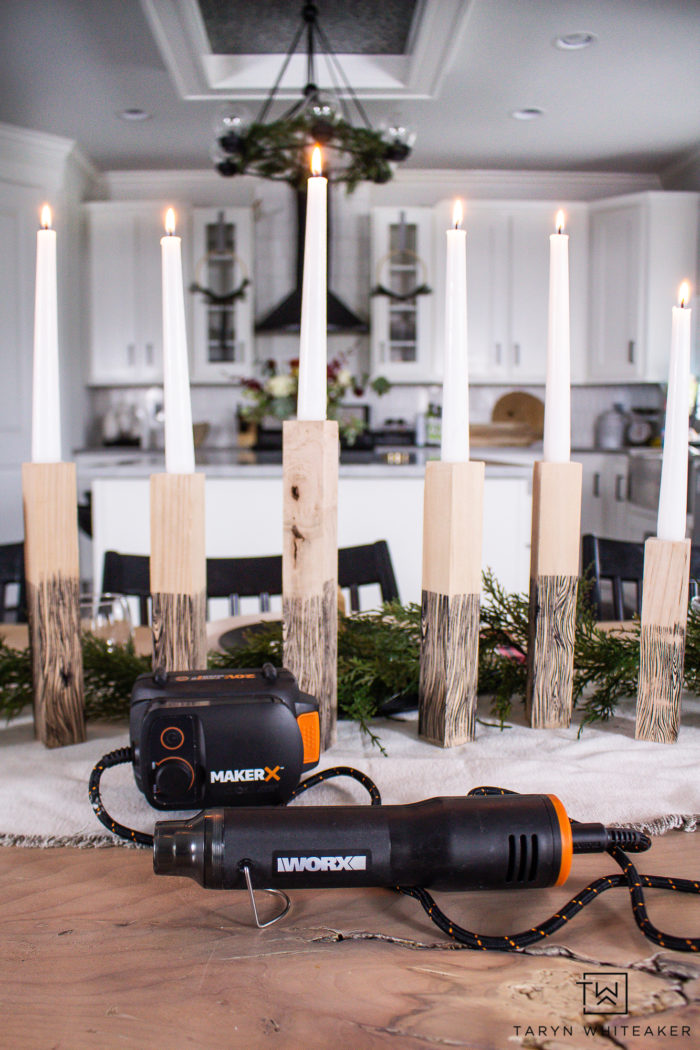
Last, twist a candle in and you have yourself a beautiful centerpiece!
You can also put them up on a mantel too!
Rustic Modern Christmas Tablescape
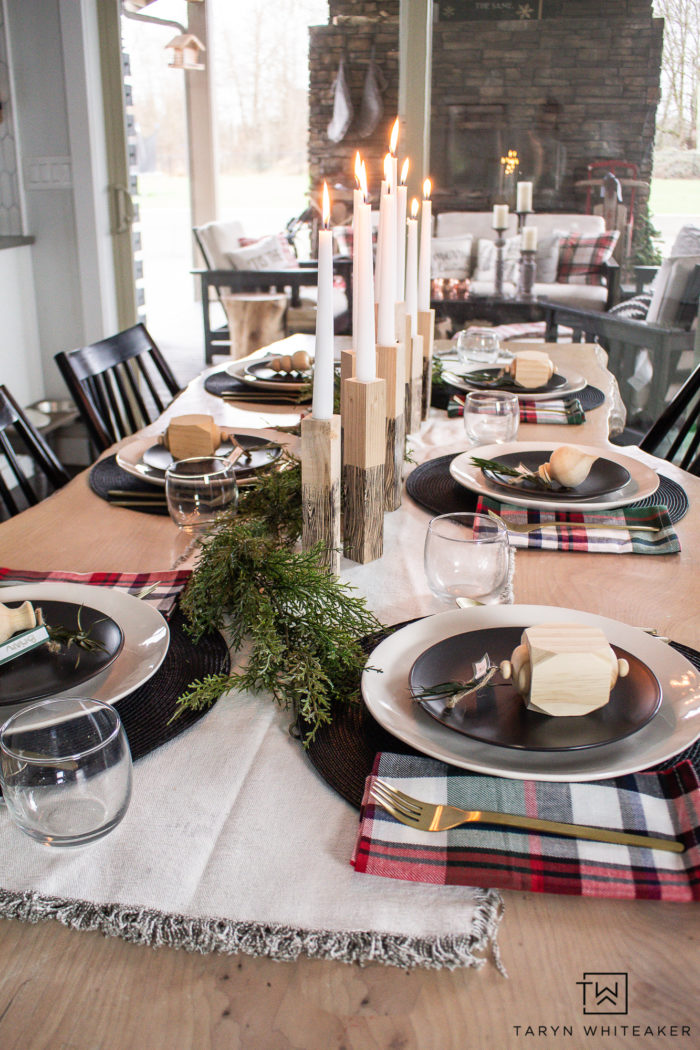
I love how they look cascading down the table. Such a beautiful bold yet classic look. I added some black and cream decor with the perfect tartan napkins.
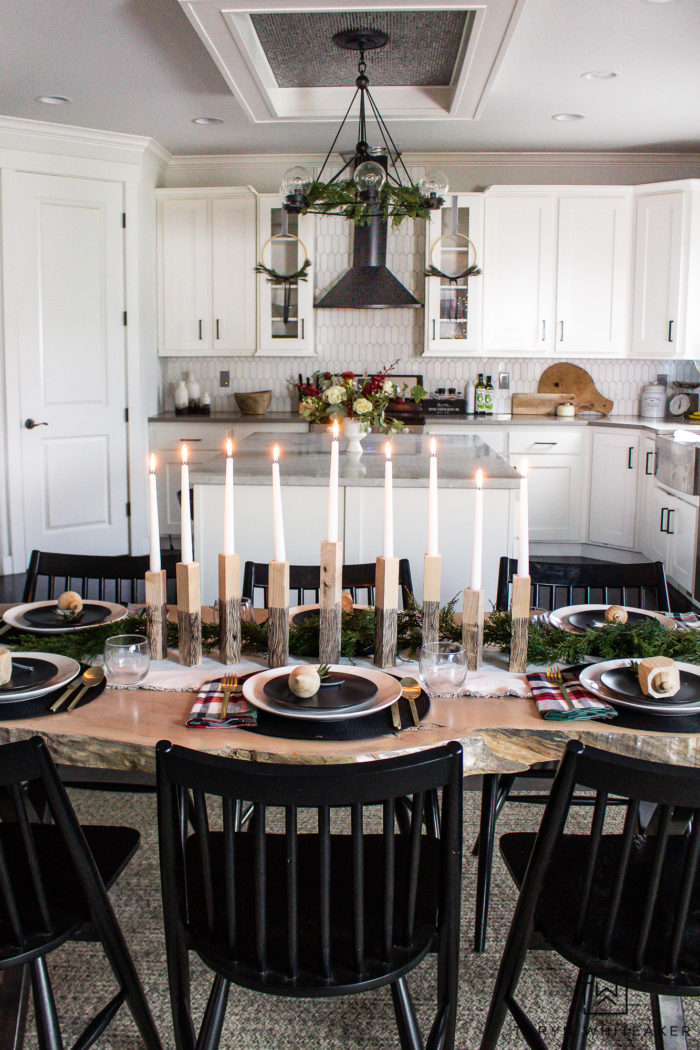
I have never done a tablescape quite like this before but I really love this more modern Christmas tablescape.
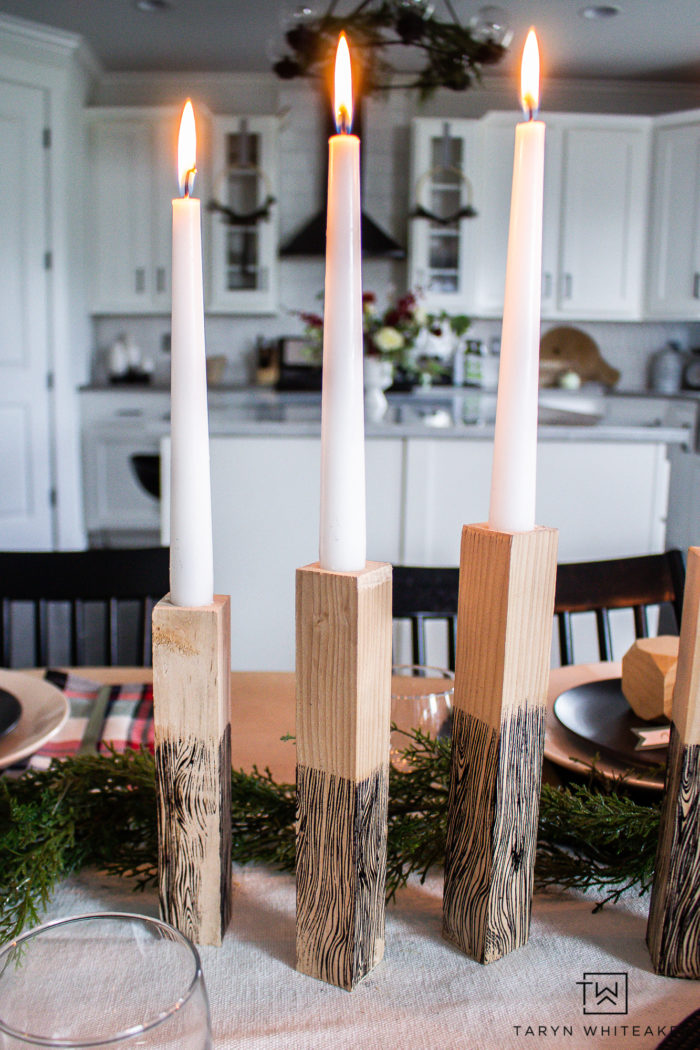
Here is a closer look at the faux wood grain pattern on the candle sticks. It almost looks like they are wood burned into it. But the stamping is much faster!
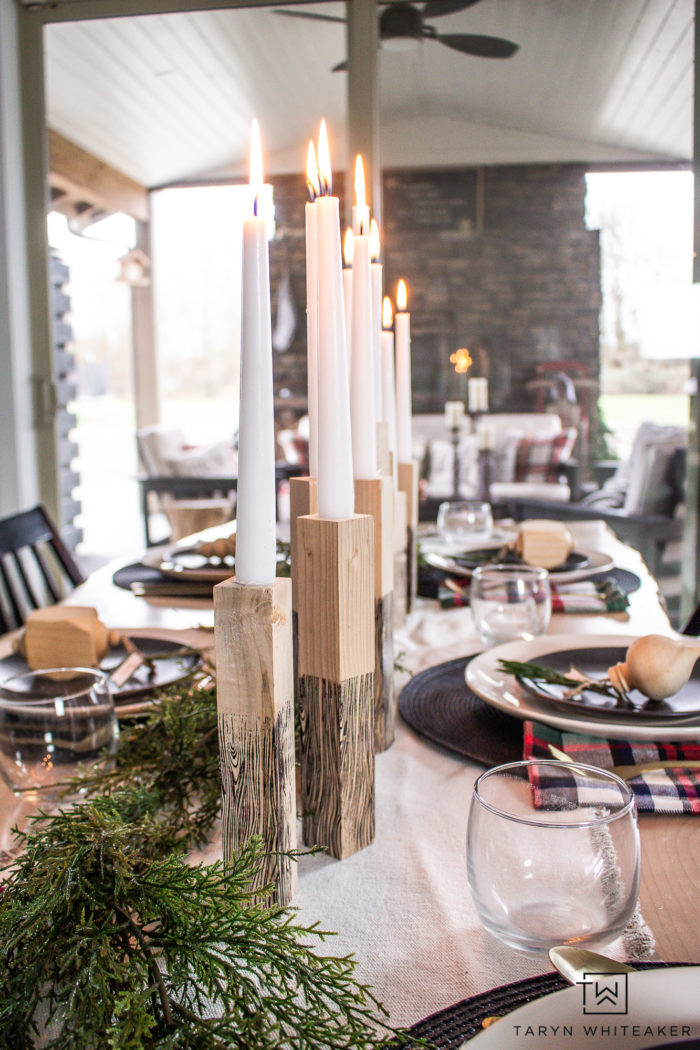
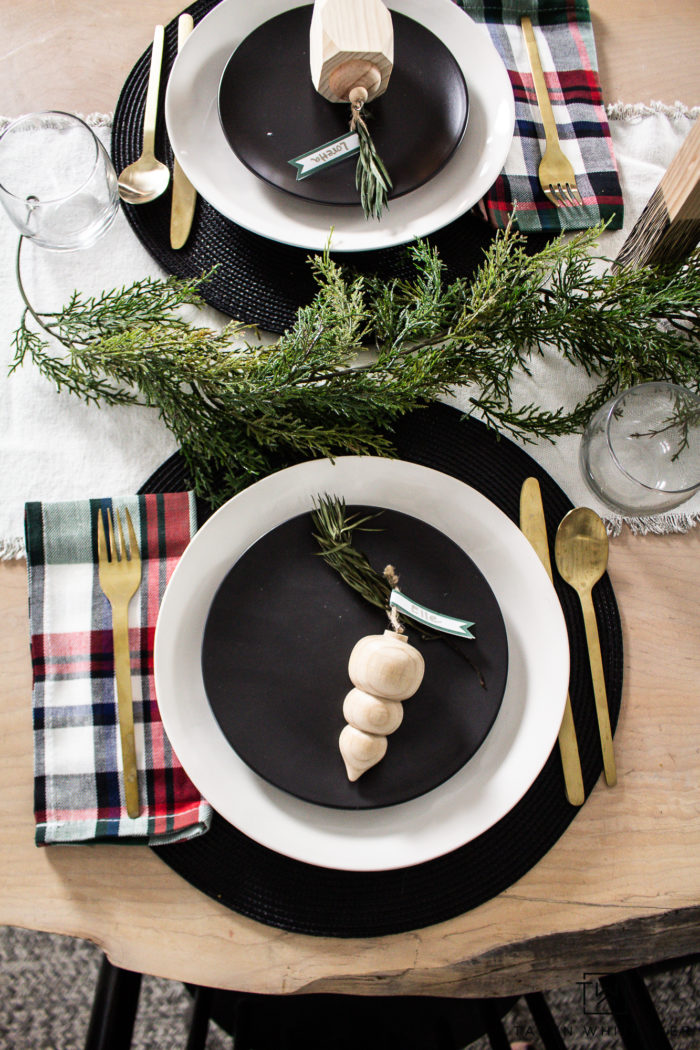
I love how this look turned out. You still have time to get the WORX Tools MakerX Crafting Tool for Christmas!



Leave a Reply