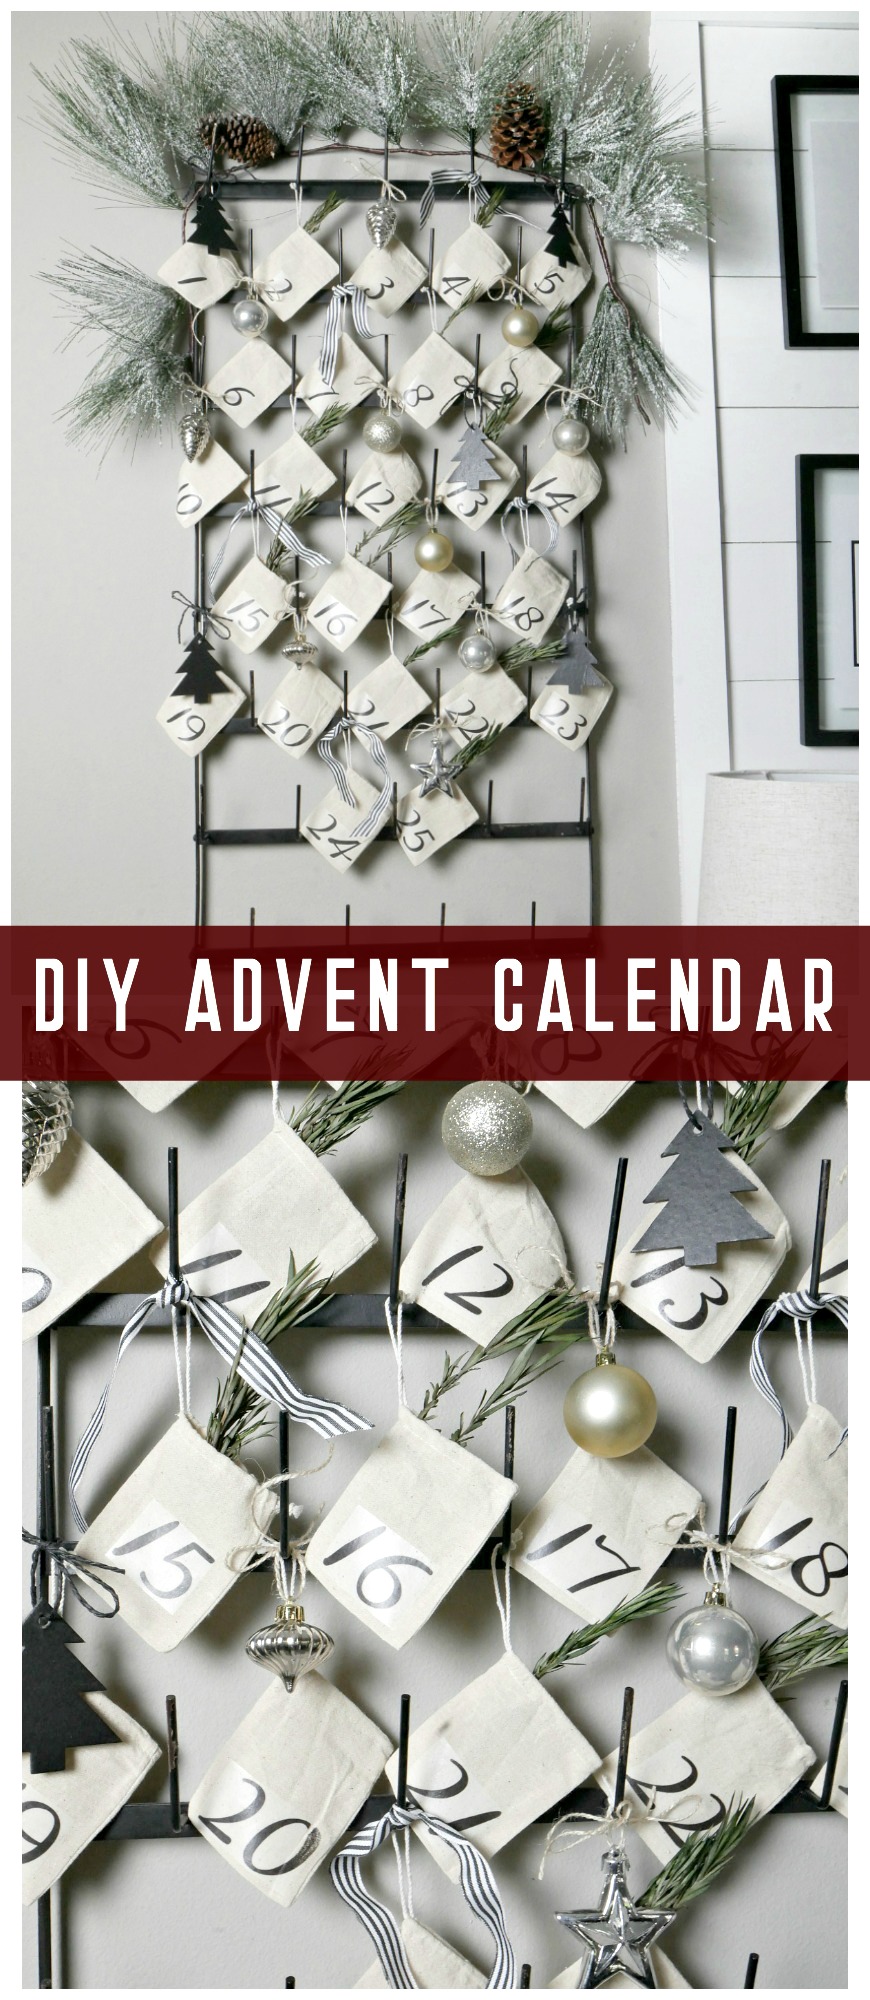
It’s almost time to start the official count down to Christmas. Doing an advent calendar with our kids is one of my favorite activities. After all, it was one of MY very favorite traditions as a kid. We always had those chocolate advent calendars where you would pop out one of the chocolate molds every day. Those were so much fun. A few years ago, I made a Bucket Advent Calendar and we have enjoyed putting surprises in that! I also did a Baby Food Jar Luminary Advent Calendar which was really fun and a great recycled craft. BUT, this year I wanted to do something a little different. I wanted our calendar to hang on the wall so my 2 year old can’t reach it. I got this idea of turning our farmhouse bottle drying rack in a DIY Advent Calendar by hanging little bags from it. I think it turned out so cute and the kids are beyond excited to kick it off next week!
DIY Advent Calendar
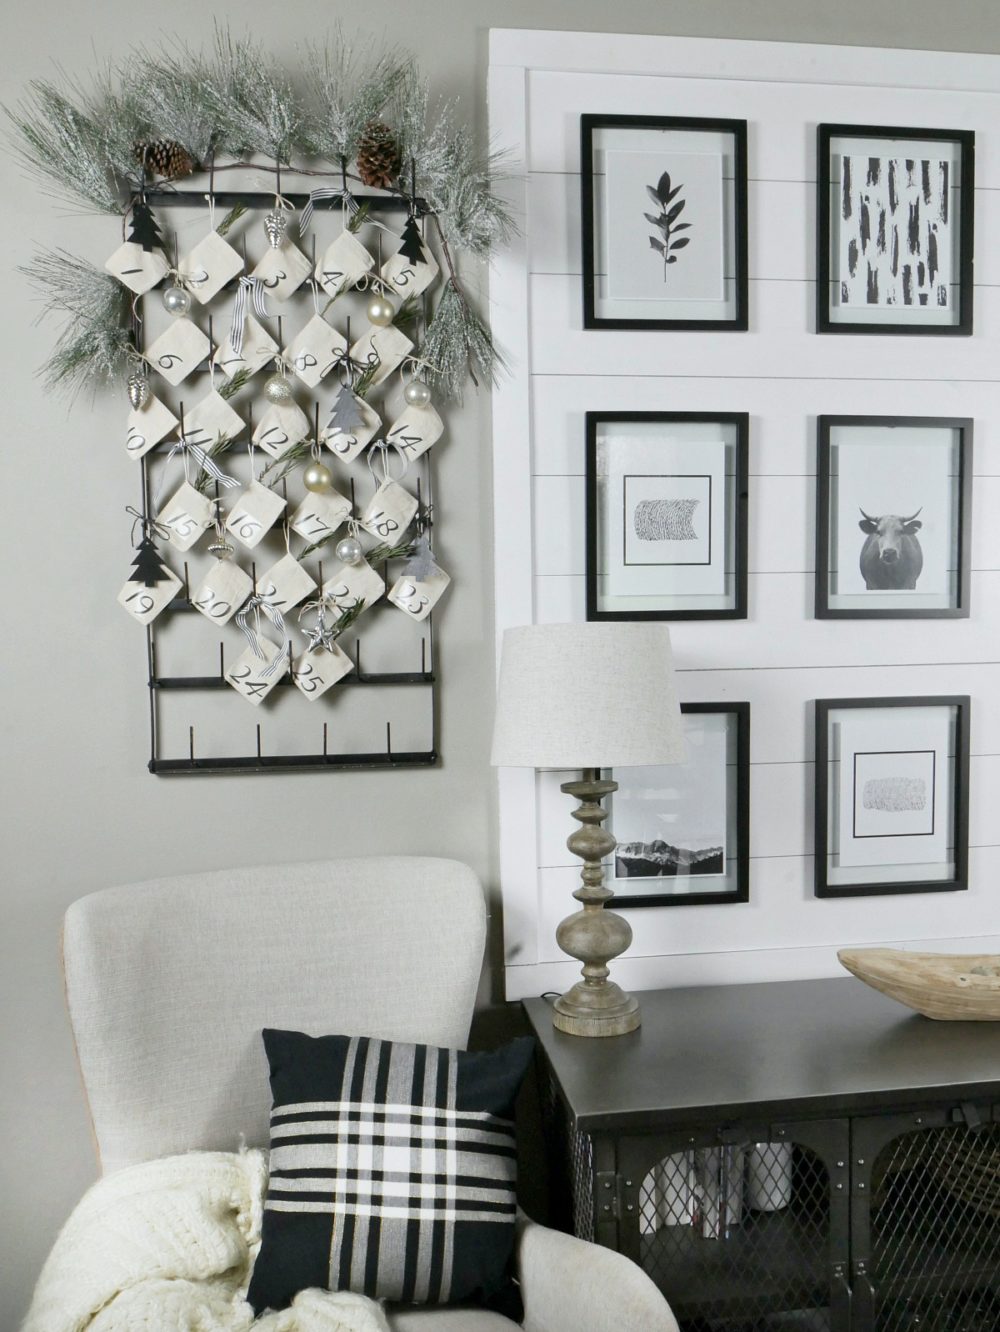
This was easily a 30 minute craft. All I had to do was print out the numbers, iron them on the bags and then add my own little decor. I love how I was able to use my existing fixture, made for such an easy transition into Christmas! PS. You can take a closer look at our Shiplap Display Wall and Black and White Prints here. 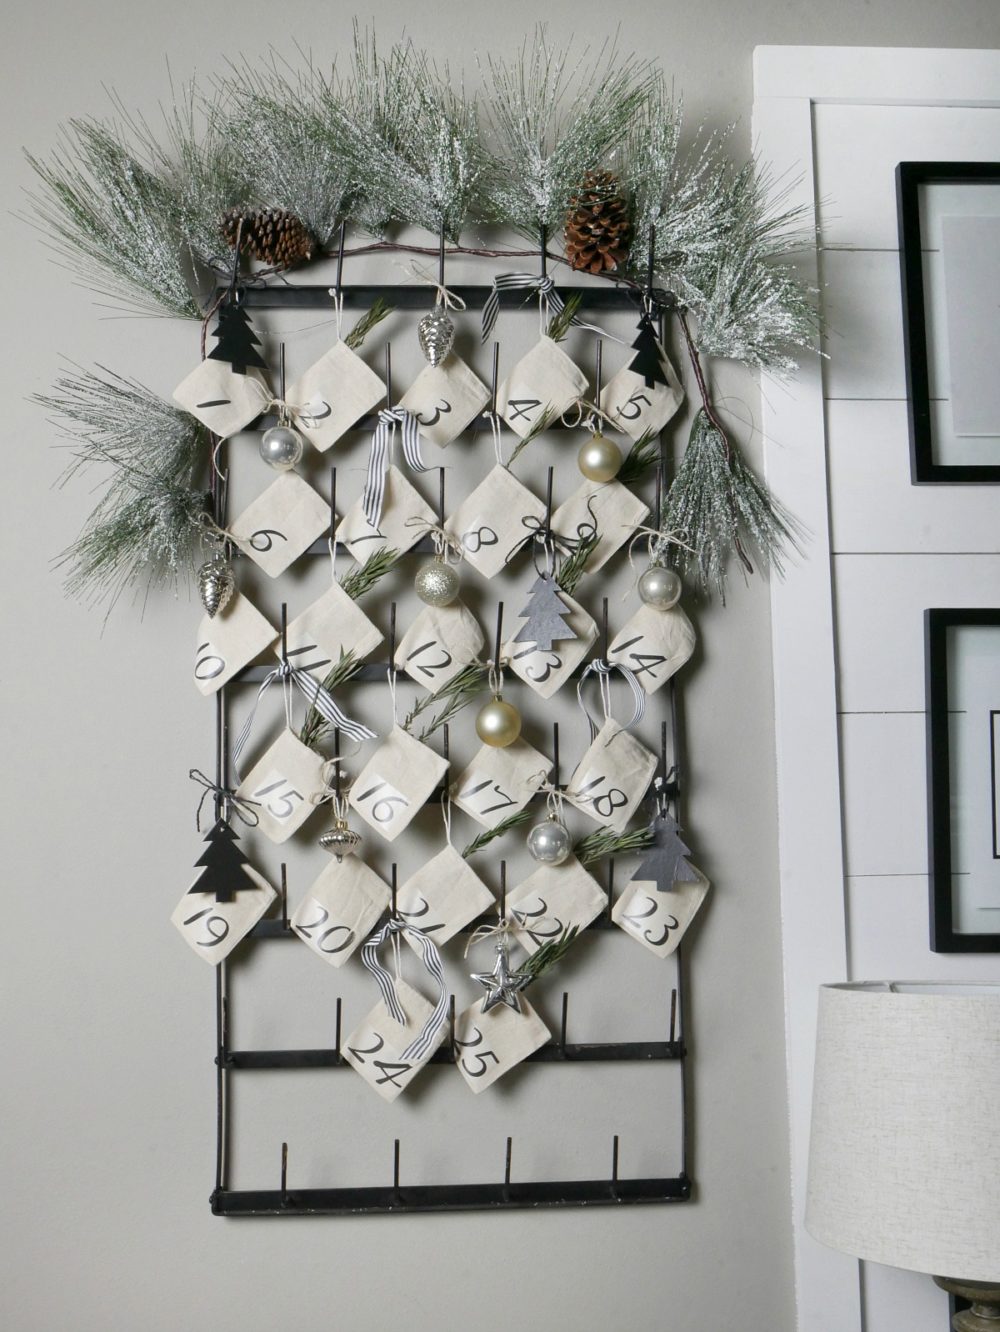
So here is what you need:
Advent Calendar SUPPLIES
- 25 Cotton Muslin Favor Bags
- 2 Sheets Iron on Transfer Paper
- Scissors
- Iron
- String, greenery, ornaments, etc for garnish
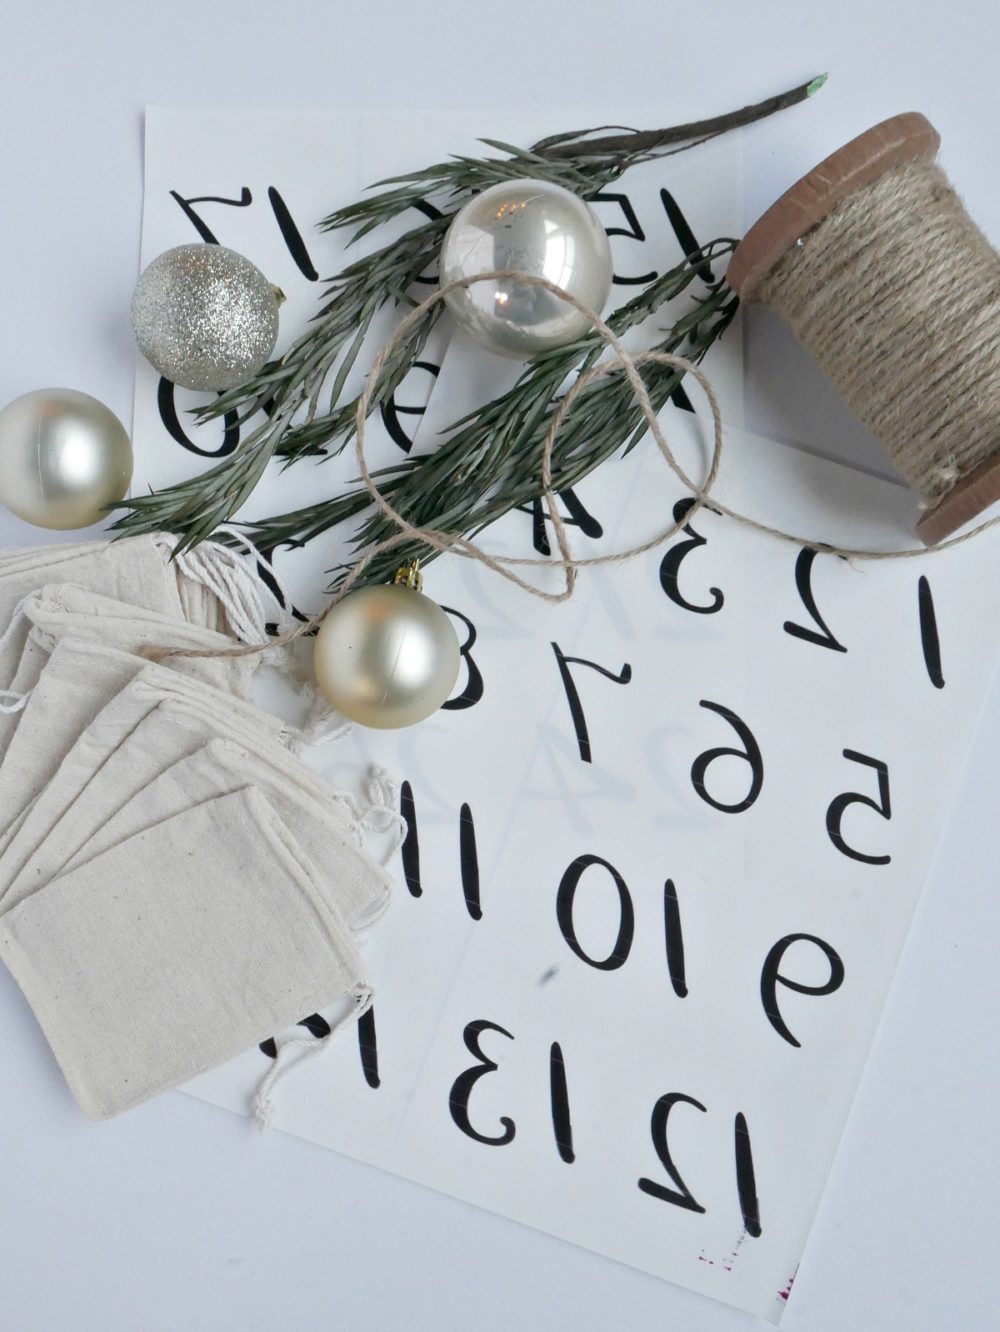 I really wanted to have the numbers available to you for free download today, but right after I did this project my two year old spilled coffee over my 6 month old macbook and well, it doesn’t turn on. Sooooo, I’ll get them to you once I can get to them. But regardless, all you need to do is type out numbers 1-25, just make sure to REVERSE THE IMAGE before you print them onto the Iron on Transfer Paper.
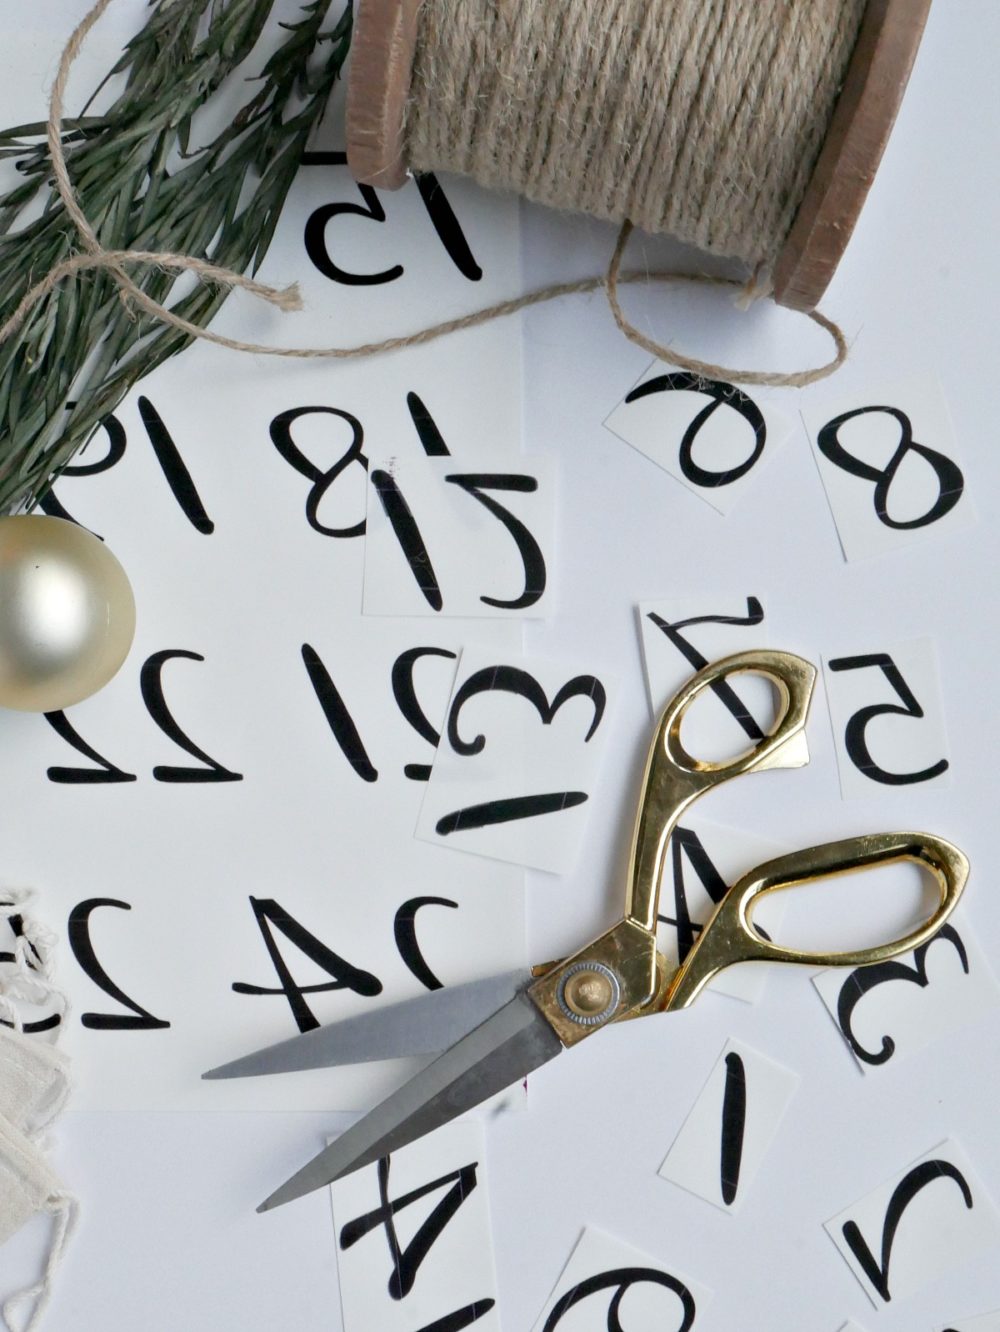 When you transfer the images, it will leave a little bit of a plastic residue on the areas without ink. I chose to cut all my numbers out in squares so they were all consistent.
 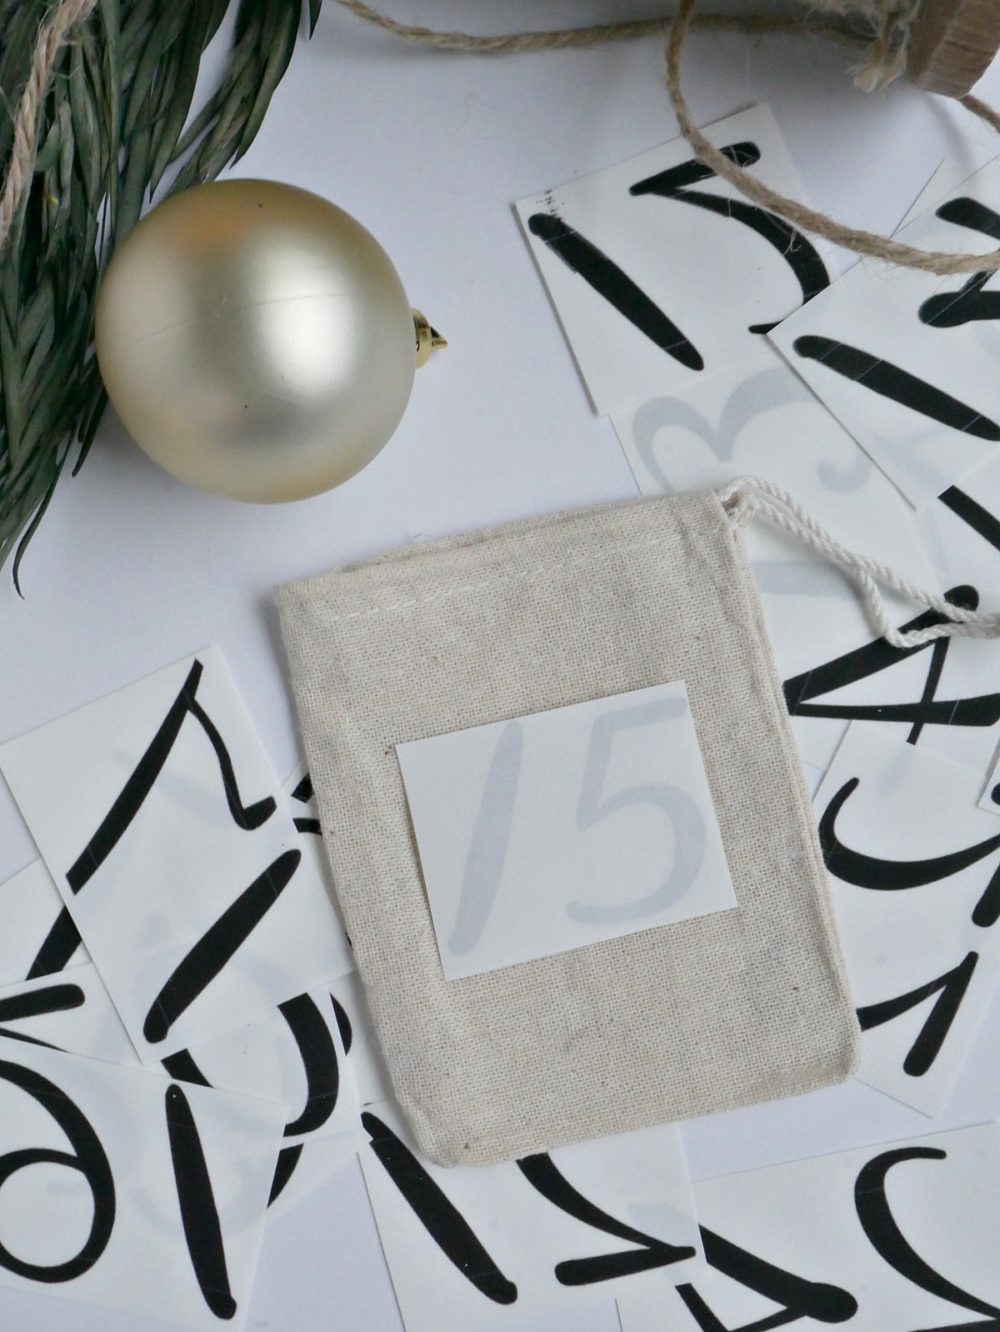 Place the numbers toward the lower end of the bag. ALSO, double check to make sure the bags are all facing the same way (draw string on the right or the left) so they all hang the same direction.
 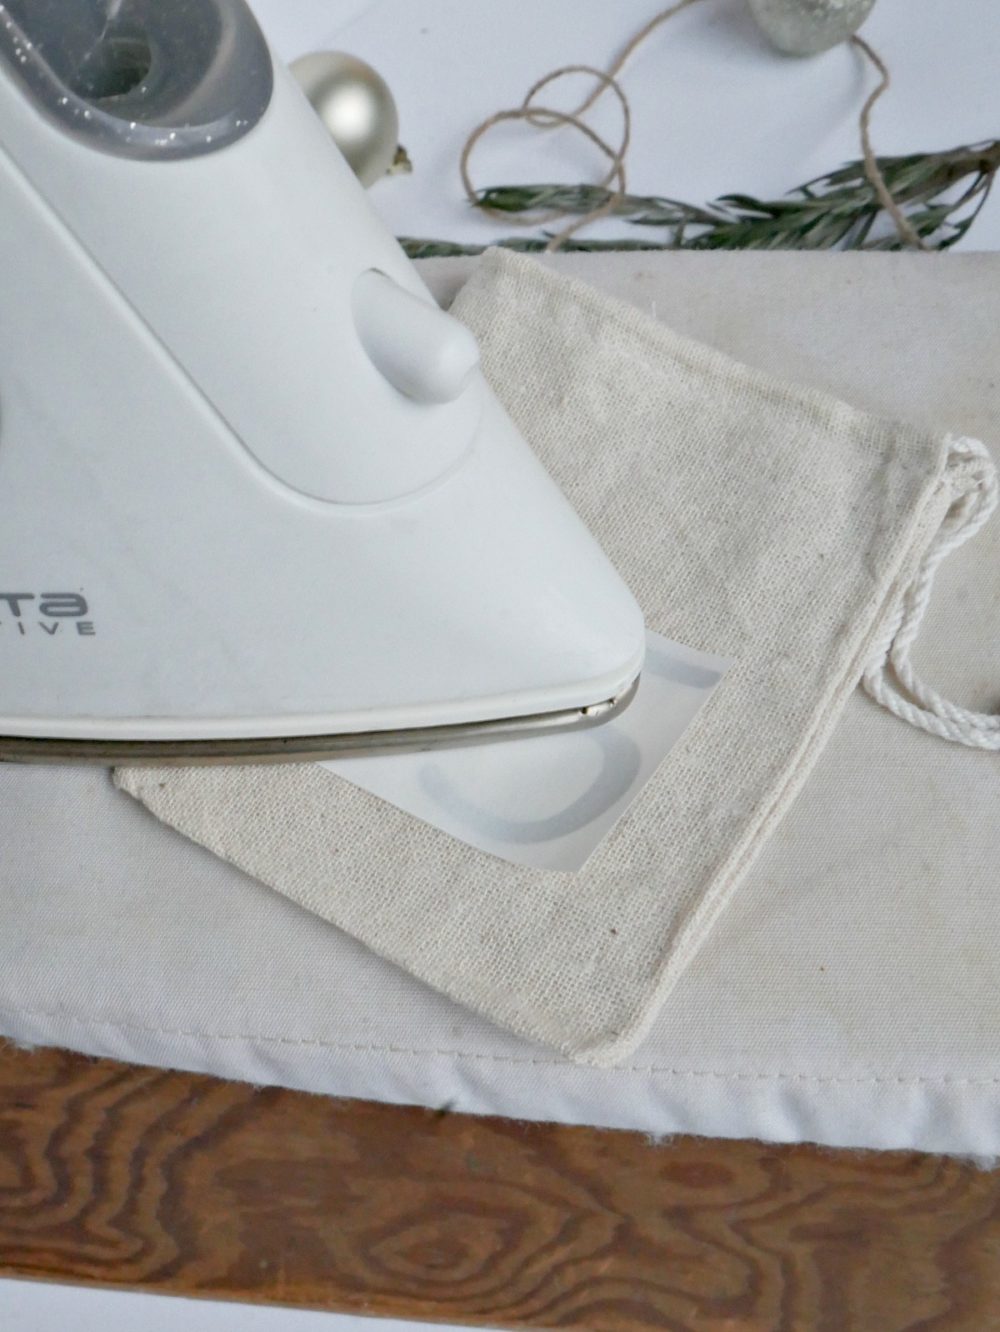 Iron on for about 15-30 seconds. Then let them cool for a bit. Pull the paper off and you have personalized bags!
Farmhouse Style Advent Calendar
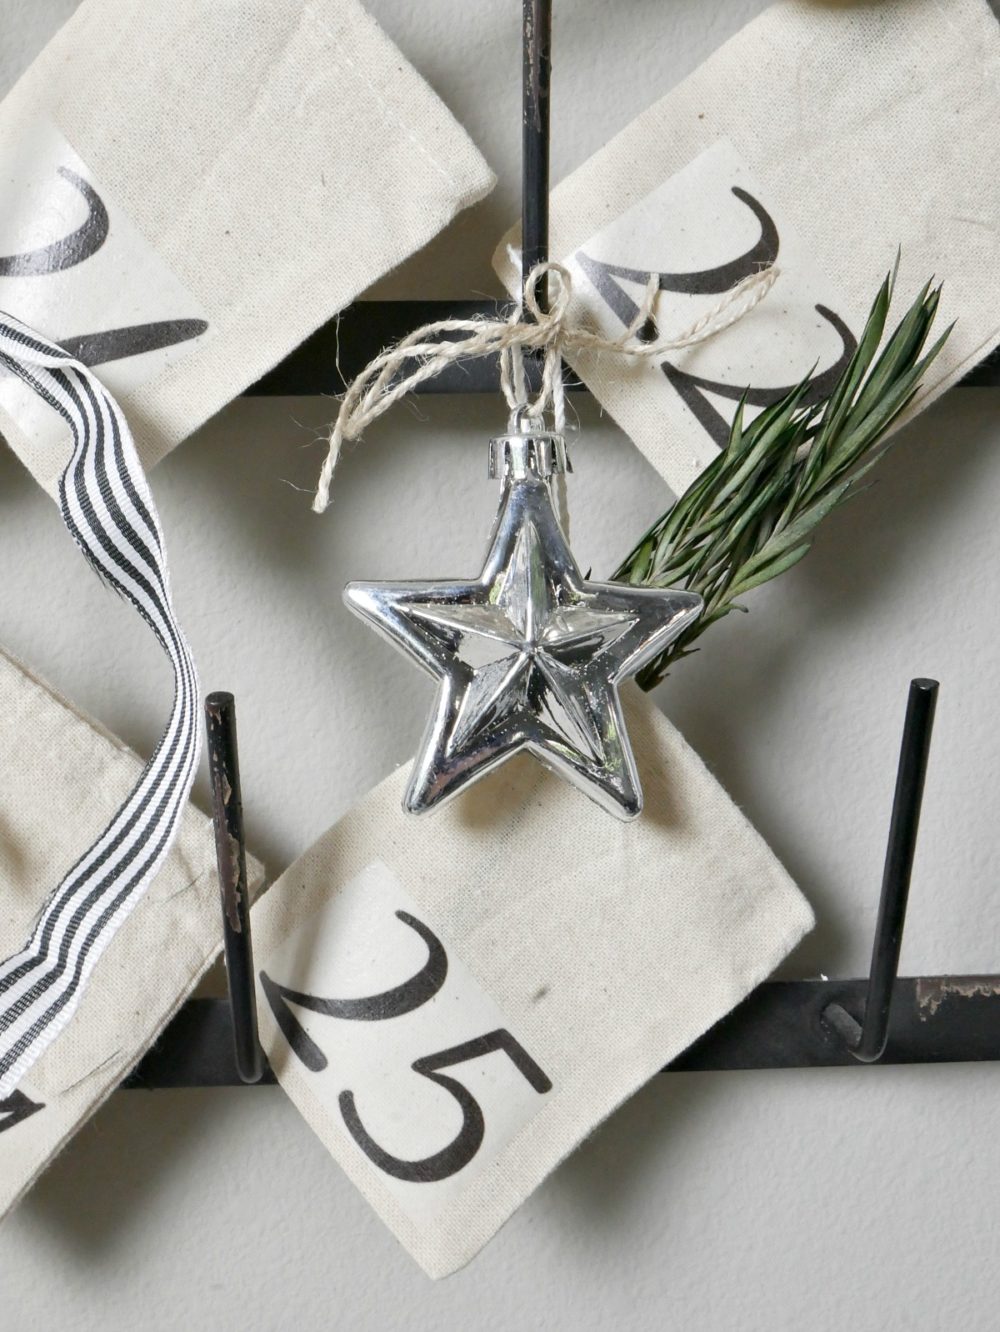 I thought a little star was appropriate for the 25th :)
 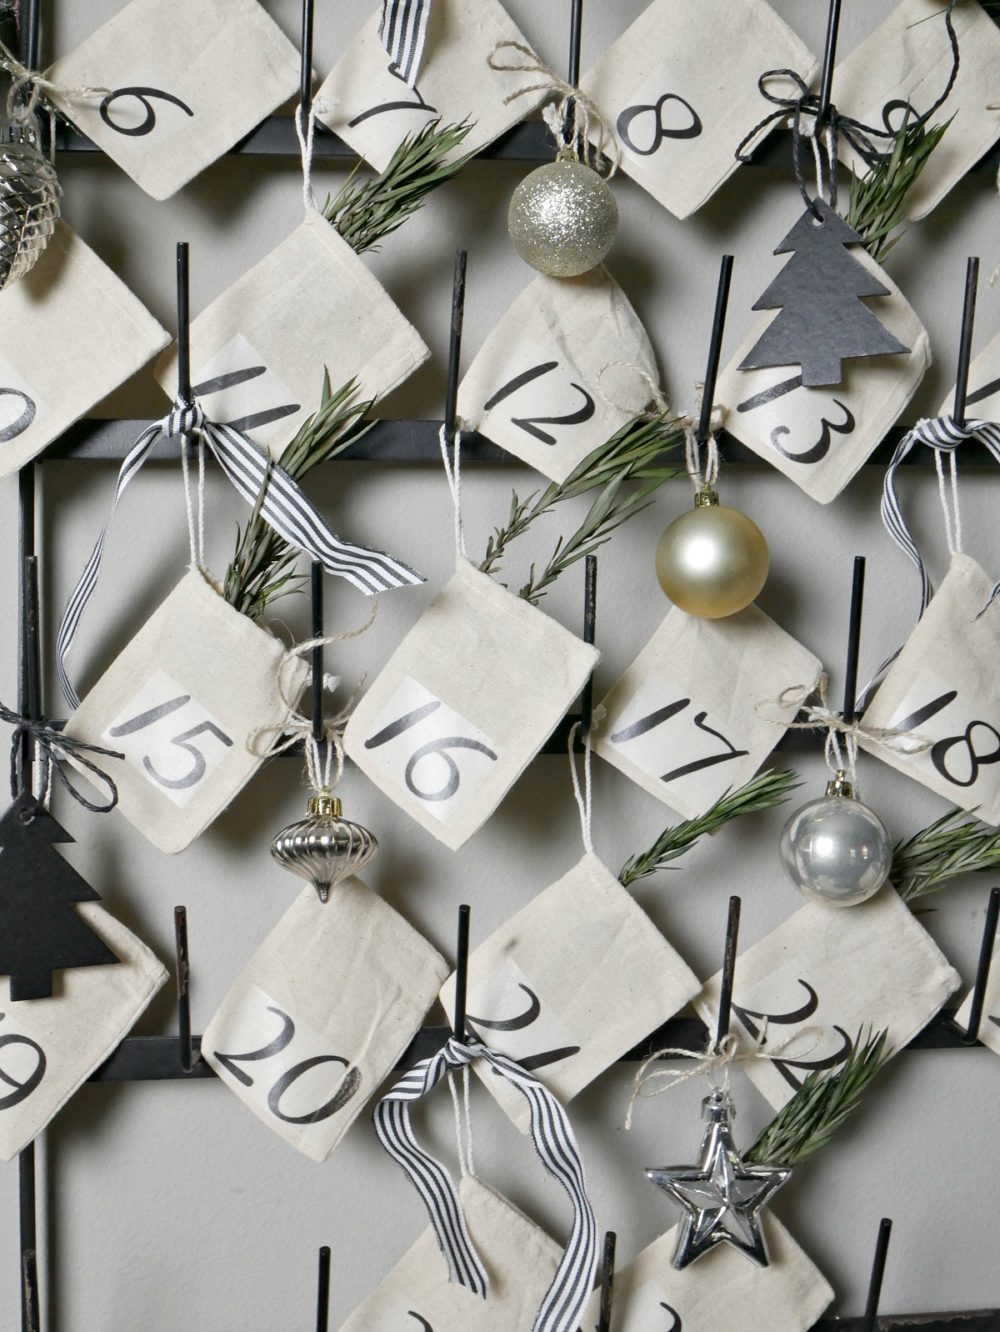 I am still trying to decide what I’d like to fill our bags with this year. I’m trying to stay away from candy, so I’m thinking I’ll print out verses from the Christmas Story and read a line each day, and then take a trip to the dollar store and grab a few little toys like stickers and trinkets.
  I can’t wait to start the count down! It’s already going by too fast and we haven’t even hit the 1st. So excited for this season and all the new memories it will bring.
Pin For Later!




Lovely idea for not only beautiful but useful decoration! Thnak you for sharing this project I love it.
That is such an ADORABLE advent calendar.Your kiddos will be so EXCITED everyday. And what a gift. It really is the little things-that are the BIG things we remember ?