• Skip to primary navigation
  • Skip to main content
  • Skip to primary sidebar
  • Skip to footer
  • Home
  • About
  • Contact
  • Partner with Taryn

Taryn Whiteaker Designs

DIY and Interior Blog

  • Our Dallas Home Tour
  • Shop My Pics
  • Home Styling
    • Room Reveals
      • Our Current Home
      • Our First Home
    • Seasonal Home Tours
  • DIY Projects
    • DIY Home Decor
    • Crafts & Sewing
    • Before and Afters
    • Before and Afters
    • Furniture Builds and Makeovers
  • Seasonal Decor
    • Christmas
    • Easter
    • Fall
    • Fourth of July
    • Halloween
    • Spring
    • Valentine’s Day
  • Printables
  • Entertaining
    • Parties
    • Tablescapes
  • Fashion
  • Travel

May 14, 2020

DIY Paper Peonies

I LOVE peonies. I wish I had a whole garden of them and I hope to one day. I hear they are super easy to grow so that gives me hope! But for today I thought I’d try my hand at making some fun DIY Paper Peonies to play around with. Can I be honest? I don’t think they turned out exactly the way I had hoped, I was hoping for something a little more elegant but it was fun to get creative and try something new.

I’m joining some very talented friends as we all share different peony projects today from DIY floral arrangements to crafts. Scroll down to see them all!
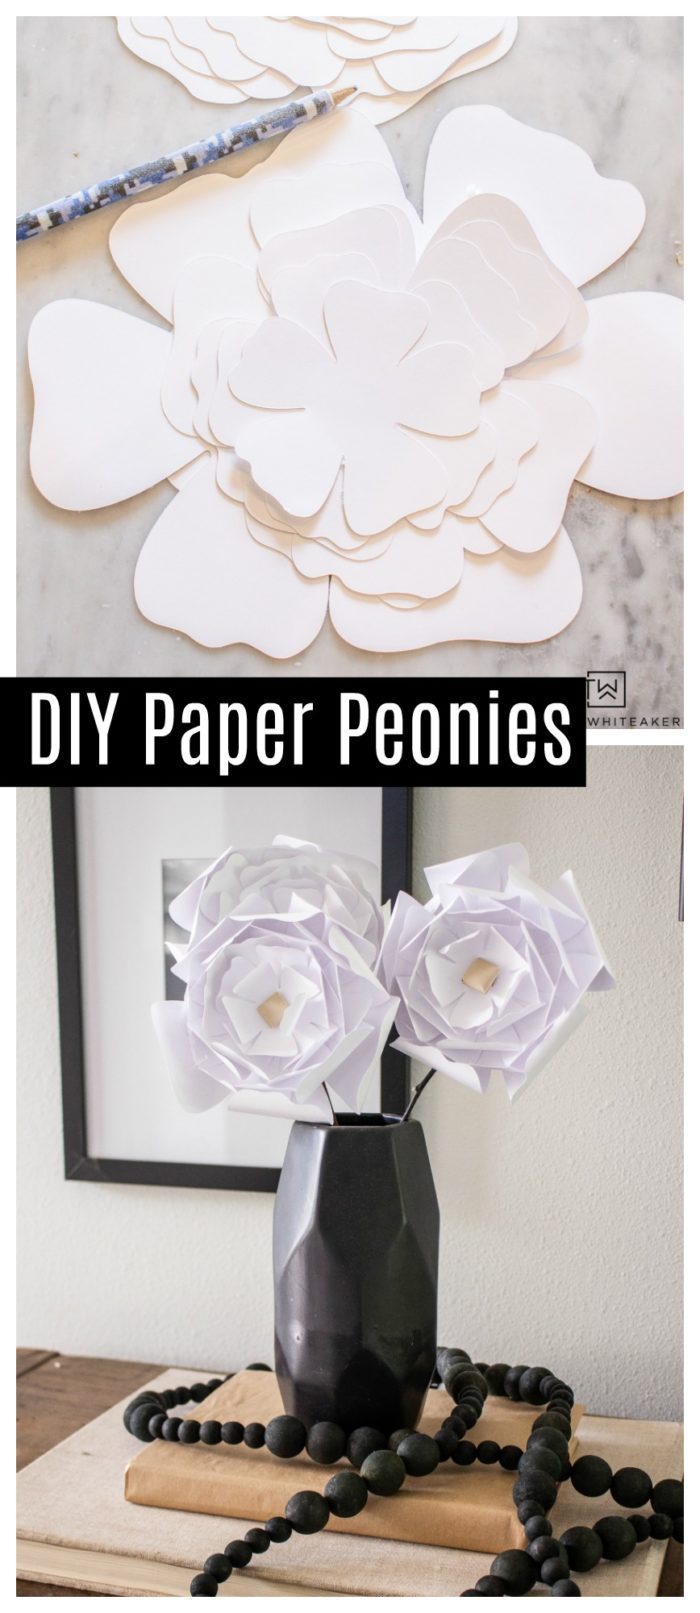
Learn how to make these easy DIY Paper Peonies using cardstock and some branches! They are a simple paper craft you can do with your Cricut Machine!

DIY Paper Peonies

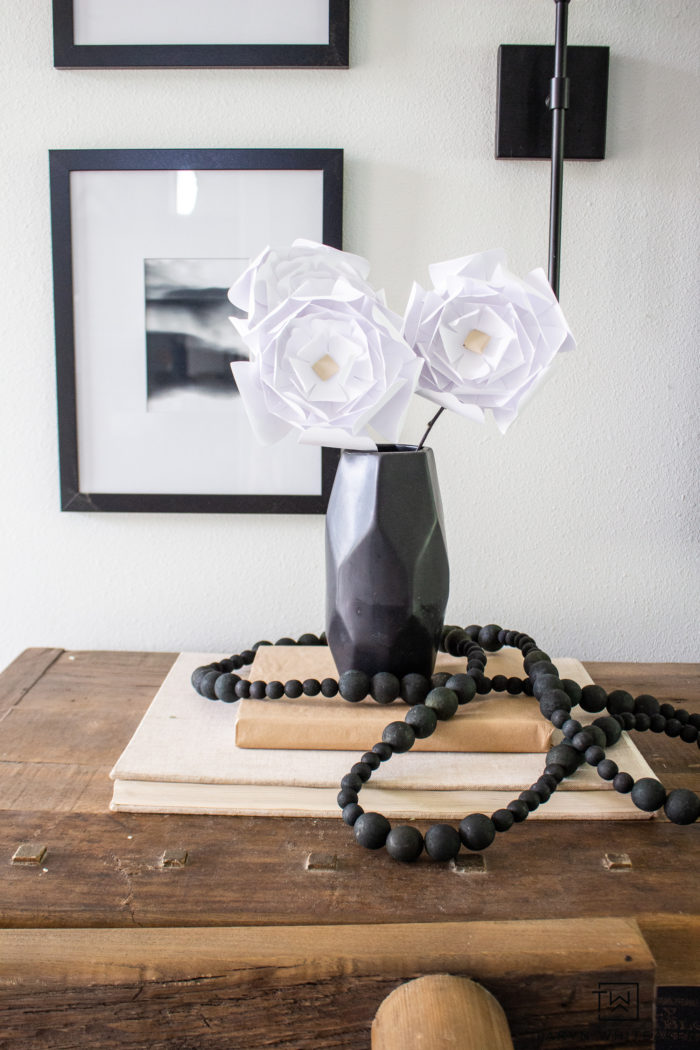
Even though they didn’t turn out quite as I had hoped, I think they added a fun twist to our entry way for spring and summer. A little eclectic mix.

Learn how to make these easy DIY Paper Peonies using cardstock and some branches! They are a simple paper craft you can do with your Cricut Machine!

What I hope you get out of this post is that 1) you just have to try something new and 2) you can take this idea and make it your own!

I think these flowers would be so pretty on top of packages, or add a few to the corner of a DIY Wood Sign.

Learn how to make these easy DIY Paper Peonies using cardstock and some branches! They are a simple paper craft you can do with your Cricut Machine!

Paper Flower Tutorial

Paper Flower Supplies

  • Cardstock
  • Tan/Yellow cardstock for center
  • Hot glue
  • Branches
  • Cricut Machine

This is when having a Cricut Machine comes in handy! It’s so easy to whip up fun crafts with the click of a button. I used this paper flower project guide to create mine.

I cut out three large flowers and then arranged the cut outs from largest to smallest. Using a pencil as a guide, roll all of the petals toward the center to ruffle the edges.

Once you are done with all the layers, place a dab of hot glue in the center and glue each layer together. I rotated the petals so they weren’t all the exact same direction. You can also use glue dots too!

After I completed all three flowers, I thought they were a little plain, so I added a tan center to finish them off.

Learn how to make these easy DIY Paper Peonies using cardstock and some branches! They are a simple paper craft you can do with your Cricut Machine!

I grabbed some branches from the yard and hot glued the flowers to them for an organic look.

Black and White Summer Entry

A little something different and fun to add to our entry way!

SHOP THIS SPACE

More Peony Projects

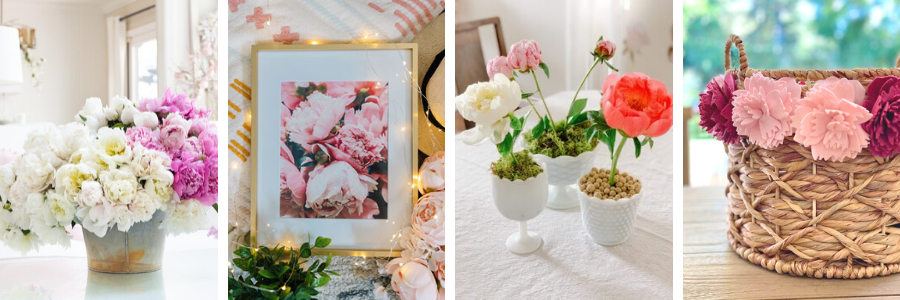
How to Make a Simple Floral Arrangement – Happy Happy Nester // Free Peony Printable Art & Lock Screen Download – The DIY Mommy // DIY Potted Peonies in Milk Glass – Life Is Better At Home // How to Make a Felt Peony Basket – My 100 Year Old Home 
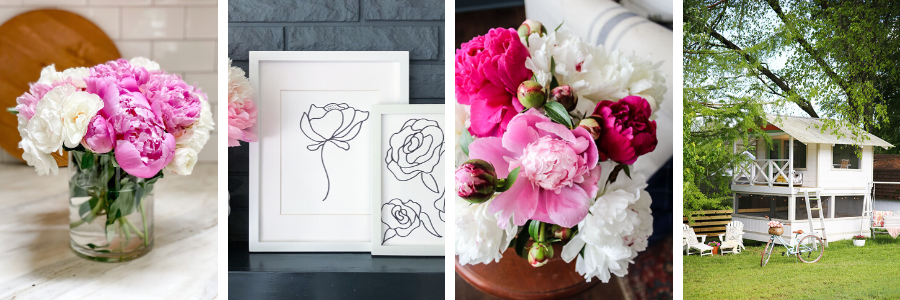
Peony Tips & Tricks – Modern Glam // DIY Peony Line Drawing with a Sharpie – The Happy Housie // Tips for Creating a Peony Arrangement – A Blue Nest // How To Make Paper Peonies – The Handmade Home 
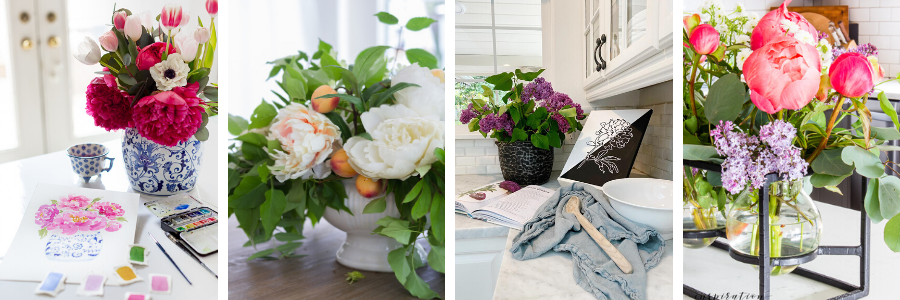
Watercolor Peonies in Ginger Jar Art – Craftberry Bush // Easy Foraged Peony Arrangement – Zevy Joy // DIY Peony Canvas Art – My Sweet Savannah // Easy Peony and Lilac Arrangement – Inspiration For Moms 
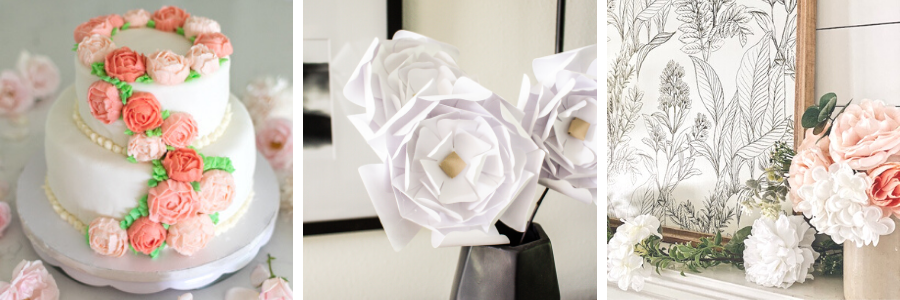
Iced Peonies: How to Make Buttercream Flowers – Jennifer Maune // DIY Paper Peonies – Taryn Whiteaker Designs // Easy Summer Mantel Styling With Florals – She Gave It A Go

About Taryn Whiteaker

Hi! I’m Taryn! The voice behind Taryn Whiteaker Designs. I launched this brand over 11 years ago when I became a stay-at-home mom. What started as a small craft and mom blog eventually grew into a full time design and DIY site. My goal has always been to inspire others (especially women!) with design ideas, DIY tutorials, entertaining ideas and give you the tools you need to complete them yourself!

Filed Under: ALL POSTS, Crafts & Sewing, DIY Projects

Reader Interactions

Leave a Reply Cancel reply

Your email address will not be published. Required fields are marked *

Primary Sidebar

Looking For Something?

CONNECT

Meet Taryn

Taryn Whiteaker

Hi and welcome! I'm Taryn and the voice of style behind Taryn Whiteaker Designs. Sharing our journey of modernizing our European style home in Dallas. Thanks for stopping by and don't forget to subscribe to my mailing list to get all the latest updates! Read more...

Footer

THIS SITE

  • Home
  • About
  • Contact
  • Partner with Taryn

Privacy Policy

If you are interested in learning more about data that might be collected by this site you are encouraged to read the Privacy Policy

COPYRIGHT POLICY

All images on this site are copyright of Design, Dining and Diapers, LLC. Unless otherwise noted. You may not use these images without written permission. If you would like to feature a project shown on Design, Dining and Diapers you may use a maximum of 2 images and include a visible link back to the project.

More From The Gram

tarynwhiteaker_designs

Taryn Whiteaker Designs
POV: working with what you have and creating somet POV: working with what you have and creating something completely new! I kept all the original flooring, cabinets, backsplash and fixtures and did only cosmetic updates to update this space. I wanted to add more contrast, character, warmth and texture. By smoothing out the texture of the walls it instantly gave it an updated look, the new paint color added contrast, the wood ceiling added warmth and texture and all the antiques and vintage pieces gave it the charm. 🖤

#diyhomedecor #neutralhome #diyprojects #laundryroommakeover #transitionalstyle
LAUNDRY ROOM IS DONE ! This was a true example of LAUNDRY ROOM IS DONE ! This was a true example of working with what we have, turning something with great bones into something that is unique, custom and full of character. (Swipe for the before) It now feels like my own little escape to the French countryside every time I do laundry, and I’m not mad about it. 

Comment LAUNDRY for all the details and links! 

Paint color: BM Cromwall Gray 

#diy #laundryroom #homerenovationideas #interiordesign #roommakeover
I finally have a drying rack! Here’s how I built I finally have a drying rack! Here’s how I built the custom drying rack for our laundry room to make it more functional. My @worxtools Switch Driver and Impact Driver were the real MVP’s of this project! Saving me time and energy. I love how it now doubles as a shelf to display antiques I’ve collected throughout the years and also helps me keep this place organized! 

Comment SUPPLIES for everything I used to build this piece! 

#worxtools #partner #dıy #diyhomedecor #homerenovation
Comment SHOP for all these pieces! What every 40-s Comment SHOP for all these pieces! What every 40-something girl is looking for this summer: cute, comfy, and sweat ready outfits for summer travels! I picked up these cute items from @halara_official to mix and match and I am obsessed with the material. Most of the items are made out of athletic material and are so soft. Perfect travel outfits, you still feel cute but very easy fabrics.

The price points are 👌🏼, almost everything is under $50! 

Use my code taryn2:for 20% OFF full-price items or Super code taryn26 : Spend $120 → 10% OFF / Spend $150 → 12% OFF
#halara #over40outfits #travelfit #traveloutfits #partner
Almost done! Since we vetoed the wallpaper on the Almost done! Since we vetoed the wallpaper on the ceiling, I still wanted a pop of pattern and decided to go with a little peel of a mural behind the washer and dryer! Just what it needed! 

Comment LAUNDRY to shop this space so far! 

#homedecor #diyhomedecor #wallmural #laundryroommakeover
It all started as a vision… comment REVEAL for a It all started as a vision… comment REVEAL for all the details on this bold, teen sports bedroom! 

#homedecor #diyhomedecor #kidsbedroom #sportsroom #beforeandafter
For the record he was very nice and helpful, but h For the record he was very nice and helpful, but had very little faith in me. 😉

PS. Happy Mother’s Day to all the strong, loving and beautiful mommas ❤️ 💪🏼 . 

#diyhomedecor #homedecor #renovation #laundryroommakeover
One of my favorite places to be. After 4 years in One of my favorite places to be. After 4 years in this house the porch swing is still in perfect condition, just time to replace the cushion and add some fresh outdoor pillows! 

Comment SWING for all the sources! 

#homedecor #exteriordecor #outdoorprojects #potterybarn #ballarddesigns
Still one of my favorite transformations to date…. 

Comment BEDROOM for all the sources. 

#homedecor #diyhomedecor #boysbedroom #kidsroom #homedesign
Follow on Instagram

Copyright© 2026 · Brunch Pro Theme by Shay Bocks · Hosting by 3116 Digital