Disclosure: This post is sponsored by FontBundles.net .
I’ve made quite a few wood signs throughout the years and they continue to be a really popular way to decorate a house! I feel like the wood sign trend started out as more farmhouse decor, but I want to show you how you can make wood signs a little more modern by using the right typography! Whether they are for your kitchen, bedroom or bathroom, it’s always fun to create your own artwork that has meaning. So are you ready to learn how to make personalized wood signs?
Personalized Wood Signs

When it comes to adding personal touches to our home, I tend to do it in ways that aren’t always obvious. For this piece, I turned our last name into a large scale modern typography art piece. It’s not completely obvious what it says from a far, but if you look closely you can see the sentiment.
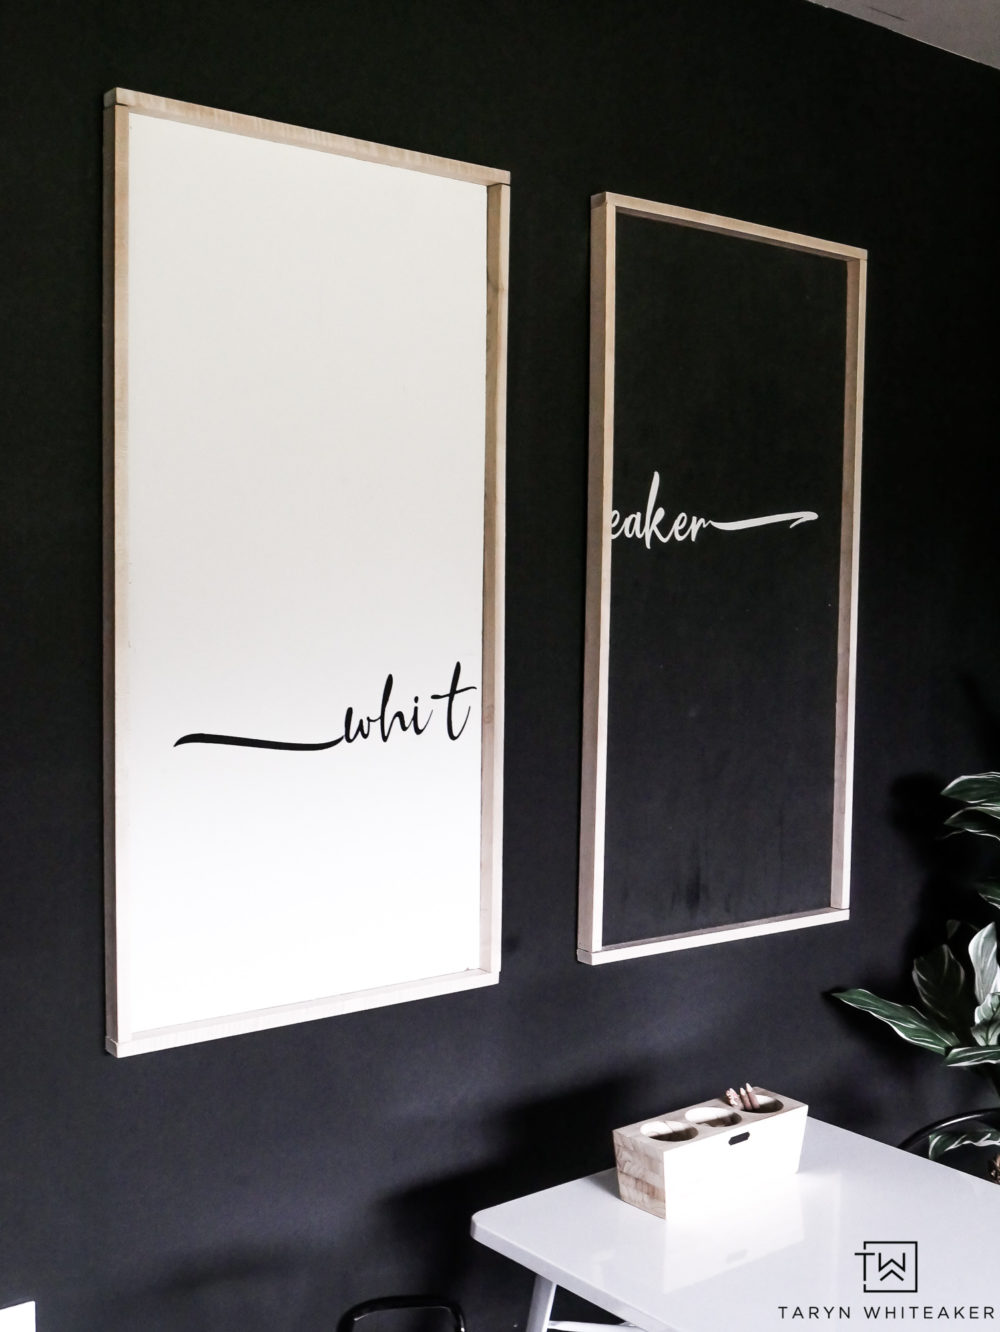
I thought the natural wood frame would look perfect in our playroom and make the signs pop against the dark walls. I think they add a fun touch to the space and make it feel a little cozier in here! (I’m slowly chipping away at this space!)

The overall look of these signs came down to two main factors… The scale of the print and choosing the right font.
How To Make Your Own Wood Signs
So are you ready to dive in?
Supplies
- The Fantastic Font Bundle
- Cricut Machine
- (2) 2 X 3′ pieces of plywood
- 1 X 2″ maple trim
- (12) 1 1/2″ Zinc Brackets
- (4) D Ring Hooks
- White paint
- Black Paint
Tutorial


Start with your two 2 X 3′ pieces of plywood. There is typically one side that is smoother than the other, so make sure to use this side when painting!
Paint one piece white and one piece black. I did two coats to make sure there was full coverage.
While the paint is drying, make your personalized stencil!
How To Make Your Own Stencil
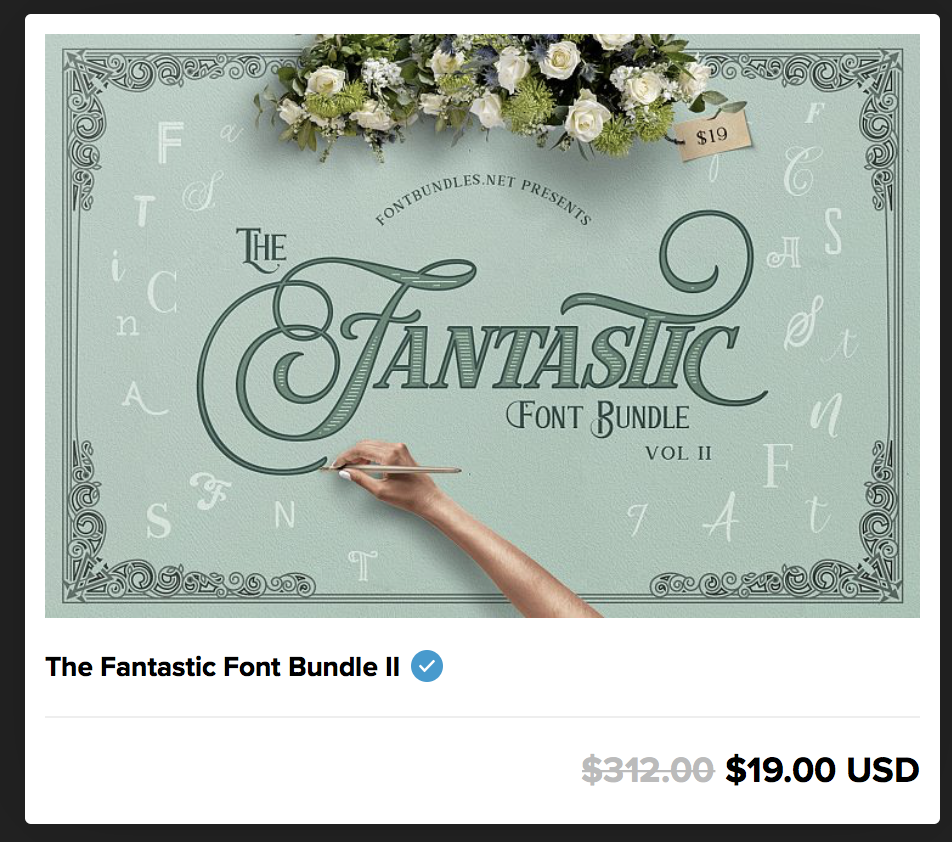
First, let’s pick the font. I headed over to FontBundles.net where they have hundreds of fonts that you can download for your own use. I love playing with different fonts when making printables, paper goods and my own signs and this site has everything you could want. They have a big special going on right now where you can download this Fantastic Font Bundle for just $19! It has 40 different fonts you can use and tons of there modern scripted ones that I love.
For this project I ended up using a combination of the Crolinesy font for the script letters, and then the Gorgeous Swash to create the swirls. If you own a Cricut, it is SO easy to import your own fonts into the program and they will automatically cut the design!
This was actually my first time using this machine and I am SO in love with it. It is extremely user friendly and it took me no time at all to create my own stencils using the program.

Once you start a new project, simply click the text box and then click “system fonts”. then you can select all the fonts that are downloaded onto your computer.

Since I am going with a more modern abstract look with these signs, I kept my letters at 10″ , even though the piece of wood are very large. And unfortunately our last name has an odd number of letters which was a little difficult for my need of symmetry, but I got over it.

Next, I created these brush stroke lines using the Gorgeous Swash font that’s included in the bundle. Each swoosh line corresponds with a letter on the keyboard, the top one I used is a “B” and the bottom one I used is an “F”.
Then I set my machine to cut, slipped in my vinyl and my custom signs are all made!
Painting A Wood Sign

Once the paint on the sign is dry, apply the vinyl stencil using transfer tape. I set my left stencil down lower on the wood and my right stencil higher to give it a more modern abstract look. I matched my swirls up so they appear to be connected to the font.

Paint the stencils using inverted colors.
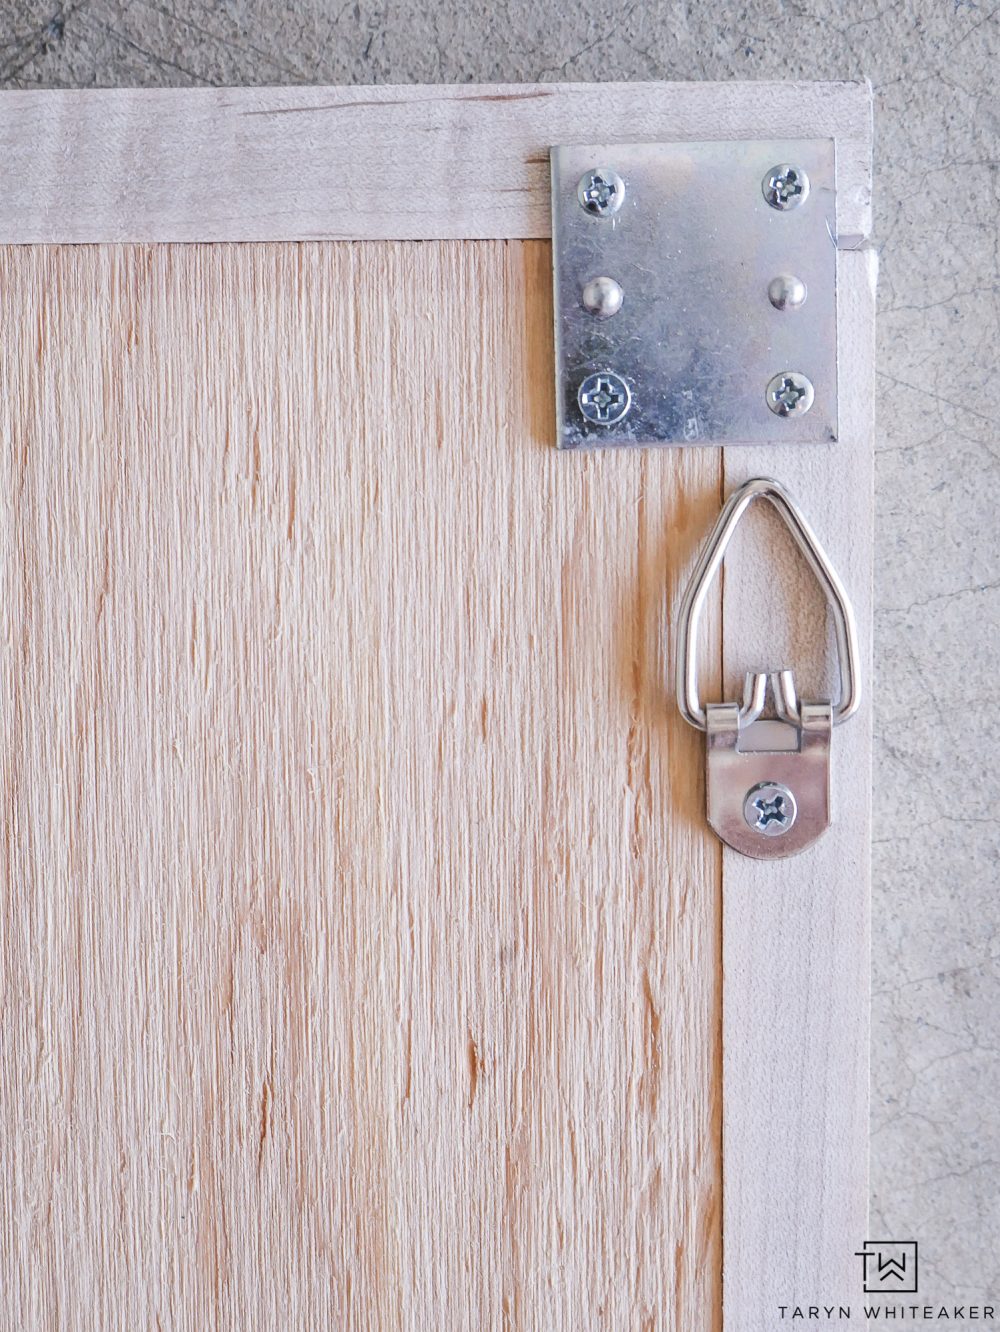
Once the paint is dry time to add your frame and brackets! I used a really pretty maple wood trim. I used a simple box frame and secured it using metal brackets the back of the piece. My nail gun wasn’t working as well as I had hoped on this project because the plywood was just a little too thin. But this systems worked great and was able to hold both the frame and the plywood together really securely.
To finished off the piece, I added D Ring Hooks to hang them!
Personalized Wood Signs For Our Bonus Room
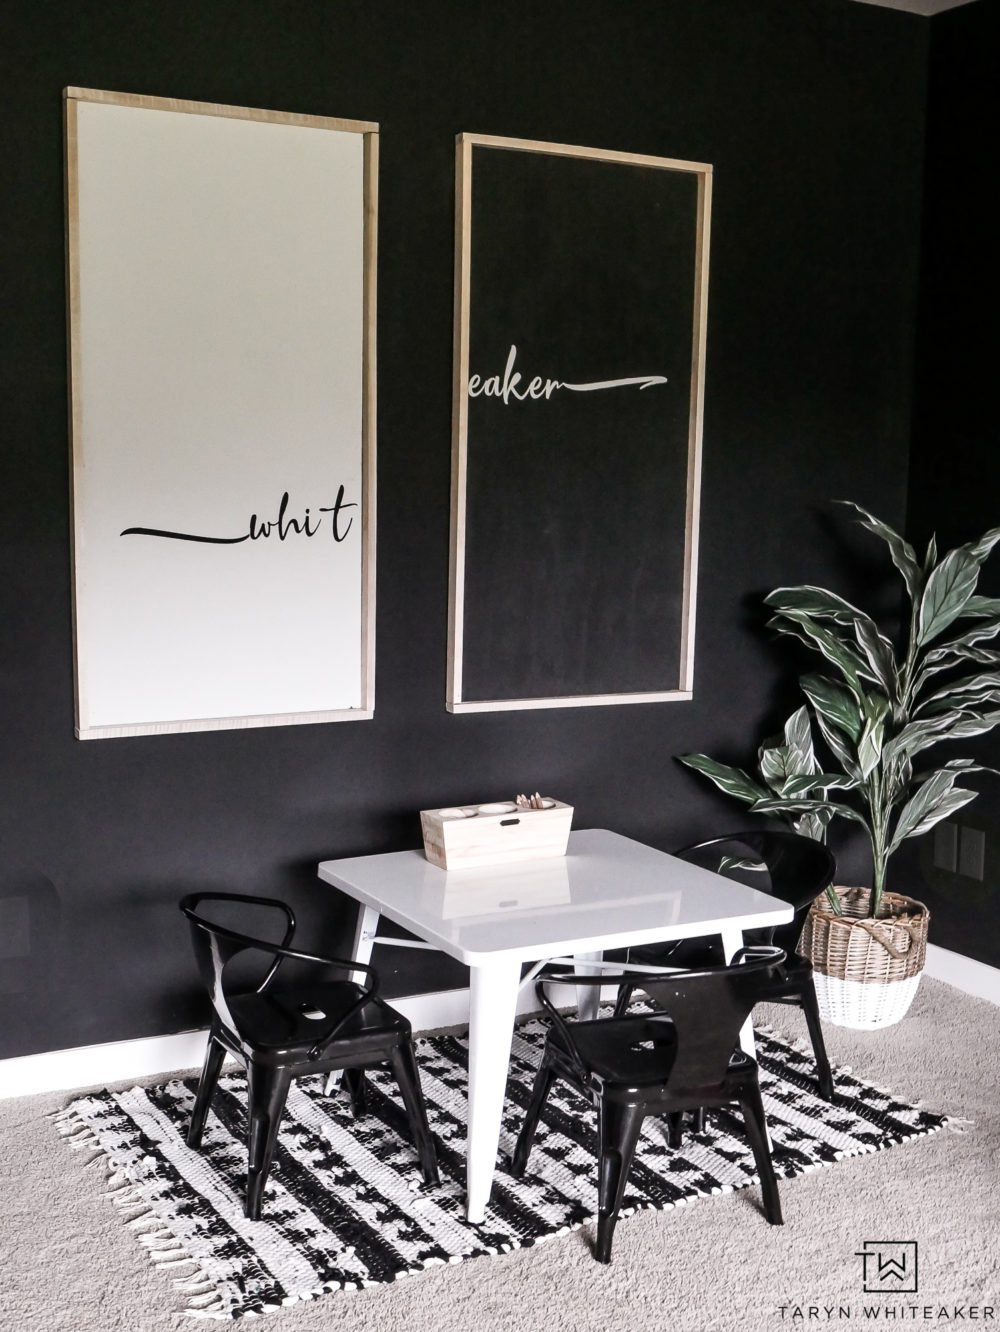
I love how our Personalized Wood Signs look in our bonus room! I’m so happy to now have artwork on the walls and it makes it even better that it’s meaningful to our family.
PIN FOR LATER

About Taryn Whiteaker
Hi! I’m Taryn! The voice behind Taryn Whiteaker Designs. I launched this brand over 11 years ago when I became a stay-at-home mom. What started as a small craft and mom blog eventually grew into a full time design and DIY site. My goal has always been to inspire others (especially women!) with design ideas, DIY tutorials, entertaining ideas and give you the tools you need to complete them yourself!


Leave a Reply