• Skip to primary navigation
  • Skip to main content
  • Skip to primary sidebar
  • Skip to footer
  • Home
  • About
  • Contact
  • Partner with Taryn

Taryn Whiteaker Designs

DIY and Interior Blog

  • Our Dallas Home Tour
  • Shop My Pics
  • Home Styling
    • Room Reveals
      • Our Current Home
      • Our First Home
    • Seasonal Home Tours
  • DIY Projects
    • DIY Home Decor
    • Crafts & Sewing
    • Before and Afters
    • Before and Afters
    • Furniture Builds and Makeovers
  • Seasonal Decor
    • Christmas
    • Easter
    • Fall
    • Fourth of July
    • Halloween
    • Spring
    • Valentine’s Day
  • Printables
  • Entertaining
    • Parties
    • Tablescapes
  • Fashion
  • Travel

December 13, 2018

How To Make DIY Marbled Ornaments

This is a sponsored conversation written by me on behalf of JOANN & Cricut. The opinions and text are all mine.

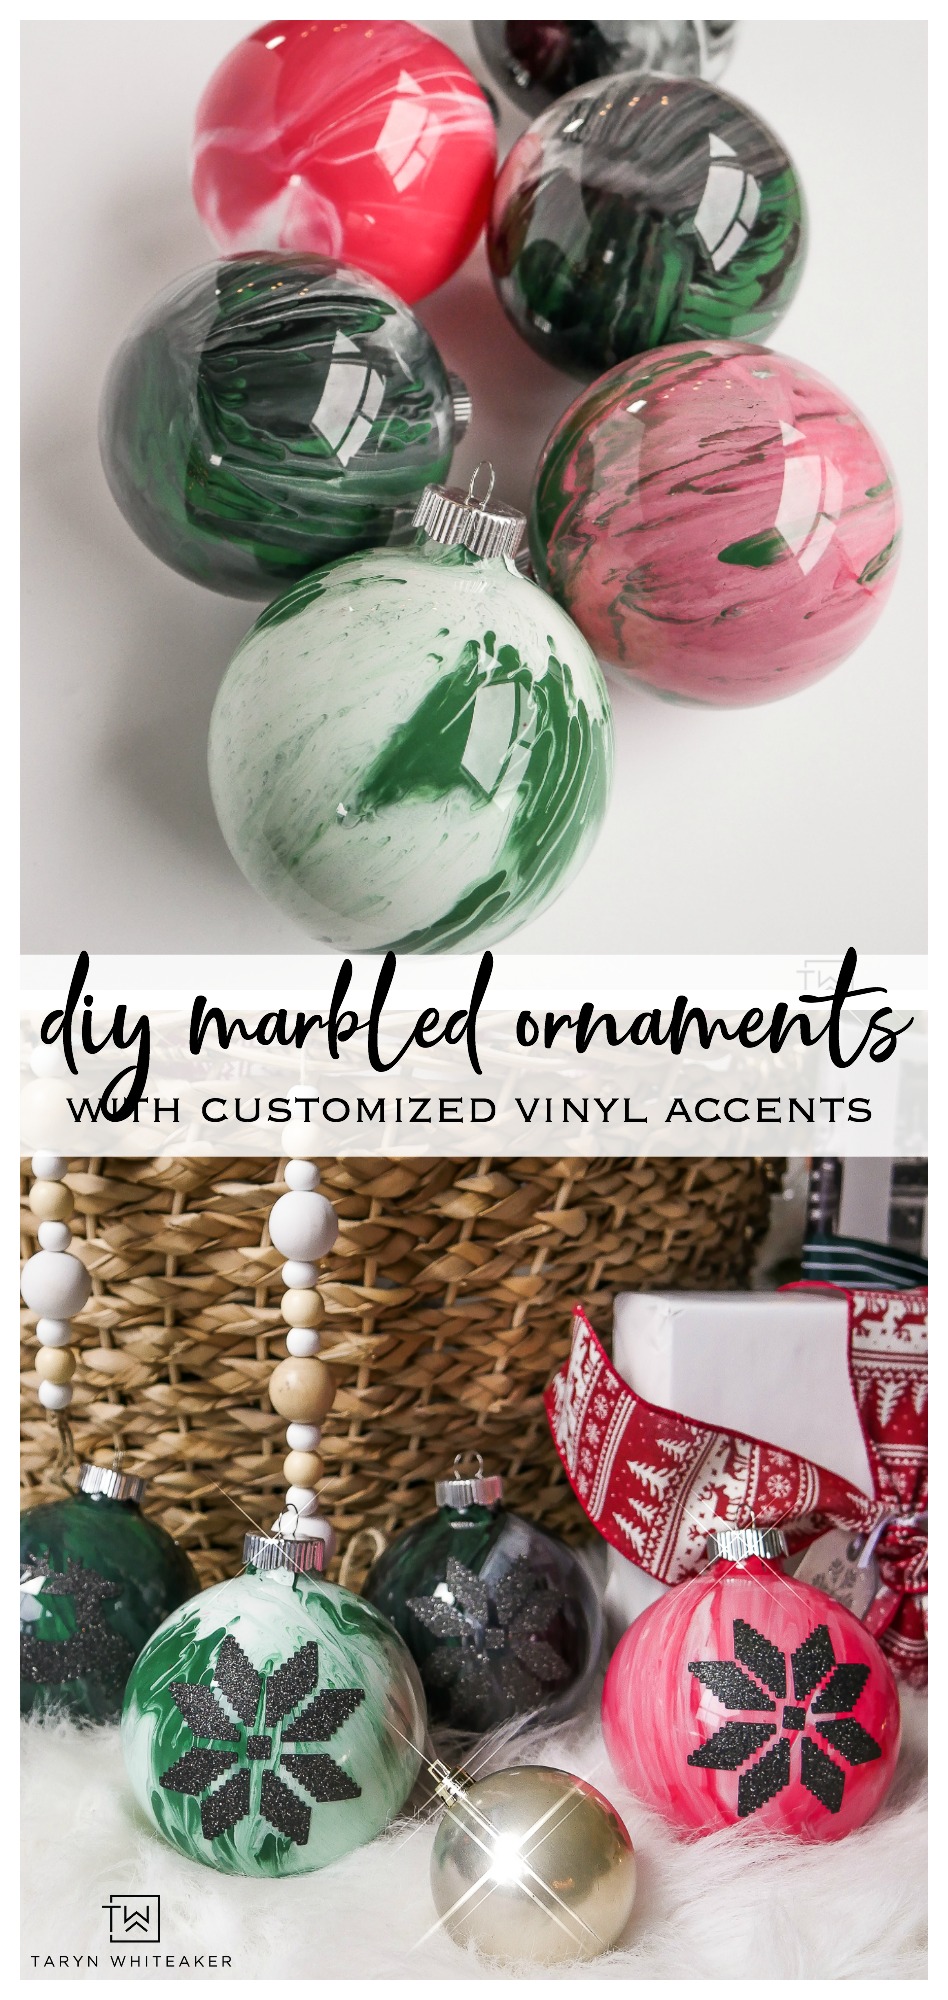
A few weeks ago I shared the big reveal of my Woodland Chic Christmas Tree I put together with the help of JOANN. With every tree design, it’s fun to include at least a few handmade ornaments! I want to show you how to make DIY Marbled Ornaments that are adorned with black glitter Christmas designs. These are a fun DIY Christmas ornament you can make this year. I made using my Cricut Explore Air 2 in the new cobalt color which is exclusive to JOANN.

Today, I’m going to show you how easy they are to make with this amazing machine!

How To make DIY Marbled Ornaments

These are such cute handmade ornaments! I love the DIY Marbled Ornament look paired with the modern black Christmas designs on top! Great project for your Cricut!

I’ve always loved these big glass craft ornaments, they are perfect to get creative with. I have been wanting to try the marbled paint look for a while now and decided to give it a try with these. I thought they would add a little pop of color to the tree and add a touch of personalization. I finished off the ornaments by cutting out Christmas silhouettes on my Cricut Explore Air 2  in black glitter vinyl and placed them on the front of the ornaments.

Red and White Marbled Ornament with black glitter snowflake design. Such a cute handmade ornament idea.

I was browsing through my JOANN store this season and stumbled upon this Marbling Paint . I have seen marbled ornaments before but I didn’t know there was specific paint for it! I immediately picked some up and wanted to play around with it. I am absolutely amazed at how easy it is to use and how quickly I made these marbled ornaments.
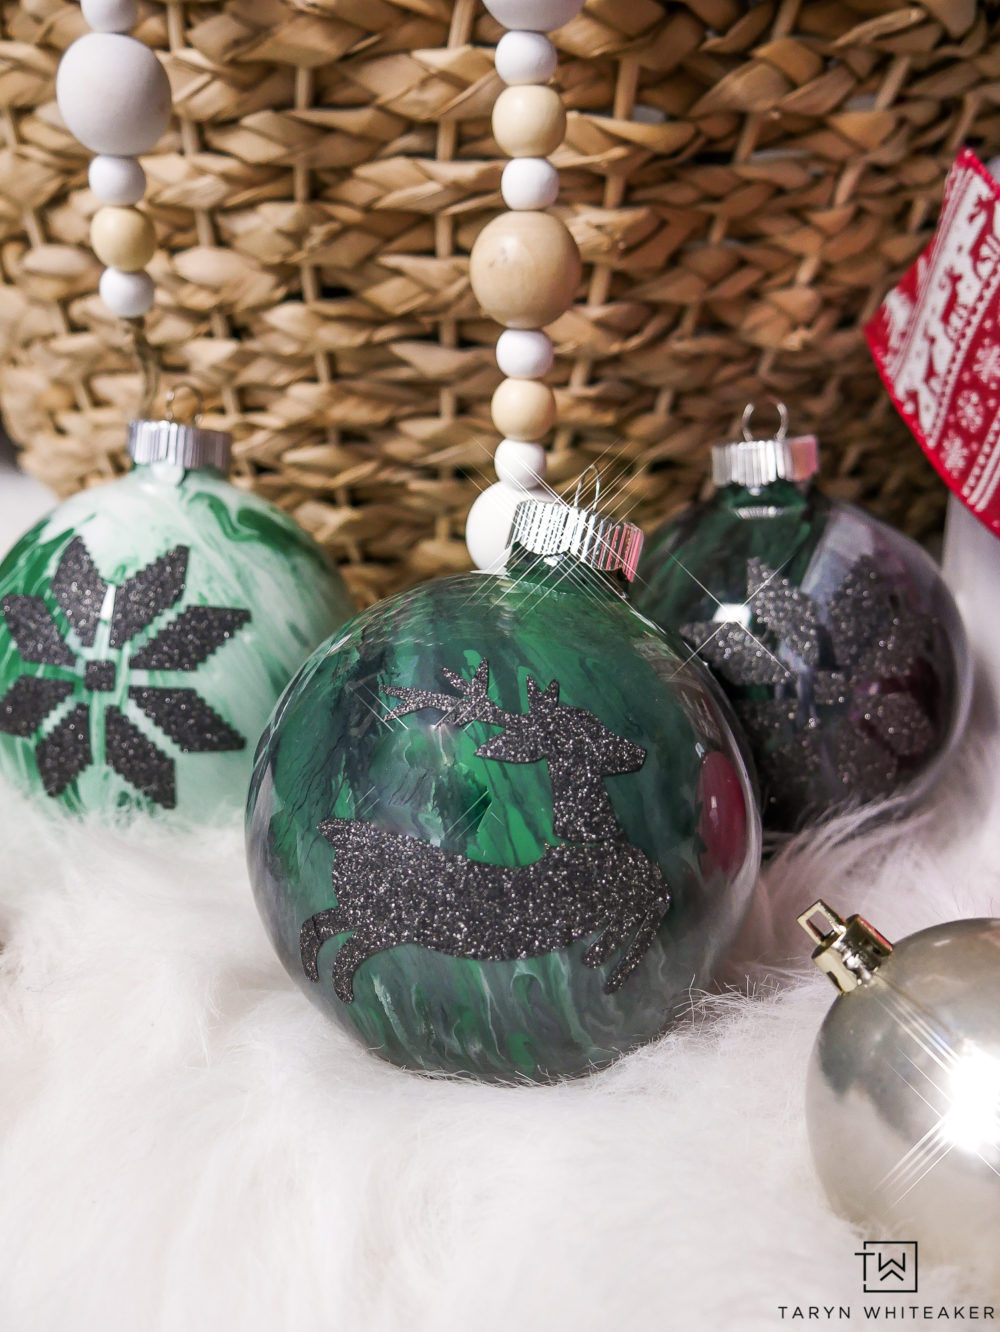
Green and Black Marbled Paint Ornaments! Love how these Ornaments are personalized with glitter vinyl!

But I didn’t want to stop there. I’m all about the nordic inspired details this year and added some glitter vinyl decals I made on my Cricut Explore Air 2 in cobalt which is exclusive to JOANN.

DIY Marble Ornament Tutorial

Marble Ornament Supplies

  • glass craft ornaments
  • Cricut Explore Air 2
  • black glitter vinyl
  • Marbling Paint 

Where to Purchase Marbling Paint

Folk Art Marbling Paint

Start by picking your Marbling Paint  colors. I found mine at JOANN Stores, they have tons of colors! I went with red, white, black and green. The green was a normal acrylic paint though and I’ll share with you how that went as we go along.

Creating Marbled Ornaments

All you have to do is squirt a good amount of red and white paint into the ornaments and slowly swirl it around until all the paint covers the inside of the glass. This paint marbles so beautifully together. It really does everything for you.

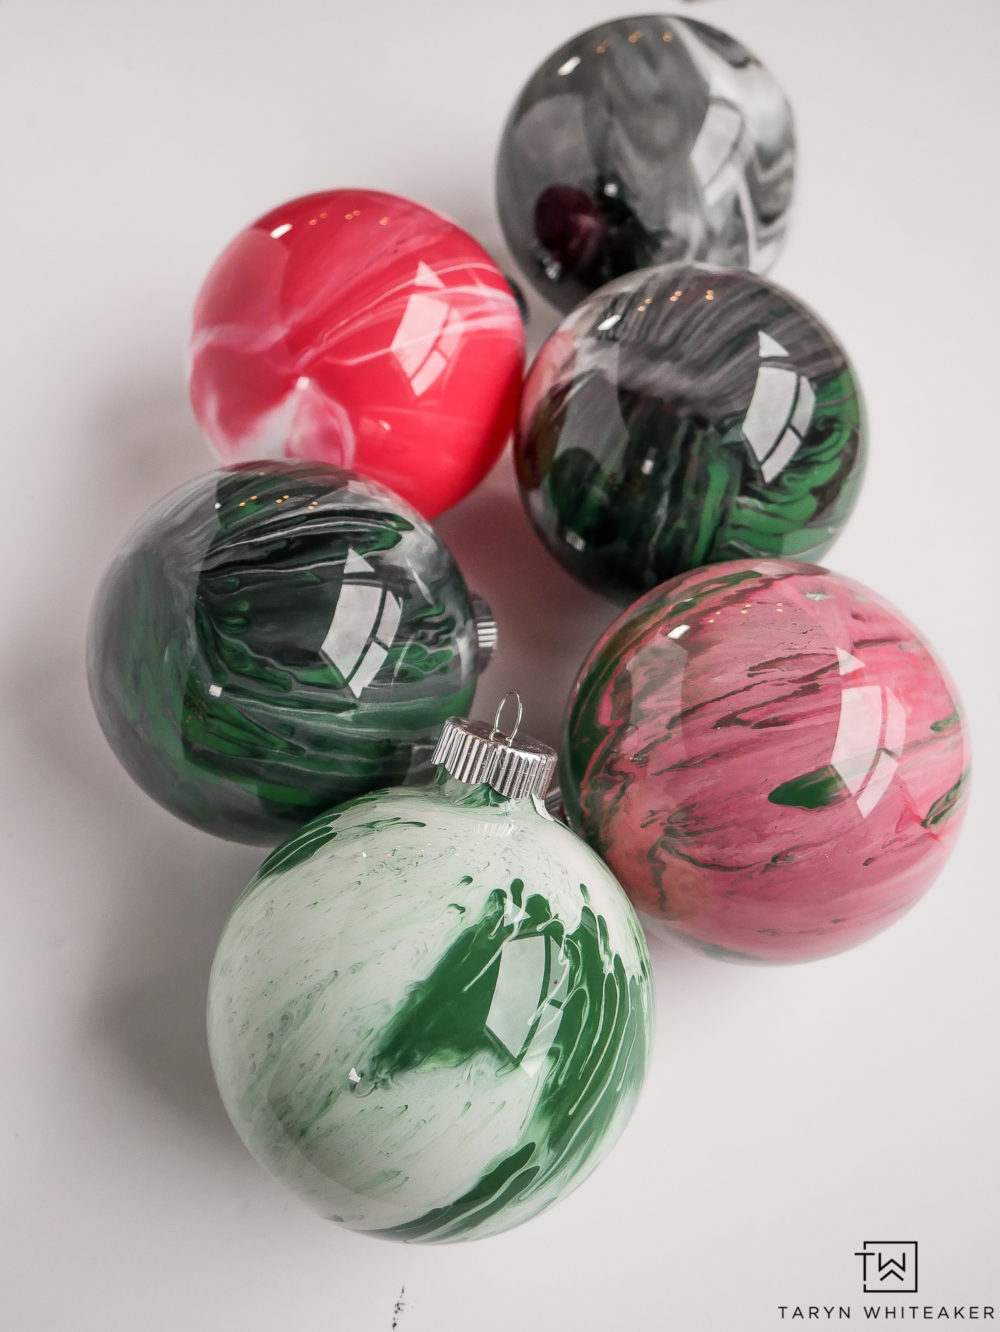
Black and White Marbled Glass Ornament
DIY Marbled Glass Ornaments using Folk Marbled Paint!

Here is how my black and white marbling paint turned out. I think this is my favorite! 

And here are all six of them! I tried blending three colors together on a few and that also worked great. The green acrylic paint was not specific marbling paint and it was definitely different than the other colors. It still worked but the marbling paints definitely worked well together.

Now let them dry. Here is my tip: keep them away from heat! I ran into a little problem with that! Anyway, time for next steps!

Cobalt Blue Cricut Machine at JOANN

Now that our ornaments are made, it’s time for the best part. Personalizing them! I am creating black glitter silhouette designs using this amazing Cricut Explore Air 2 machine in cobalt; exclusive to JOANN.  It’s such a pretty color! I have been using a Cricut machine for a while now and I absolutely love mine. It cuts so easily and quickly and can I say pretty quiet too?

The Cricut Explore Air 2  can cut and write up to 2X faster than previous Cricut Explore® models with this DIY speed machine. It also cuts over 100 materials, everything from cardstock, vinyl and iron-on to specialty materials like glitter paper, cork, and bonded fabric. Quickly. Beautifully. The dials make it so easy to switch from different materials.

How To Make Personalized Glass Ornaments

I used this black glitter vinyl for the first time and I think I need to make more things with it! I heard glitter vinyl can be a little trickier but it worked out just fine for me. Included in the roll is a heavy weight transfer paper which was really helpful!

I opened up my Cricut Design program and browsed through all the different designs within the program to find the exact ones that I wanted to use for this project. I picked the nordic snowflake, the reindeer silhouette, ornament and a tree. Then all you need to do is turn your dial to “vinyl” and push “Make It”.

Applying Glitter Vinyl To Glass Ornaments
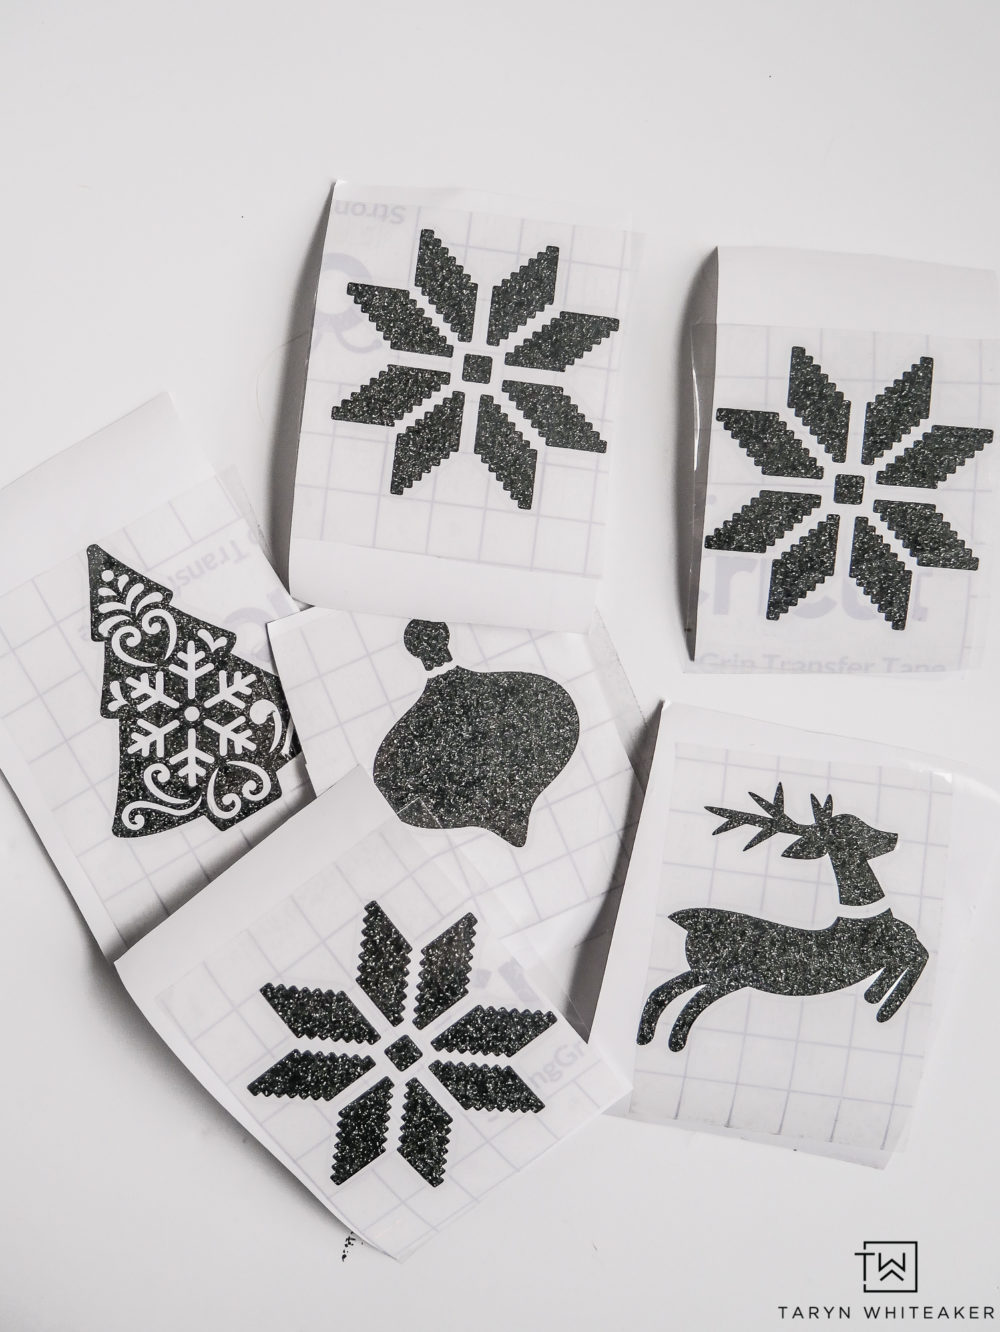
Once your designs are cut, peel off the excess vinyl to reveal your designs. Sometimes it’s hard to see the cut lines on the glitter vinyl, so I read a trick online to hold it up to light. I put mine right up against the window and was able to see my cut lines to see where to peel.

Then put a sheet of transfer paper on top and get ready to create your design.

Applying the design to a round object definitely requires a little patience, but it works. You just have to work at it a little bit.

Love the DIY Marbled Ornaments! Personalize them with glitter vinyl designs, use Christmas symbols or even your name!

And now I have fun personalized glass ornaments that match my tree and my decor perfectly this year! You could easily change up the design and add names, dates or other figures.
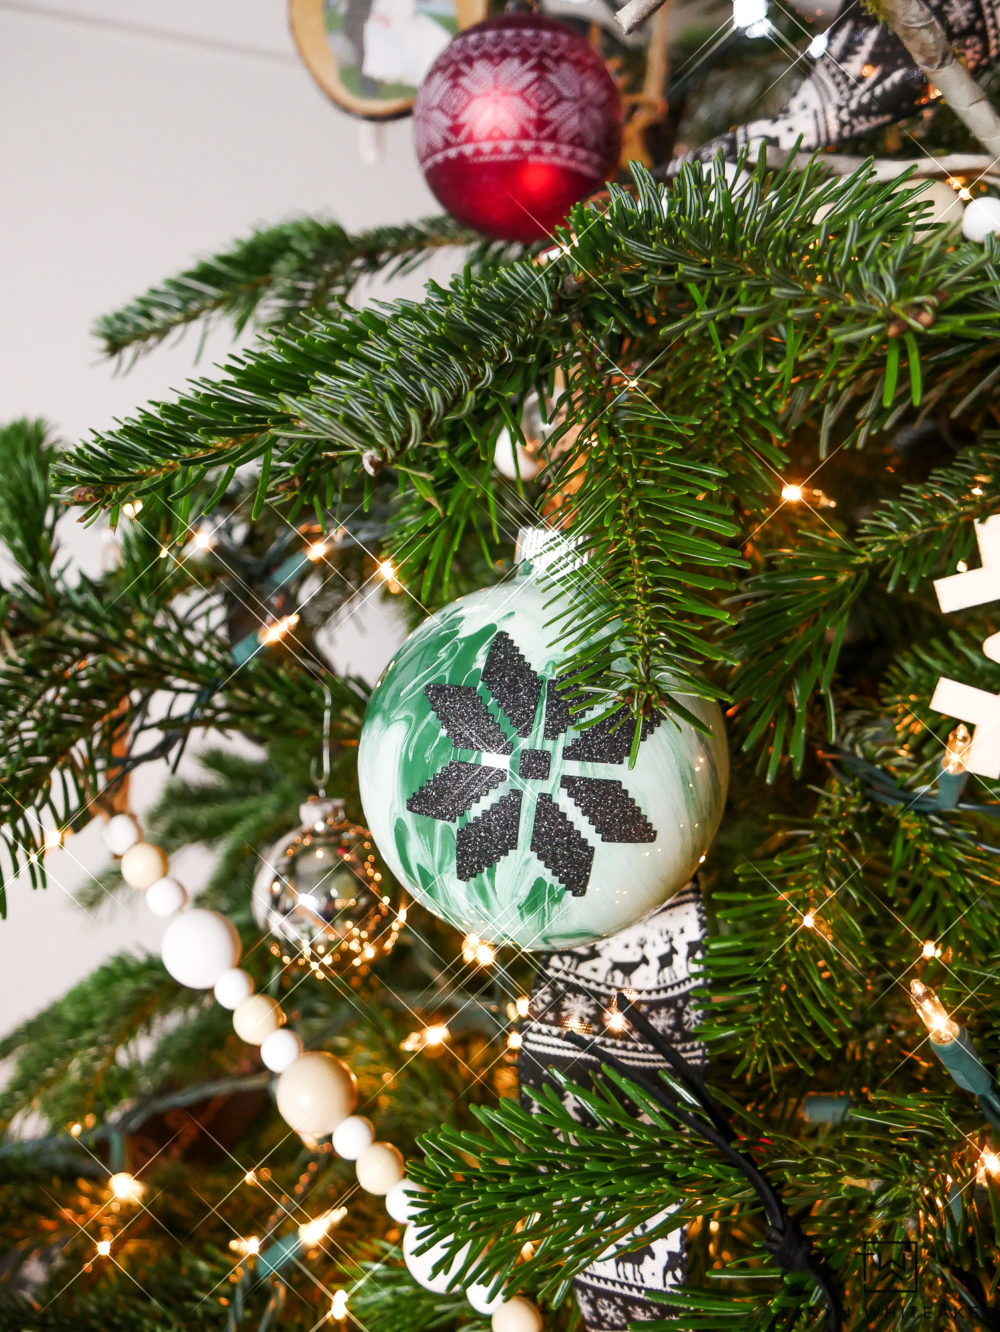
Green and White Marbled Glass Ornament with Nordic Snowflake Design,

PIN TO YOUR IDEA BOARD

Learn how to make these personalized DIY Marbled Ornaments with custom glitter vinyl designs!

About Taryn Whiteaker

Hi! I’m Taryn! The voice behind Taryn Whiteaker Designs. I launched this brand over 11 years ago when I became a stay-at-home mom. What started as a small craft and mom blog eventually grew into a full time design and DIY site. My goal has always been to inspire others (especially women!) with design ideas, DIY tutorials, entertaining ideas and give you the tools you need to complete them yourself!

Filed Under: ALL POSTS, Christmas, Crafts & Sewing, DIY Projects, Seasonal Decor & Crafts, Sponsored

Reader Interactions

Comments

  1. Lee Anderson says

    July 23, 2020 at 1:56 pm

    I have to get some of the marbling paint I did this with regular paint it looks good but I love yours with the marbling paint

    Reply
  2. Geetha says

    September 21, 2020 at 12:27 am

    These look beautiful!! So I’ve tried this myself and left the baubles to dry overnight, away from the heat. However, when I left my baubles by the window, the sun seems to have effected the paint. The paint melted in the area where it was exposed to the sun. Is there a sealant I can use or something else I can do to prevent this from happening?

    Reply
  3. Jackie DeHollander says

    October 23, 2022 at 10:12 pm

    Can plastic ornaments be used for this project

    Reply
    • Taryn Whiteaker says

      October 24, 2022 at 12:37 pm

      Yes I believe they would

      Reply

Leave a Reply Cancel reply

Your email address will not be published. Required fields are marked *

Primary Sidebar

Looking For Something?

CONNECT

Meet Taryn

Taryn Whiteaker

Hi and welcome! I'm Taryn and the voice of style behind Taryn Whiteaker Designs. Sharing our journey of modernizing our European style home in Dallas. Thanks for stopping by and don't forget to subscribe to my mailing list to get all the latest updates! Read more...

Footer

THIS SITE

  • Home
  • About
  • Contact
  • Partner with Taryn

Privacy Policy

If you are interested in learning more about data that might be collected by this site you are encouraged to read the Privacy Policy

COPYRIGHT POLICY

All images on this site are copyright of Design, Dining and Diapers, LLC. Unless otherwise noted. You may not use these images without written permission. If you would like to feature a project shown on Design, Dining and Diapers you may use a maximum of 2 images and include a visible link back to the project.

More From The Gram

tarynwhiteaker_designs

Taryn Whiteaker Designs
Comment SHOP for my finds! Bedroom progress - Come Comment SHOP for my finds! Bedroom progress - Come shop with me to pick out new seating for our fireplace area! With the dark walls, I’m looking for contrast, cozy and a vibe! @athomestores has tons of brand new seating options for any area of your home. I could have bought five different accent chairs! So many that I loved! I can’t wait to see how this room all comes together! 

Discount Code: AHTDQ

#AtHomePartner #AtHomePartner #homedecor #interiordesign #homefinds
Comment TREES for links! My favorite artificial Ch Comment TREES for links! My favorite artificial Christmas Trees are now available at @loweshomeimprovement ! I’ve used Tree Classics by Balsam Hill for years, they are gorgeous, high quality and the most realistic trees. I’m showing you the 7.5’ ft Fraser Fir and 7.5’ Lake Tahoe Fir. Which one is your favorite?  Hurry and get them while they are in stock! These trees always sell out so early!  #LowesPartner #LowesHomeImprovement #christmastrees #LowesFinds
BED ROOM PROGRESS! Paint Reveal! I saved myself $4 BED ROOM PROGRESS! Paint Reveal! I saved myself $4800 to remove all the wallpaper, skim coat the walls, prep and paint our bedroom and seating area. Completely worth it! 

Paint color is SW Clove. It’s the perfect rich color that combines brown, gray and black. It’s really beautiful. 

A dark color drench always scares me for a second, but I know it will be amazing when it ALL comes together! 

Next up for this luxe ranch bedroom:
- new chandelier on the way
- new flooring
- bedroom furniture! 

#bedroomideas #bedroommakeover #diy #homedecor #interiordesign
Here’s how we do meal time with Alki and Timber! Here’s how we do meal time with Alki and Timber! Comment DOGS for 60% off your first order of @thefarmersdog or visit the link in my bio! We absolutely love feeding Whole Foods to our pups, they absolutely love it and you can see how much it affects them. 

Each pouch is one day worth of food, and completely tailored to the right portion size for each dog.

#TFDpartner #ThePack #goldenretrieverworld #goldenretrievers
Commend SHADES and I’ll send you all the info on Commend SHADES and I’ll send you all the info on the Roman Shades we install around the house! They are so easy to install, just drill and click-in! 

They look gorgeous and elevated. Now I keep thinking, so I add a subtle patterned curtain on either side? 

#romanshades #livingroomdecor #homedecor #neutraldecor
Bedroom Makeover Part 1! #homedecor #diy #homere Bedroom Makeover Part 1! 

#homedecor #diy #homerenovation #linensandhutch #revivalrugs
NEXT BIG PROJECT! After 4 years, it’s about time NEXT BIG PROJECT! After 4 years, it’s about time I tackle our primary bedroom and seating area 🤩

#diyhomedecor #homedesign #renovation #dallasblogger
Anyone else? 🫠 Is this stressing you out as muc Anyone else? 🫠 Is this stressing you out as much as me? I want to say I’m normally not like this… but my family might tell you otherwise 🫣. Determined to check these small projects off in the next few weeks! It’s always things like this that only take a few hours and I wonder why it took me so long to get to them 😅

#dıy #homerenovations #realtalk #diyprojects #homeproject
Comment SHOP for our new @narwalrobot Flow2 vacuum Comment SHOP for our new @narwalrobot Flow2 vacuum and mop combo! This is the ultimate hack in keeping up with all the dog hair and kid messes. Biggest flex, it’s SO quiet! 

It’s $400 off right now! 

For Amazon Use code: TARYNFLO2 for additional $30 off! 

#narwal #NarwalFlow2 #NarwalFlow2White #RobotVacumm

#LTKHome LTKmomlife LTKSaleAlert

Comment SHOP below to receive a DM with the link to this post on my LTK ⬇ https://liketk.it/6jEMK
Follow on Instagram

Copyright© 2026 · Brunch Pro Theme by Shay Bocks · Hosting by 3116 Digital