This post is in partnership with Ornamental Mouldings and Millwork. All opinions are 100% my own.
You guys! I have been wanting to share this project with you for SO long. It just took a little longer than expected and that’s ok, because sometimes the good stuff is worth waiting for! I have been wanting to install DIY wood beams in our vaulted ceilings for so long and my dream finally came true!
I discovered Ornamental Mouldings and Millwork which is sold at Lowe’s Stores, and they have amazing DIY Wood Beam kits that make it so easy to install your own beams in your own space. I’ve shared a lot on InstaStories throughout the journey, but I’ll also talk a little bit about the process here too. The bottom line is, anyone should be able to do this! It’s so easy.
DIY Wood Beams
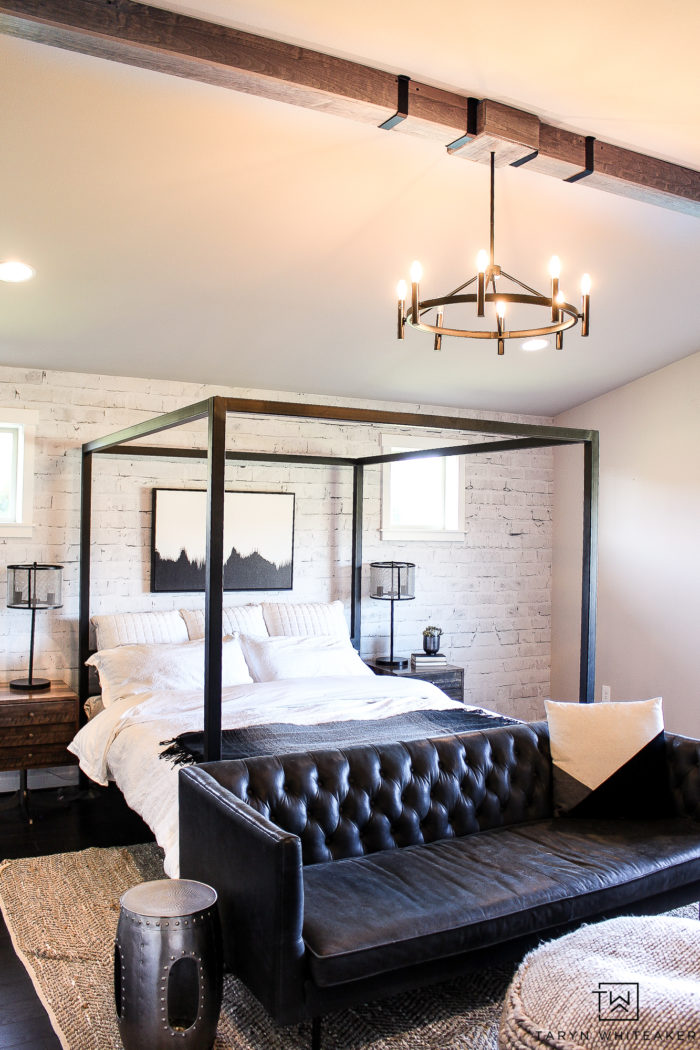
I mean, how good does this look in here?! Gah! It adds the perfect rustic modern touch to this space and brings in so much character.
Ornamental Moulding produces these hollow wood beams that come with a mounting piece and all the hardware you need to install and finish it off. The rustic-style beams come in two different tones, the all natural and the gray stain which is what I went with. I’ve looked at a lot of ‘faux’ wood beams over the years and I would stay these are really reasonable for what you get.
Before Bedroom

Here is what our bedroom looked like before! Nice vaulted ceilings that needed some character.
Installing DIY Wood Beams

I want to be careful not to call them faux wood beams, because these rustic-looking beams are made out of real wood, they are just not true solid beams. They are beautifully crafted and make your ceilings look custom.
If you have a flat ceiling, I can pretty much guarantee that you can install beams across your ceiling in a couple of hours! They make it that simple. The kit comes with the mounting piece, all the dry wall supports, screws and then you simply attach the U-Shaped beams onto the support piece.
My brother helped me with this project and we ran into a few problems with our install. It had nothing to do with the beams, but everything to do with our vaulted ceiling and the low clearance above it. To make a long story short, we figured it out but our particular situation was a little different.
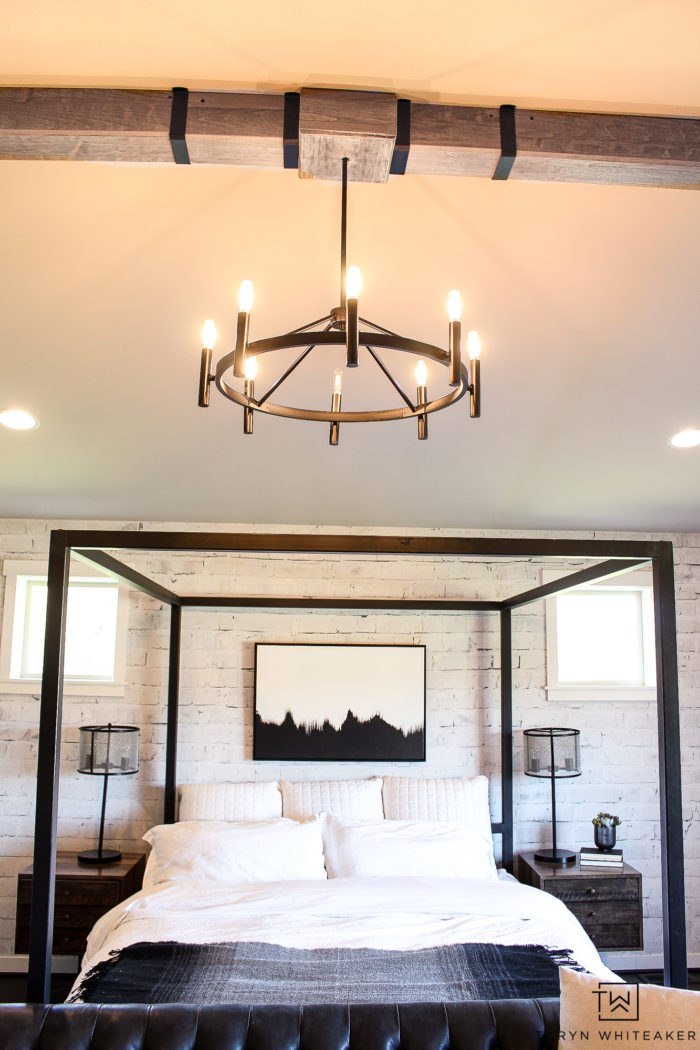
The ceiling light was also an obstacle during installation. Because the light was right in the center of the vault and the beams cannot support the weight of the light, we had to keep the existing light fixture right where it was along with the box. I came up with the idea of using left over pieces of of the wood beams and making a custom box around the light fixture so it looked part of the display. My brother made the box for me and it turned out beautifully. Fit like a glove. If we ever need to change out the light, it can easily come down.
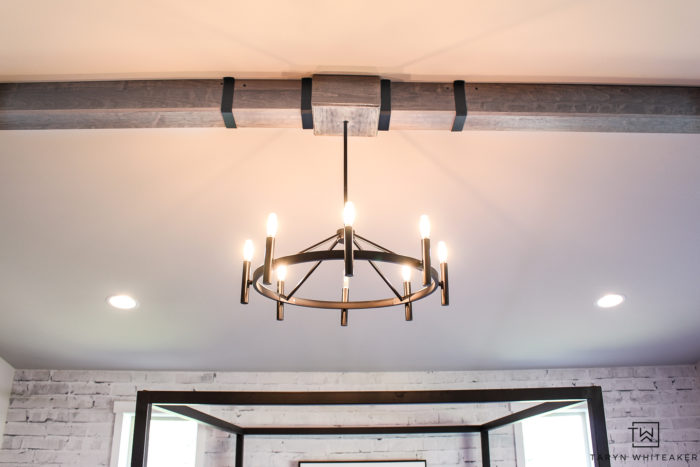
I also love that Ornamental Mouldings and Millwork makes these black metal brackets to cover the seams between the beams, or just for decoration. I think they add so much to the finished look!

It’s a little hard to see the true color of the beams in the pictures, but this is the most accurate picture in my opinion. They have a very warm gray tone to them, and you can still see the full wood grain through them.
I really love how the beams turned out! They make this room one step closer to being officially complete!
To learn more about Ornamental Mouldings and Millwork the products they offer click here. If you are looking for DIY beams, mantels, floating shelves or decorative trim pieces, check them out!
About Taryn Whiteaker
Hi! I’m Taryn! The voice behind Taryn Whiteaker Designs. I launched this brand over 11 years ago when I became a stay-at-home mom. What started as a small craft and mom blog eventually grew into a full time design and DIY site. My goal has always been to inspire others (especially women!) with design ideas, DIY tutorials, entertaining ideas and give you the tools you need to complete them yourself!


Leave a Reply