Disclosure: This post is sponsored by BabbleBoxx on behalf of JoAnn.
How many of you make handmade ornaments every year? It’s a great family tradition that adds little bits of sentiment to your tree. I always love bringing those ones out each year. Just the other day I stumbled across ones my daughter and I made and I could still remember the exact moment we made them together. Every year I like to make at least one set of handmade ornaments for our collection and this year I’m sharing these DIY Twisted Paper Ornaments.
DIY Twisted Paper Ornaments

This year I decided to make these DIY Twisted Paper Ornaments with the help of JoAnn Stores! They have a great tutorial on their site that walks you through the entire process. But I’m going to give you a step-by-step here too!
The JoAnn site has so many great craft tutorials for you and your family to enjoy during the holiday season this year. With us spending so much more time at home these days, we have more time for Christmas crafts than ever!
Paper Ornament Supplies
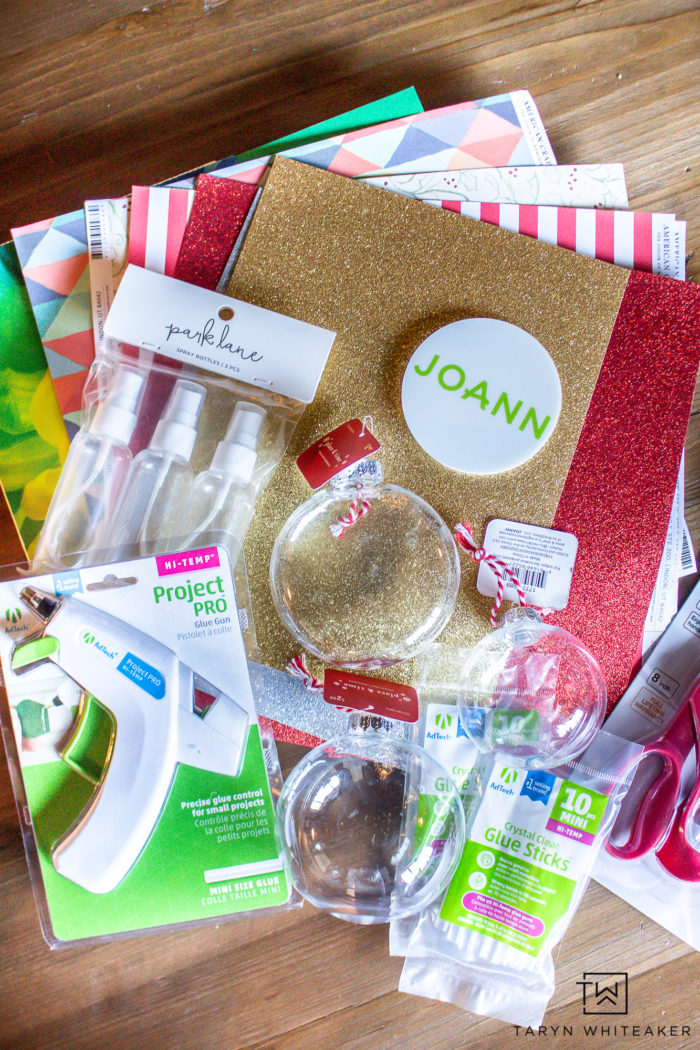
- Cardstock
- Hot Glue
- Plastic Ornaments
- Spray Bottle With Water
- Ribbon & Garnishings
JoAnn Stores sent me this fun box of goodies to make my ornaments, you can find everything in their stores!
How To Make Twisted Paper Ornaments

I went with a neutral look for my ornaments to go with my cream & gold Christmas tree. I cut white, gray, red striped and ivory pieces of paper into 1″ strips. I found that the glitter paper didn’t twist as well as the other card stock, so I didn’t end up using them.
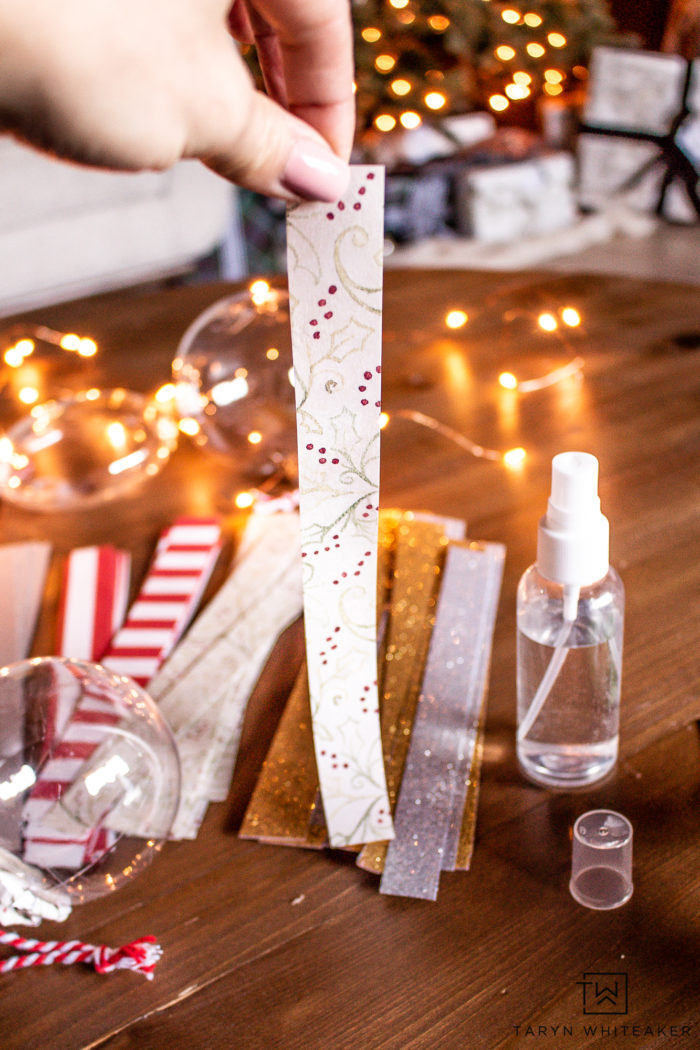
To make the paper easier to twist, you want to dampen it by spraying it with water. I did quite a few squirts on the front and back one each piece. Just like they advise on the JoAnn site though, don’t get the paper too wet or else the paper will rip.
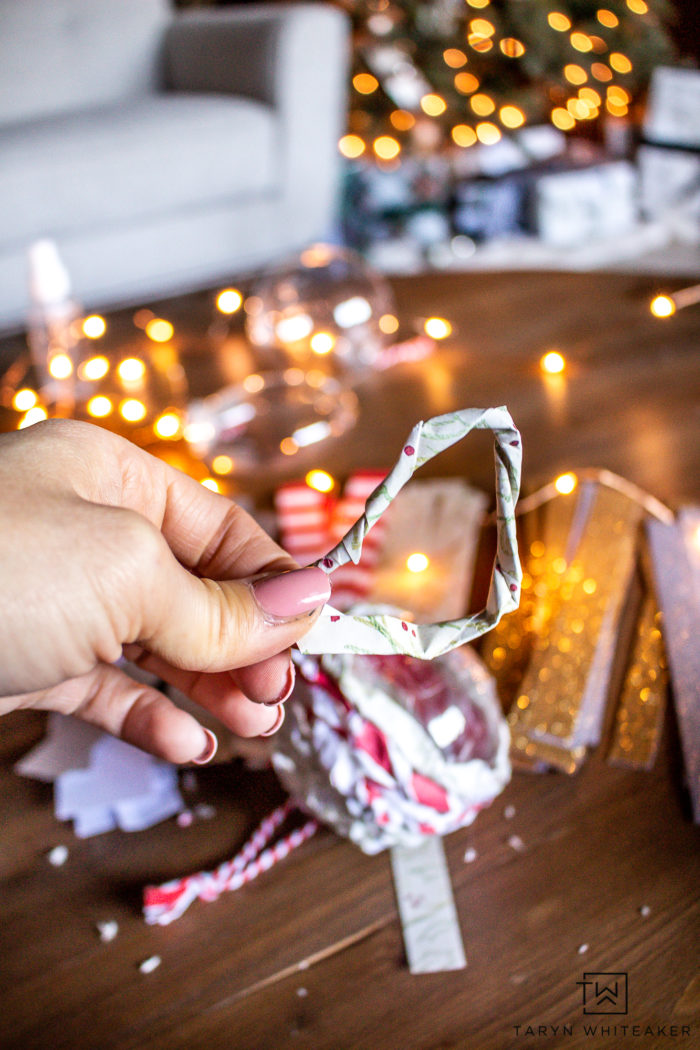
Slowly twist the paper as tight as possible. It took me a little while to get the hang of this part! Then, carefully hot glue each pieces onto the ornaments, Keep going into a circle until you fill the entire space.
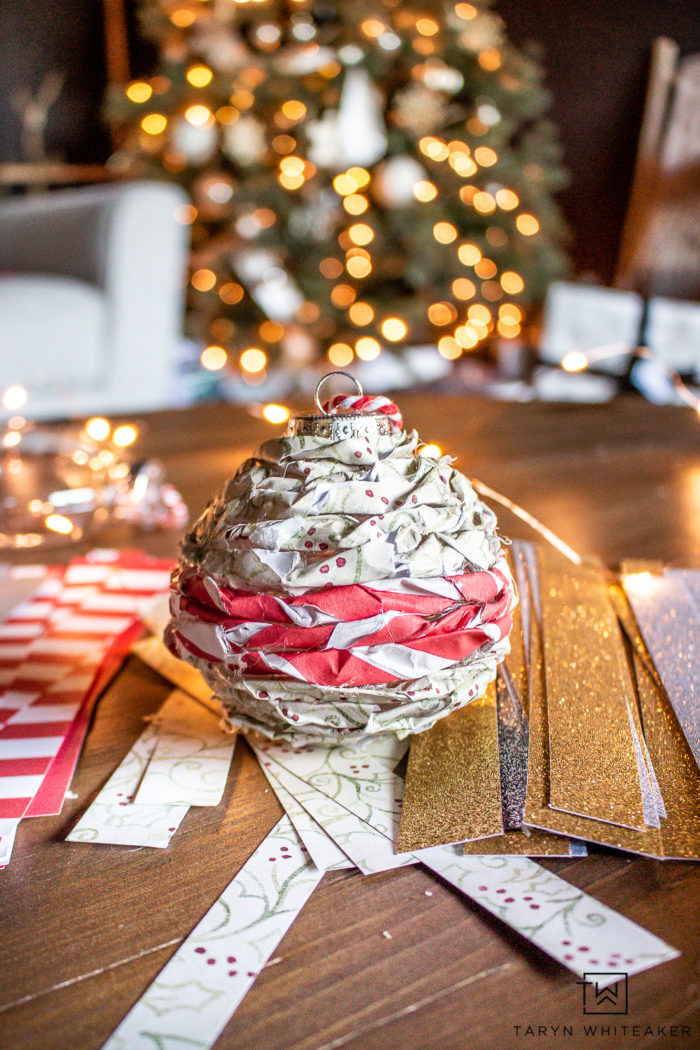
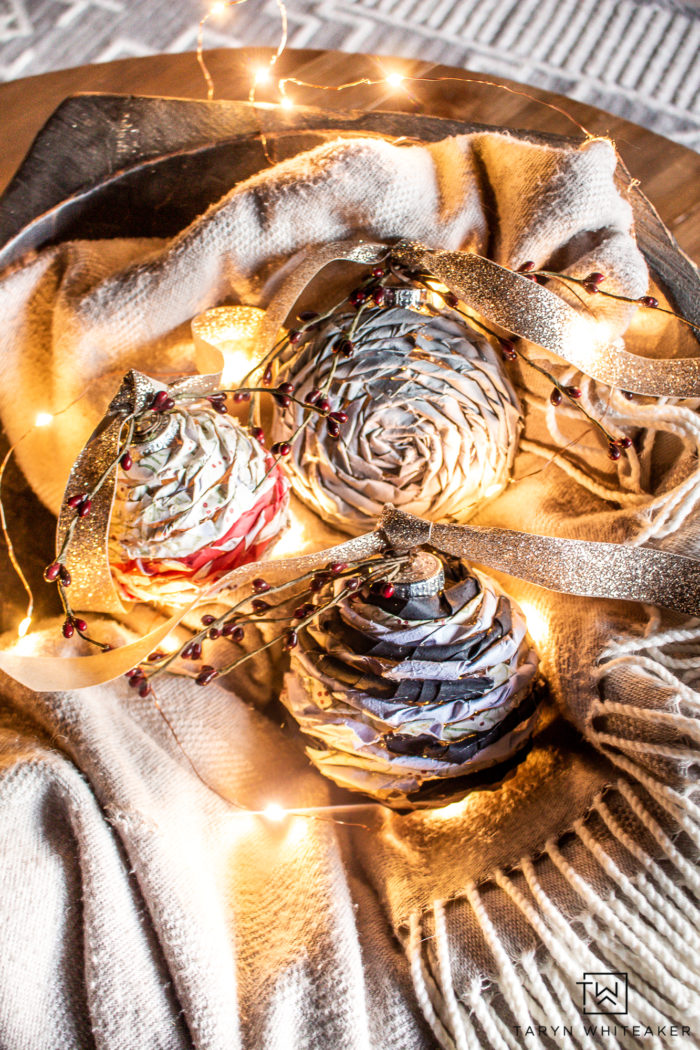
For this ornament I used a combination of two different paper patterns, I mixed it up for the other two ornaments, see below!
Handmade Christmas Ornaments
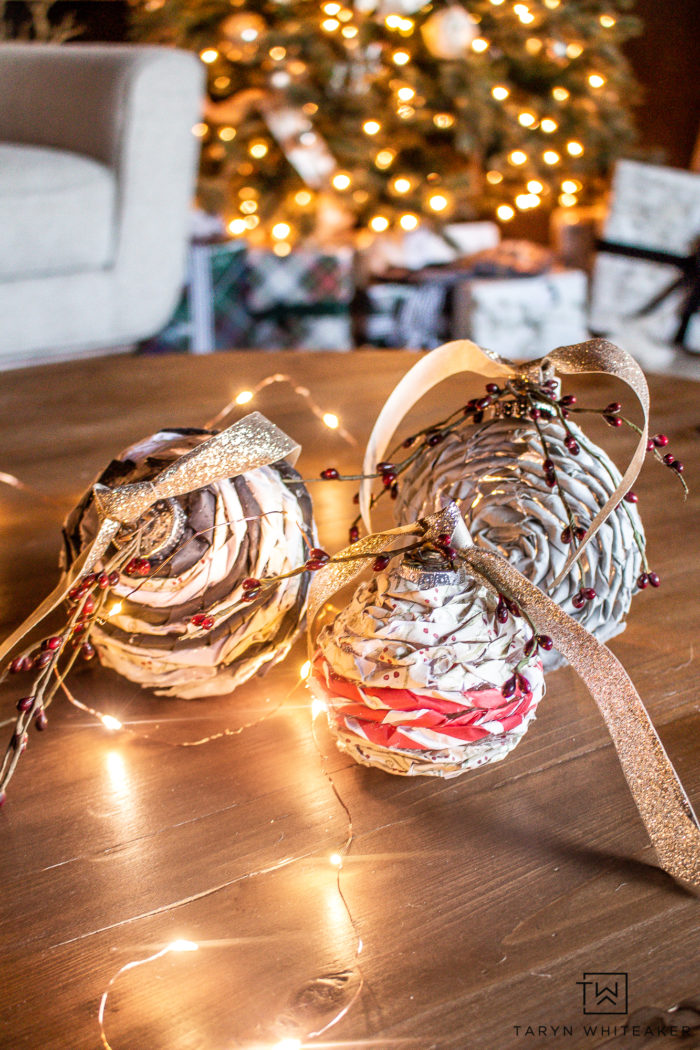
For the second ornament I used three paper patterns and rotated each color around, and the third I used one solid color and did a bit of a rose pattern. You can do SO many different color and pattern combination!
I added a sparkly champagne ribbon and a few berry sprigs to give them a festive look.
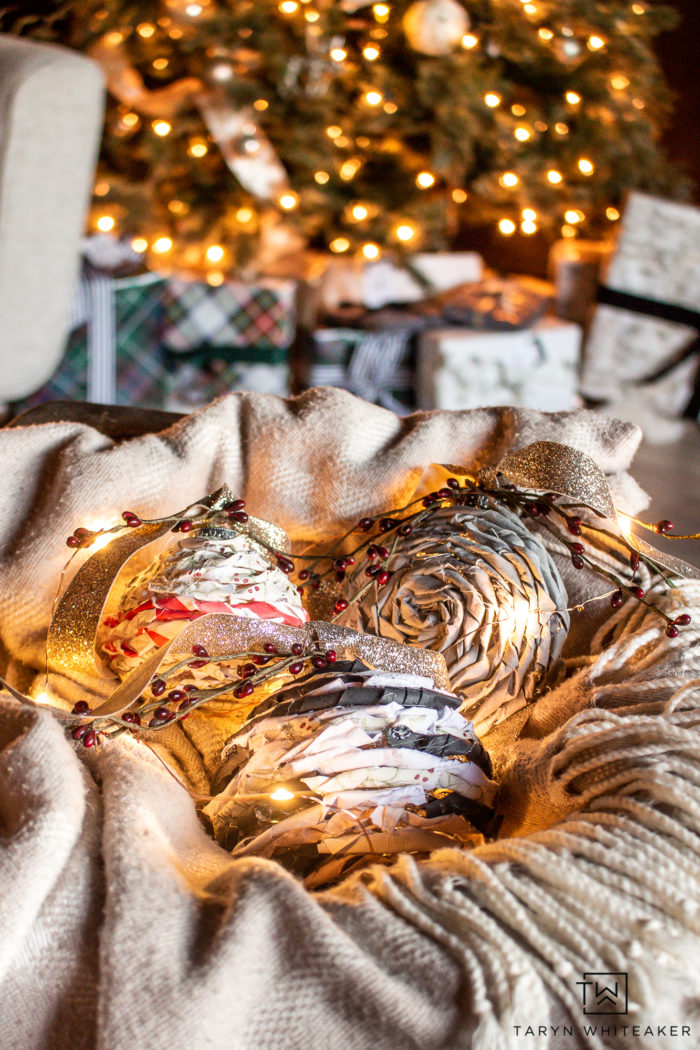
I think these are so cute and they were fun to make! My kiddos helped me with them and let’s just say they really had fun spraying the water bottles not just on the paper :)
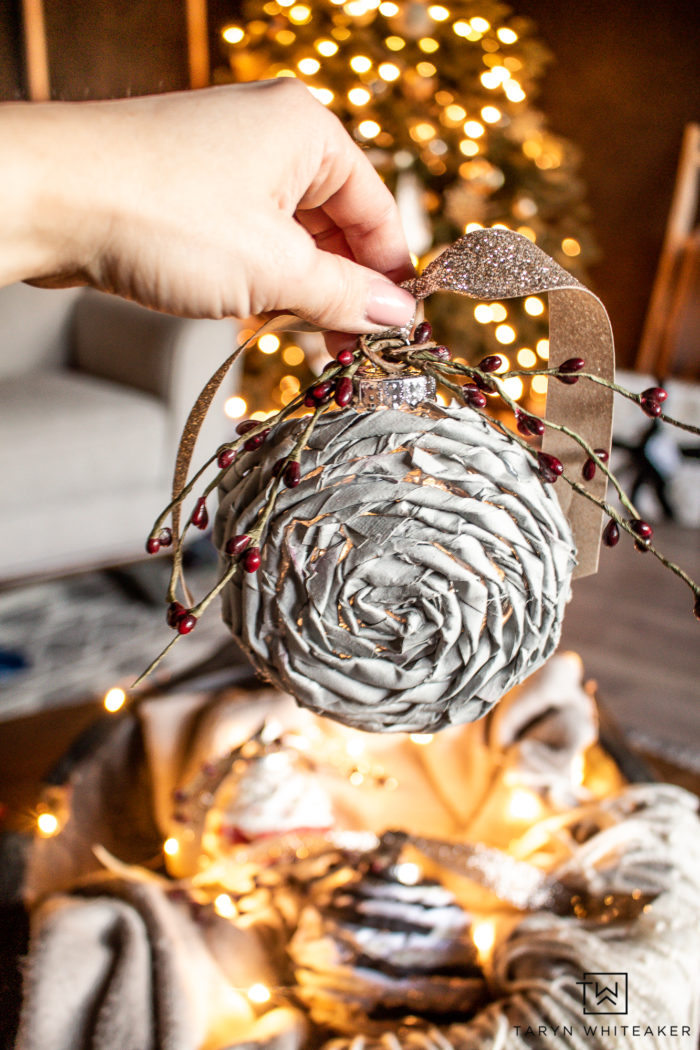
I think this one is my favorite, simple and interesting! I like the shape of this one too.
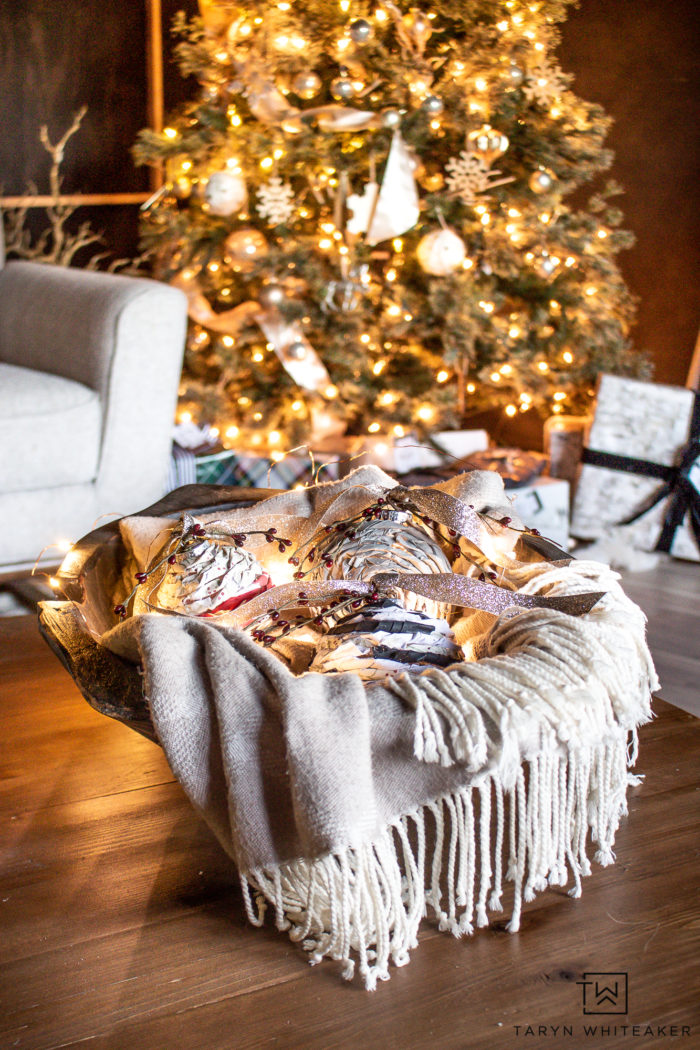
These would make great homemade Christmas gifts or a fun family craft night.
Don’t forget to pop over to JoAnn Stores site for their latest coupons and look at all the different projects they have to make this holiday season.


Leave a Reply