• Skip to primary navigation
  • Skip to main content
  • Skip to primary sidebar
  • Skip to footer
  • Home
  • About
  • Contact
  • Partner with Taryn

Taryn Whiteaker Designs

DIY and Interior Blog

  • Our Dallas Home Tour
  • Shop My Pics
  • Home Styling
    • Room Reveals
      • Our Current Home
      • Our First Home
    • Seasonal Home Tours
  • DIY Projects
    • DIY Home Decor
    • Crafts & Sewing
    • Before and Afters
    • Before and Afters
    • Furniture Builds and Makeovers
  • Seasonal Decor
    • Christmas
    • Easter
    • Fall
    • Fourth of July
    • Halloween
    • Spring
    • Valentine’s Day
  • Printables
  • Entertaining
    • Parties
    • Tablescapes
  • Fashion
  • Travel

April 10, 2018

DIY Rustic American Flag Sign

Disclosure: I am a compensated 3M-sponsored blogger. Opinions are my own and additional products used in the project were selected by me. 

When it comes to decorating for holidays, I try and keep my festive decor simple and have it blend in with my current decor. Holiday or not, I want my home to feel like me, and reflect our style. As we gear up for The Fourth of July I decided to give my entry a new look. With the help of ScotchBlue Painter’s Tape, I made a DIY Rustic American Flag sign that works for the holidays and year round as well!

DIY Rustic American Flag Sign
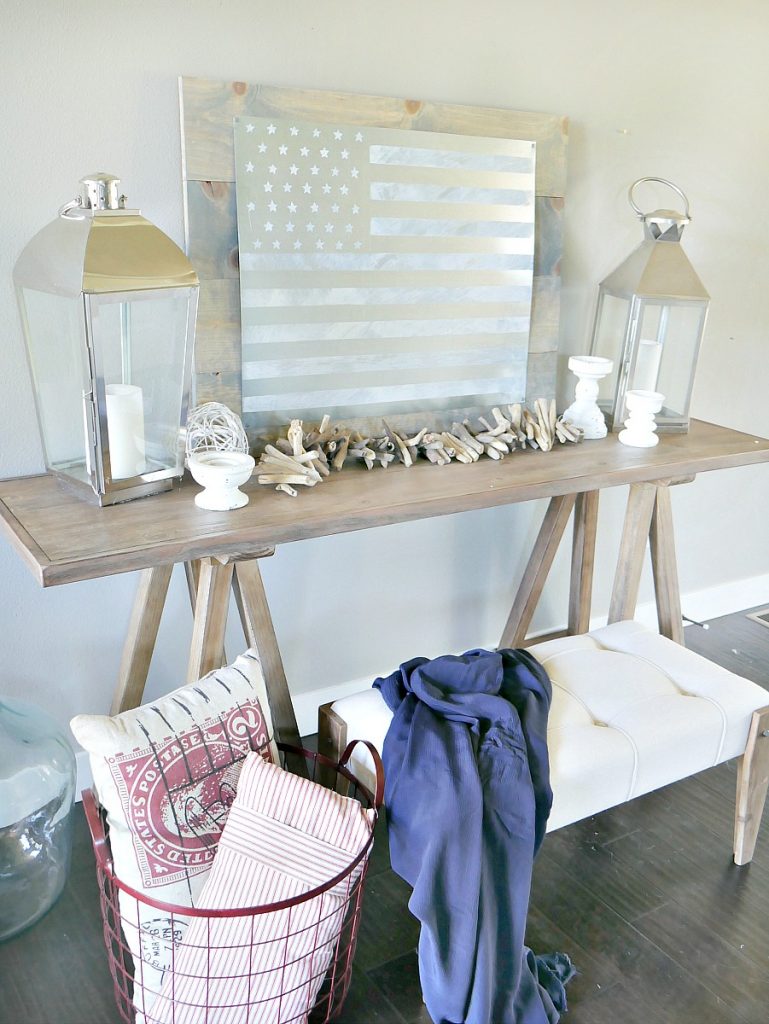
Learn how to create this DIY Rustic American Flag Wall Art for a patriotic vignette! Or keep it year round!

What I love about this sign, is that it can work for year round too! So if you decide you want to keep it up (or you are like me and are really slow at taking holiday decor down), this is a great solution.
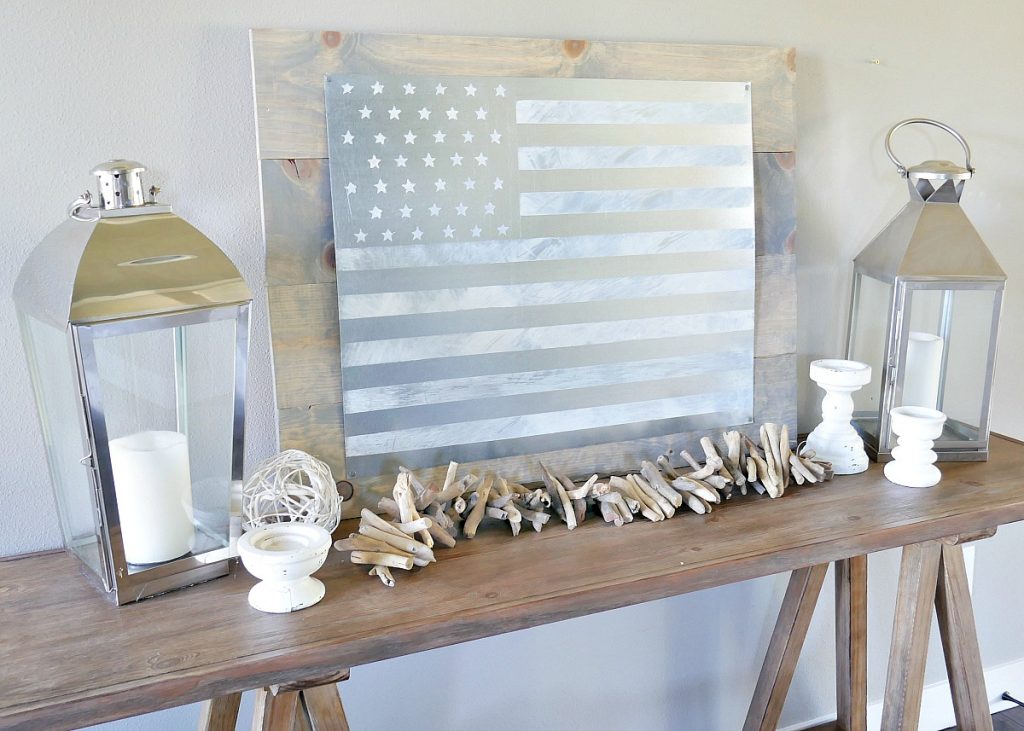
DIY Rustic American Flag Sign painted on metal and mounted on wood. Learn how to get the look using painter's tape!

Since it is summer and all, I added a touch of a coastal flare with driftwood garland and lanterns.
Are you ready to make one of your own? The process is really simple, just takes a little time.

How to Make A Rustic American Flag Wall Art

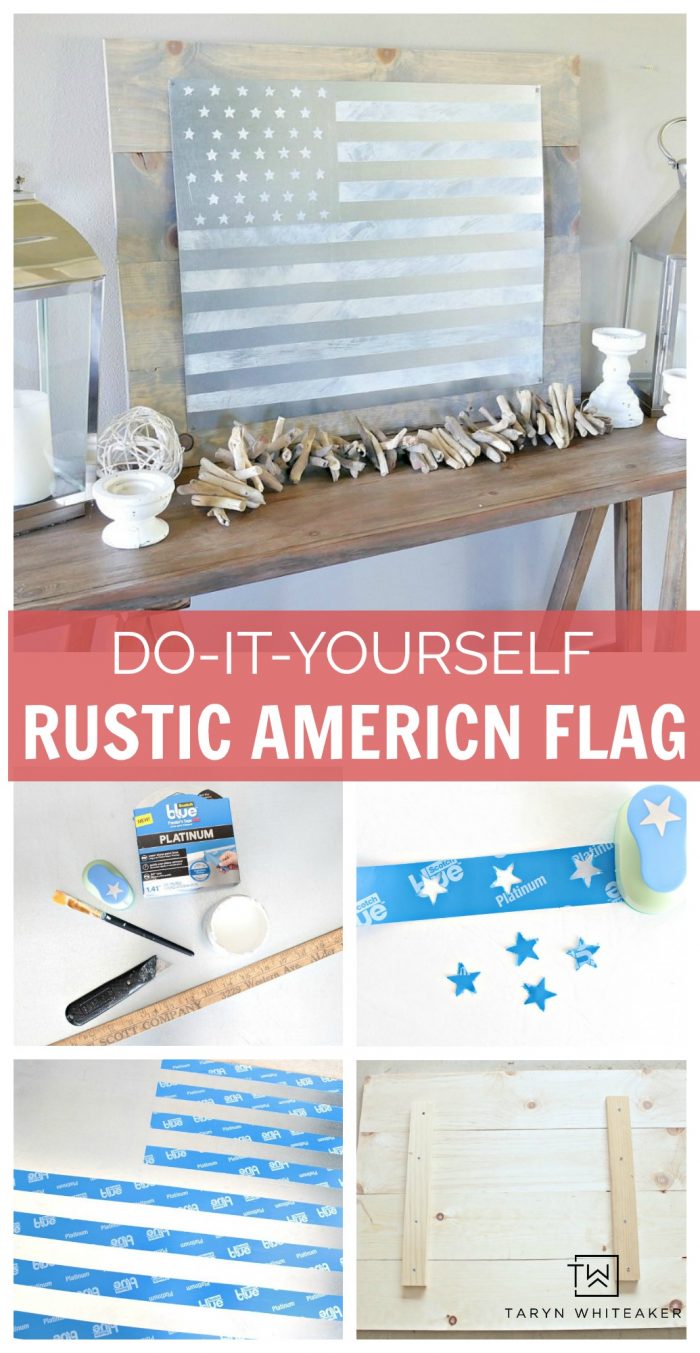
Rustic Flag Supplies

AMERICAN FLAG WALL ART SUPPLIES

ScotchBlue PLATINUM Painter’s Tape
Small Paint Brush
White Chalky Paint
Straight Ruler
Box Cutting Knife
Paper Towel
24″x36″ Piece of Sheet Metal

For Wood Background:
(4) 48”X8”X1” Boards
(2) 24”X2”X1” Boards
(8) 1” Wood Screws
(4) 3/4” Galvanized Nails
Gray Stain
Power Drill
Rag

Steps to Create The Flag Art

Cover In ScotchBlue PLATINUM

Step 1: Start with a piece of 24″X 36” sheet metal found at your local hardware store. Tape off the entire piece of metal using your ScotchBlue PLATINUM Painter’s Tape which works great on metal. Taping off the entire piece will help ensure your stripes are straight and the same width.
Cutting The Tape

Step 2: Using a straight ruler, mark off a 12″ X 10” area for your stars. Using the straight ruler as a guide carefully cut the tape with a box cutting knife and carefully peel the tape off.

Remove Tape To Create Stripes

Step 3: Next, peel off every other strip of tape to create your stripes.

Punched Stars
Making Star Stencil

Step 4: Using a 1” star hole punch, carefully punch the tape. This can be a little tricky. It can be helpful to double the tape with the adhesive sides together. This makes it thicker for the hole punch and the adhesive side won’t stick to the punch. Rotate a row of 6 stars and a row of 5 stars.

Carefully peel the tape a part and now you have two stencils.

Placing Stars On Metal
Dry Brushing

Step 5: Time to paint! When painting metal, using paint with a chalky finish is a great option. To get a rustic look, you will want to dry brush the paint on. This means you dip the paintbrush in paint and dab it off until you have barely any paint left. Gently brush over the showing metal.

removing tape 2

Great news, chalky paint dries extremely fast so you can carefully peel off the tape in about 30 minutes! Peel the tape back on itself and remove at a 45-degree angle.

How to Create the Wood Backdrop
Building a Wood Frame

Step 6: Time to build the wood backdrop! This is an easy project that will make your sign pop. Take your four wood planks and place the skinny pieces of wood on top. Using a power drill, screw in the wood screws into each piece of wood on each side.

Staining Wood Gray

Step 7: Flip the piece over and give it a coat of gray wood stain. Let it dry.

Hammering the Metal Onto Wood

Step 8: To finish off the piece, secure the sheet metal onto the wood using galvanized nails. One on each corner will do the trick.

DIY Rustic American Flag Art

Rustic American Flag Full Vignette

You can either hang it on the wall or prop it up for a vignette! Be sure to check out the ScotchBlue Inspiration Hub for more great ideas!

Here are a few more patriotic decor ideas you might like:
  • Patriotic Table Decorations On A Budget 
  • Summer Entertaining Ideas
Learn how to make this DIY Rustic American Flag Sign using sheet metal, paint and mounted on a wood backdrop! Great piece of patriotic art to display in your home.

SaveSave

SaveSave

About Taryn Whiteaker

Hi! I’m Taryn! The voice behind Taryn Whiteaker Designs. I launched this brand over 11 years ago when I became a stay-at-home mom. What started as a small craft and mom blog eventually grew into a full time design and DIY site. My goal has always been to inspire others (especially women!) with design ideas, DIY tutorials, entertaining ideas and give you the tools you need to complete them yourself!

Filed Under: ALL POSTS, DIY Home Decor, DIY Projects, Fourth of July, Seasonal Home Tours

Reader Interactions

Comments

  1. Tanja says

    June 23, 2016 at 3:23 am

    Totally gorgeous!! Like everything in your interior deco this flag looks simple and classy all at once.
    Still today I’# drive to our local hardware stor and make my own one :)

    Reply
  2. Dawn says

    June 23, 2016 at 9:38 am

    Love love love this!!!! On my list to make. Where did you get your lanterns from??

    Reply
    • Taryn Whiteaker says

      June 26, 2016 at 11:01 am

      Thank you! The lanterns are from HomeGoods :)

      Reply
  3. Gina says

    July 12, 2016 at 6:49 am

    Should wood be sealed, or no in order to change color or resuse?

    Reply
    • Taryn Whiteaker says

      July 17, 2016 at 10:16 pm

      Hi! I always recommend sealing the wood to protect it. However if it will remain inside and you think you may want to change the color than I think it would be ok if you didn’t.

      Reply
  4. Shea | The Fogue Abode says

    June 25, 2018 at 11:20 am

    What a great 4th of July DIY! Thanks for sharing with Funtastic Friday.

    Reply

Leave a Reply Cancel reply

Your email address will not be published. Required fields are marked *

Primary Sidebar

Looking For Something?

CONNECT

Meet Taryn

Taryn Whiteaker

Hi and welcome! I'm Taryn and the voice of style behind Taryn Whiteaker Designs. Sharing our journey of modernizing our European style home in Dallas. Thanks for stopping by and don't forget to subscribe to my mailing list to get all the latest updates! Read more...

Footer

THIS SITE

  • Home
  • About
  • Contact
  • Partner with Taryn

Privacy Policy

If you are interested in learning more about data that might be collected by this site you are encouraged to read the Privacy Policy

COPYRIGHT POLICY

All images on this site are copyright of Design, Dining and Diapers, LLC. Unless otherwise noted. You may not use these images without written permission. If you would like to feature a project shown on Design, Dining and Diapers you may use a maximum of 2 images and include a visible link back to the project.

More From The Gram

tarynwhiteaker_designs

Taryn Whiteaker Designs
#sponsored Bedroom progress! Walking you through t #sponsored Bedroom progress! Walking you through the process of picking out our new flooring. I’m narrowing in on the Luxecraft Serenity line by @karastanflooring - a durable, pet friendly option that will add so much warmth and texture to this space. Click the link in my bio for more info! #KarastanFlooring #bedroomprogress #renovation
Talking you through my thought process and decisio Talking you through my thought process and decision making at this stage of the bedroom renovation! How I really feel about the paint color, trusting the process and changing my mind on a few things! 

#bedroomideas #bedroommakeover #diy #interiordesign
Comment SHOP for all my favorite Amazon finds I us Comment SHOP for all my favorite Amazon finds I use every single day! 

#homehacks #homefinds #amazonhomefinds #shopmyhome
Comment SHOP for my finds! Bedroom progress - Come Comment SHOP for my finds! Bedroom progress - Come shop with me to pick out new seating for our fireplace area! With the dark walls, I’m looking for contrast, cozy and a vibe! @athomestores has tons of brand new seating options for any area of your home. I could have bought five different accent chairs! So many that I loved! I can’t wait to see how this room all comes together! 

Discount Code: AHTDQ

#AtHomePartner #AtHomePartner #homedecor #interiordesign #homefinds
Comment TREES for links! My favorite artificial Ch Comment TREES for links! My favorite artificial Christmas Trees are now available at @loweshomeimprovement ! I’ve used Tree Classics by Balsam Hill for years, they are gorgeous, high quality and the most realistic trees. I’m showing you the 7.5’ ft Fraser Fir and 7.5’ Lake Tahoe Fir. Which one is your favorite?  Hurry and get them while they are in stock! These trees always sell out so early!  #LowesPartner #LowesHomeImprovement #christmastrees #LowesFinds
BED ROOM PROGRESS! Paint Reveal! I saved myself $4 BED ROOM PROGRESS! Paint Reveal! I saved myself $4800 to remove all the wallpaper, skim coat the walls, prep and paint our bedroom and seating area. Completely worth it! 

Paint color is SW Clove. It’s the perfect rich color that combines brown, gray and black. It’s really beautiful. 

A dark color drench always scares me for a second, but I know it will be amazing when it ALL comes together! 

Next up for this luxe ranch bedroom:
- new chandelier on the way
- new flooring
- bedroom furniture! 

#bedroomideas #bedroommakeover #diy #homedecor #interiordesign
Here’s how we do meal time with Alki and Timber! Here’s how we do meal time with Alki and Timber! Comment DOGS for 60% off your first order of @thefarmersdog or visit the link in my bio! We absolutely love feeding Whole Foods to our pups, they absolutely love it and you can see how much it affects them. 

Each pouch is one day worth of food, and completely tailored to the right portion size for each dog.

#TFDpartner #ThePack #goldenretrieverworld #goldenretrievers
Commend SHADES and I’ll send you all the info on Commend SHADES and I’ll send you all the info on the Roman Shades we install around the house! They are so easy to install, just drill and click-in! 

They look gorgeous and elevated. Now I keep thinking, so I add a subtle patterned curtain on either side? 

#romanshades #livingroomdecor #homedecor #neutraldecor
Bedroom Makeover Part 1! #homedecor #diy #homere Bedroom Makeover Part 1! 

#homedecor #diy #homerenovation #linensandhutch #revivalrugs
Follow on Instagram

Copyright© 2026 · Brunch Pro Theme by Shay Bocks · Hosting by 3116 Digital